
Introduction into Adobe After Effects,
Simple Effects and Basic Animation, Media Import
 Content of the lesson:
- Launching Adobe After Effects CS4
- Creating of a New Composition
- Introduction of the Program Environment
- Media Import
Program and Its Usability
This program allows us to create moving graphics, visual/special and film effects. It is a composition program and is often used with e.g. 3D Studio MAX or Maya where three-dimensional effects are created after that they are put into the scene by After Effects.
Launching Adobe After Effects
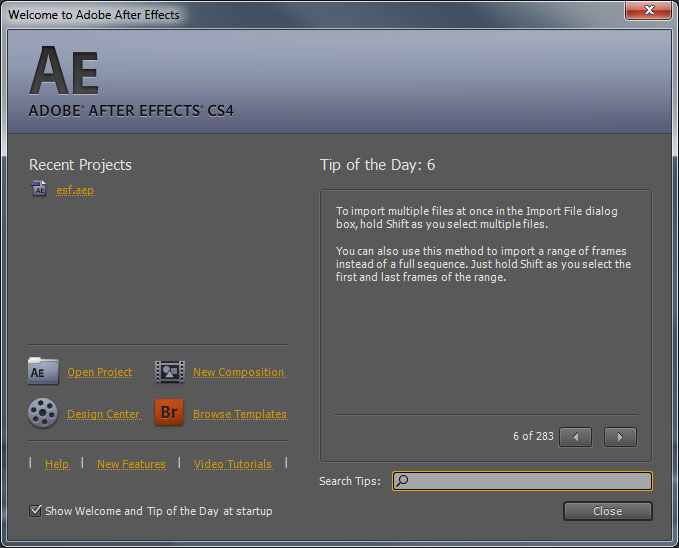
A dialog box with a list of last opened projects is the very first thing that appears after starting Adobe After Effects CS4. It appears together with other icons in the bottom left part. On the right we can see tips of the day and in the bottom right part there is a possibility to look up these tips. But let`s go back to the four icons mentioned above.
The meaning of the icons:
- Open Project - opening of a created project
- New Composition - creating a new composition
- Design Center - a link to After Effects Help and Support website
- Browse Templates - opens Adobe Bridge where we can choose a template and insert it into the AE program.
Welcome screen
Signs we can click on:
- Help - on-line help for After Effects program
- New Features - a link to the news of the After Effects program
- Video Tutorials - a link to the video instructions for After Effects
Task:
Try to insert the offered templates into the program.
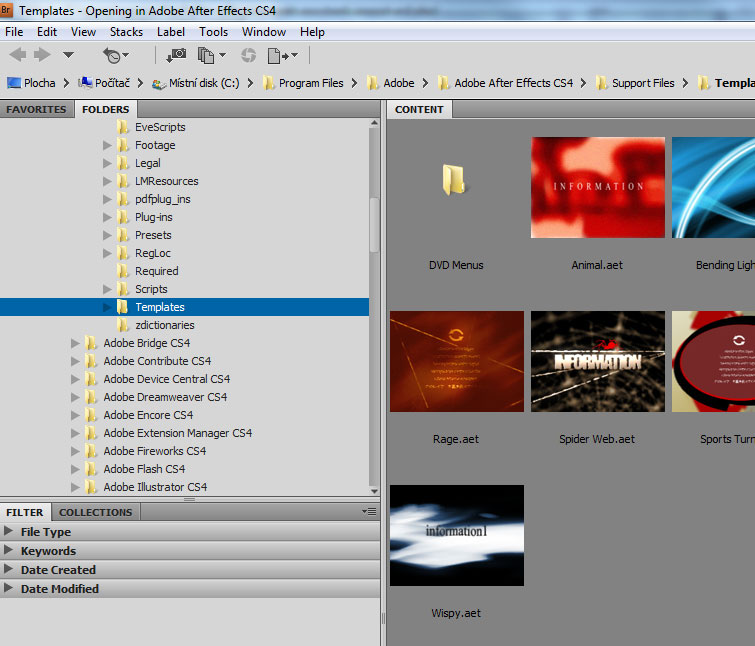
Templates in the Adobe Bridge program

Final composition in AE program
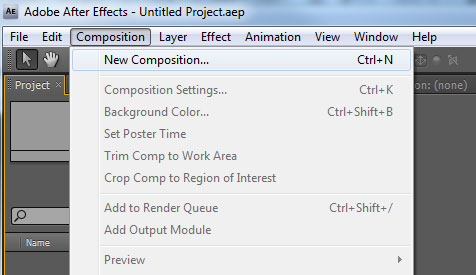
Creating a New Composition
It is done by clicking on the appropriate icon on the welcome screen or we can found it directly in the program. There it is done via Menu, “Composition” item and then “New Composition...”
Creating a New Composition
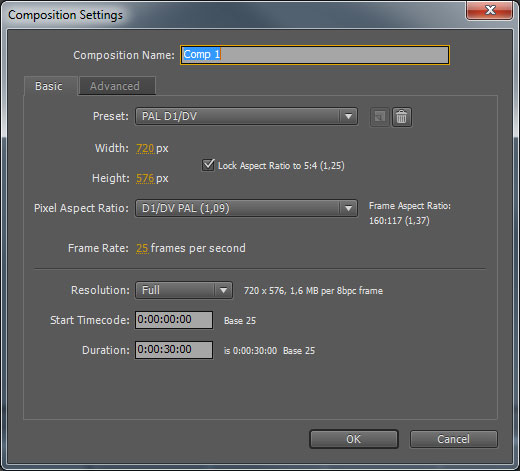
- Basic - as soon as we finish this operation, a dialog box appears where we can set our composition. We will probably be interested in the item “Preset” the most. There are preset options and we can choose from the menu according the video that we work on or we want to achieve. The setting can be done manually as well, we can change the height and width of a video, change the number of frames per second, definition, the length of the composition, ...
Start screen 01
- Advanced - in the following bookmark of this dialog box we have further setting possibilities.
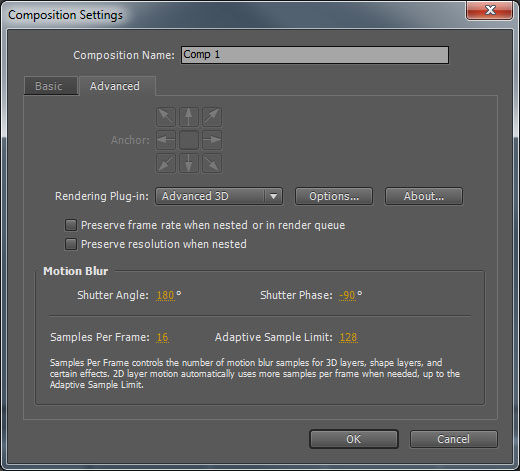
Start screen 02
After setting the new composition it is put in the “Project” panel.
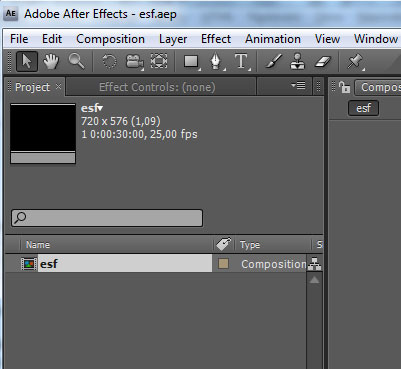
New composition
Presets of the program environment
Workspace of the Adobe After Effects CS4
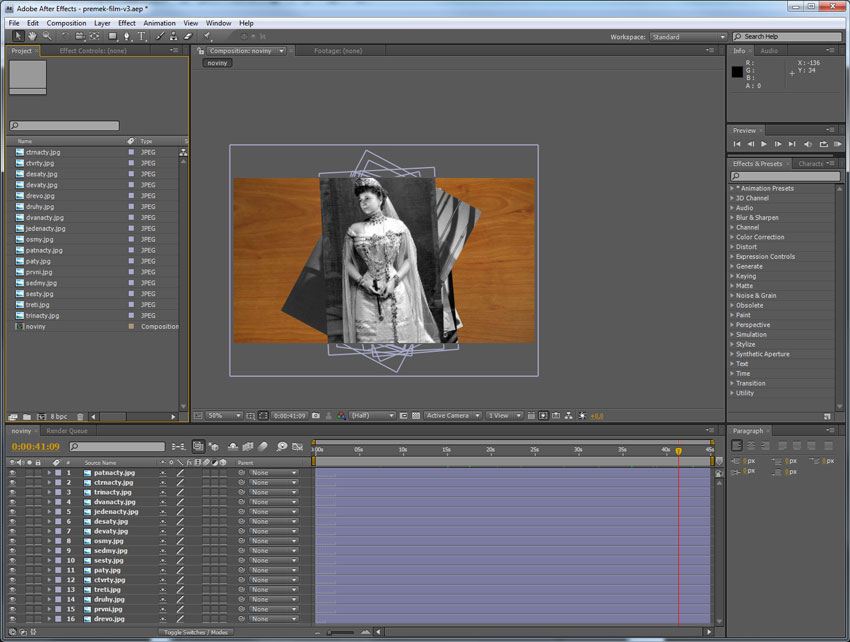
Workspace
- Project panel – this panel is used to display links of source media (the media we are working with are imported into the project here)
- Composition panel – this panel is used to display the result of your work
- Info panel – this panel displays different information about the layer on which we click on the time line.
- Audio panel – this panel is used to work with sound.
- Effects & Presets panel – information
- Character panel – this panel is used to work with a text
- Timeline panel – this panel is used to work with layers and their composition as with a complex
Media Import
Media import can be done by several ways:
- First way – click “File” in the menu and choose “Import...” from the list. The “Import” box appears that can be used to browse the disk of a computer and look up a file to insert. When you have chosen, click “Open” button (or double click the chosen file) the insert is done.
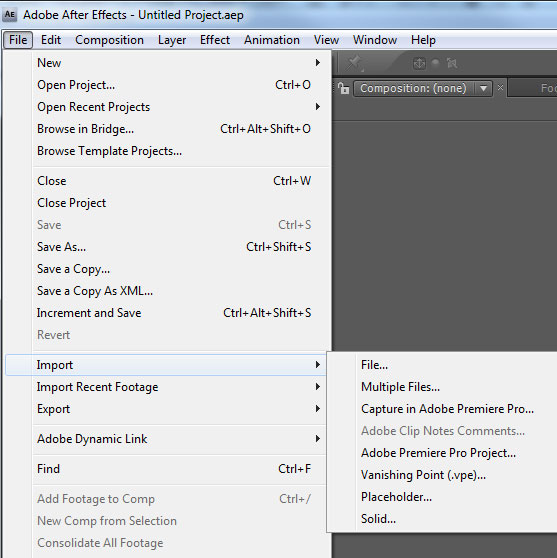
Import via menu
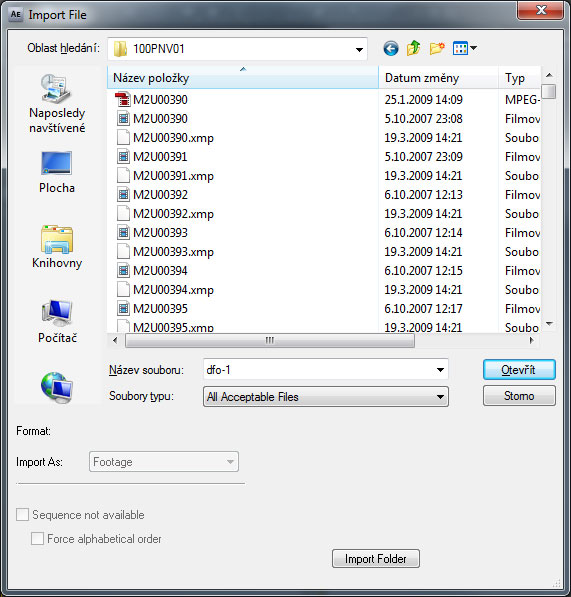
Looking up the file to be imported into the program
- Second way – it is simpler to point the mouse into the “Project” window environment and get the same “Import” window by a double click as in the previous case.
- Third way – there is also a possibility to look the file using a file manager, drag it using the left mouse button (keep it pressed) and move it into the “Project” window (release the button). The chosen file is then inserted into the program.
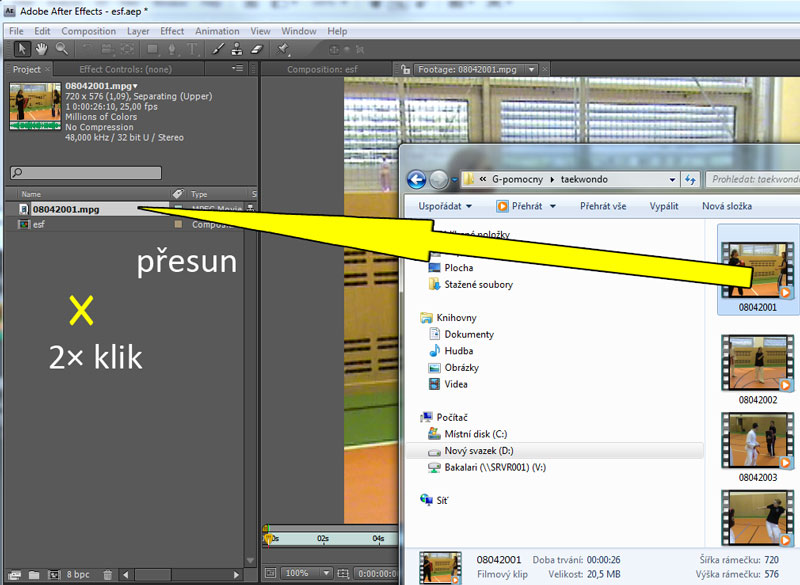
Import of the file by a double click or by dragging
Simple Effects and Basic Animations
Effects
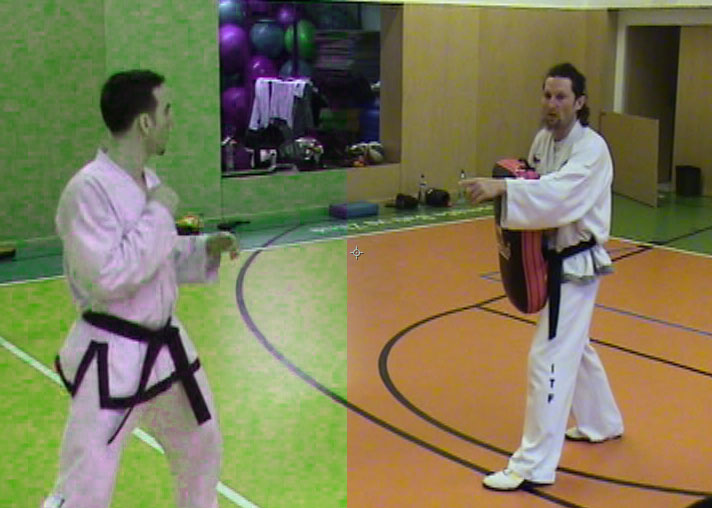
Adjustment of a video using tools for improving contrast or balancing colours belong to the simplest usage of this program. Let`s try such an adjustment. We will set a new project now with a new composition and insert the appropriate video into it.
Contrast Adjustment Demonstration
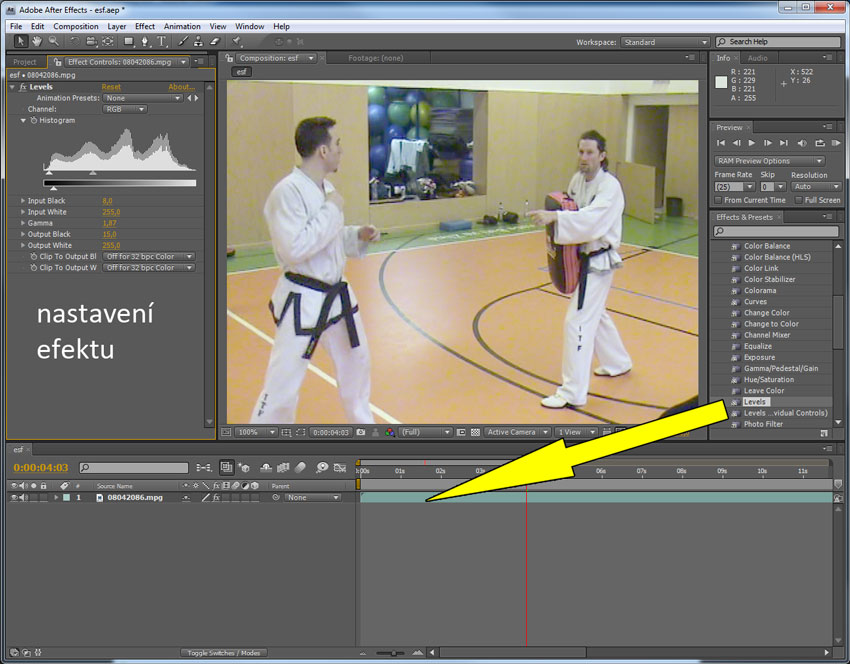
This adjustment is really very simple and we do it the following way. First of all we put the appropriate video in the timeline. Catch it in the “Project” window and drag it onto the timeline. It is displayed on the timeline as a tape where there are different setting possibilities on the right. Basically, they are layers similar to those in the Photoshop but there are not only static images, there can also be videos. To be able to adjust contrast in this inserted video, we have to find “Color Correction” in “Effects & Presets” panel and choose the “Levels” item. The adjustment is then done using the levels. Then we select the tape of the video on which we want to do adjustments, double click on the wanted effect or we drag it by the right mouse button and move it onto the tape with the video. The application is done. After this operation “Effect Controls” panel appears next to the “Project” panel. All adjustments are done in this panel and their change appears in the final video on the timeline.
Contrast Adjustment Demonstration
Another adjustment may be color balance which was mentioned above. The setting is intentionally done so that we can see the difference between the states before and after the adjustment. In real a fine change is done to get the needed result but not to disturb the viewer. As for the effect application, the principle is the same as in the previous case. In this case “Hue/Saturation” effect has been used.
Dolor balance demonstration
Animation (sample)
In our case the animation is for example moving a static picture which we are going to demonstrate.
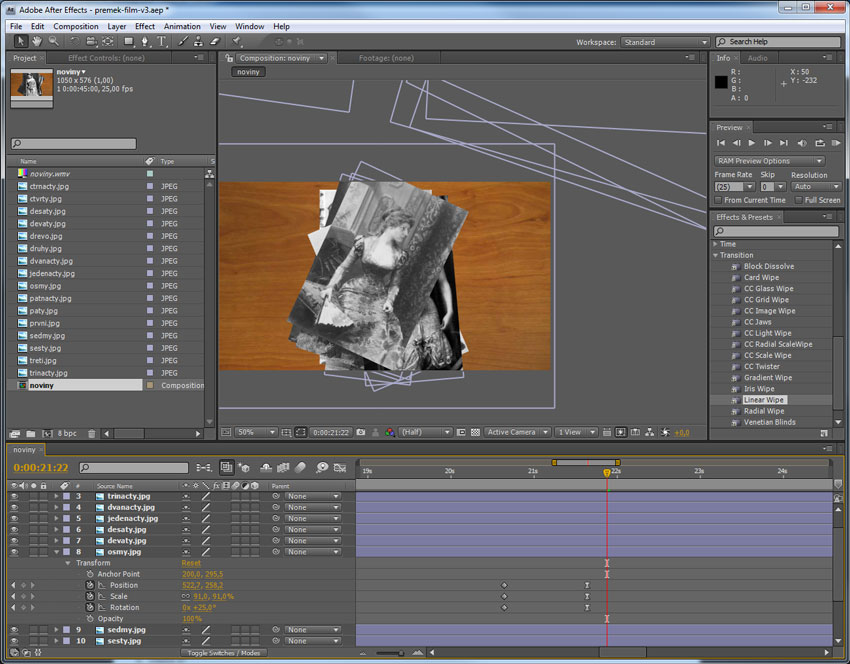
The task was to create the effect of newspaper falling on the table. There are 15 shots that will appear in this way one after another. The shots themselves had gone through photomontage and after that they were inserted into AE to be processed.
Animation (procedure)
If we try to import an image (it can also be a video) on a timeline, we find out that we can see some setting options on the right side of the tape that represents the inserted image. When we click on the small arrow, further options appear. The “Transform” item is a standard option. If we unroll it and try to change parameters, we find out that we can move the picture, enlarge it or wind it. We can also make it transparent or even invisible. But this is all a static setting that when being selected stays as it is if, of course, we do not use key frames. These are points that are inserted on the timeline in different time and the setting can be different in each of these points. So, if we want to get the image so that it looks like it has fallen on a table we put this image into the starting position (from where it should appear). Here the image is outside the shot and we can see only outlines. We put the image into the appropriate position, enlarge it so that it is closer and rotate it as well. We insert key shots if we have them and move the cursor on the timeline into the place where the picture should be on the table. We insert (or it is done automatically) key shots and make the setting so that it satisfies our wishes. Shortly we set the image so that it looks like it lies on the table. We can also try to move the scroll bar if we have it. We find out that something changes from the first shots to the other ones. This change is linear; we will explain different types later. It is important to know that the values change from the key frame to another key frame and they change continuously. Just to make the fall softer we set the other key frames as follows. Click onto the key frame by the right button and choose “Easy Ease”.
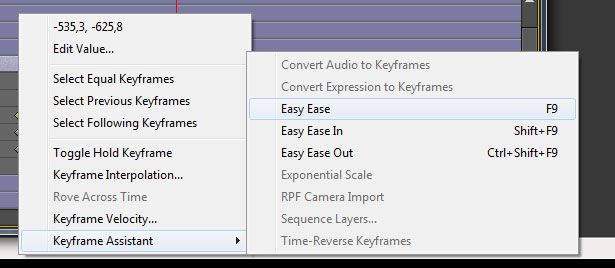
Keyframe Assistant
It is also possible to switch from a linear transition to another in the same menu.
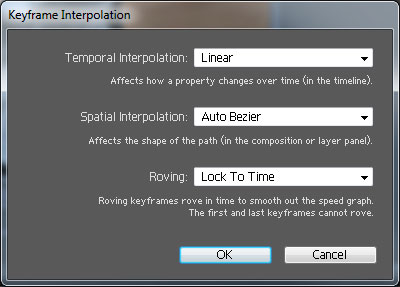
Keyframe Interpolation
Window with an in-process animation
Questions
- How can we use Adobe After Effects?
- How can I start working with the program?
- Describe the program workspace.
- Show the adjustment of contrast and brightness of a video.
- How could an animation be used?