
HDR photos
 Content of
the lesson:
Content of
the lesson:
- What is a HDR photo in general?
- The procedure of taking photos ready for HDR merge
- The procedure of creating a HDR photo
- HDR photos - samples
What is a HDR photo in general?
What do we imagine when we hear about HDR photos? At first we are going to look at several sample photos to have a basic idea about HDR photos.
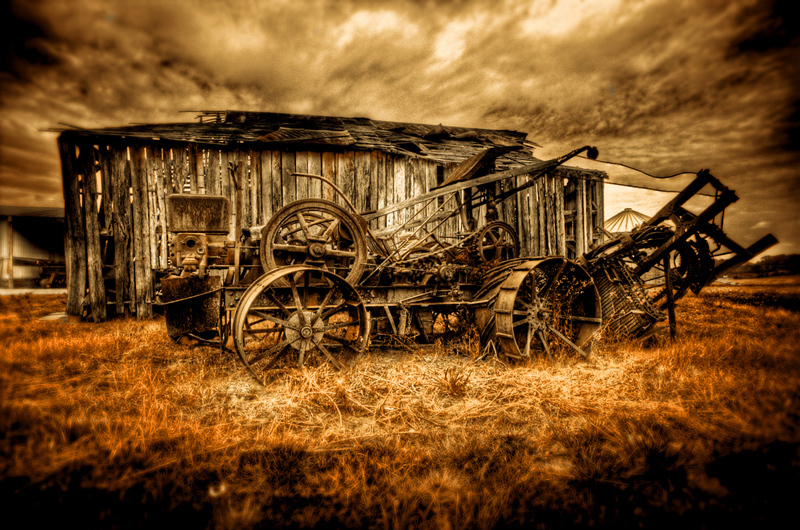
Apart from these realistically looking images we can also create several artistic photos via HDR.
According to the previous examples you may have wondered what the real success of the HDR photos is. It is a fairly simple idea, but the results appear very nice. HDR photo means High Dynamic Range Photo, and this means we are creating an image that has significant details both in the deepest shadows and in the lightest areas (for example sky, which is often overexposed and pure white).
But why cannot we take such photos straight? The answer is in the technology which is not as perfect as the human eye. Digital sensor can capture approximately 7-11 EV (EV is a unit of a brightness range), while the monitor is able to display approximately 12-18 EV and the adapted human eye can handle over 20 EV. We can see that the range of the camera is halved compared to human eye (the values are considered for a professional reflex camera), so a photo can never be as perfect as the scene we see ourselves.
If the camera has to take an image of a scene with a range greater than 11 EV (for example, a scene with backlit), all values ??outside the range will get the same black or white color and lose their details.
In summary, a HDR photo is a way how to hide technical shortcomings of our cameras and create an image which will appear as a real sight into the scene. The procedure is not difficult, it will be explained in the next part, but in general we take several photos from the same place and compensate the exposition. Then we let these photos be merged in software like Adobe Photoshop into one final HDR photo.
The procedure of taking photos ready for HDR merge
For taking component photos we can use an ordinary camera, bud we have much better chances to get a fair result when using a reflex camera because of its functions. If RAW format is available, we will use it surely.
As mentioned, final HDR photos are merged from several photos (at least 2, but better results are with 3, 5 or more). It is not usual to use more than 7 images because of its demands on performance.
For start we should place our camera on a tripod and place the tripod solidly, because there must not be any movement with the camera while taking component photos. You cannot take HDR photos from your hand, because even a slight movement could cause bad results. When using digital reflex camera, we can use a function named Mirror Lock-Up to prevent our camera from movement while the mirror is put down and up repeatedly.
When talking about the movement of our camera, we should be aware of moving objects in our scene too. For example, a strong wind can cause problems, because the clouds are changing their position quickly and every image will have a different sky layout which is not ideal for merging to HDR.
Now let's go to the settings. We can use a function named Bracketing. Bracketing means, that 3 or more images will be shot in sequence. One of them will be shot using the exposure we set and the other ones will be over- and underexposed (we can set the offset). That means that one image will be standard, the second one will be darker and the third one will be lighter. The order could vary because of different manufacturers.
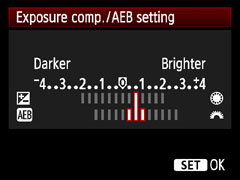
We can see in the image that we set the middle value of exposure and then we set the offset, how much should the other photos be over- and underexposed.
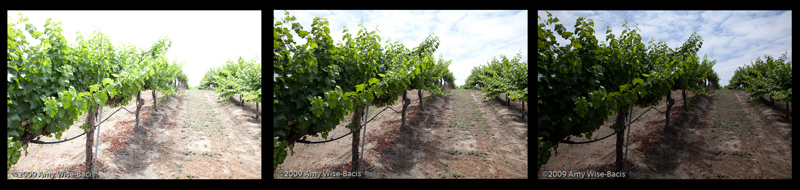
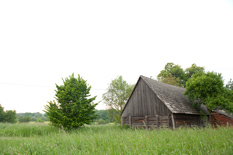
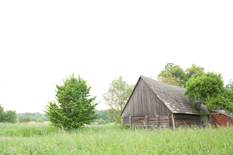
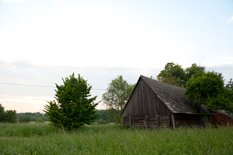
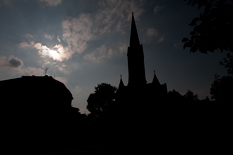
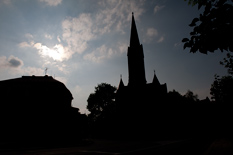
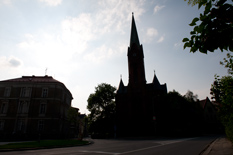
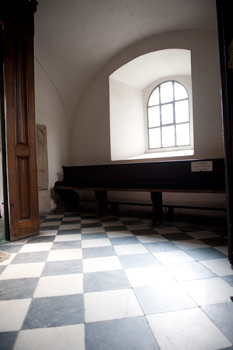
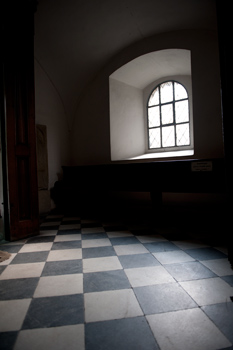
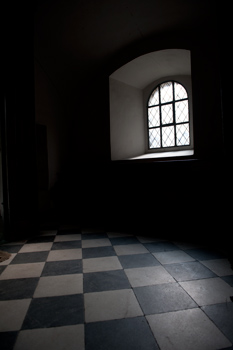
This is the final trio. The first photo was overexposed (we can see white places in the sky, but there are beautiful details in the darker parts), the second one was shot with middle exposure and the third one was underexposed (we can see the dark areas without any details, but the sky was nicely drawn).
When using Bracketing it is not necessary to set mode to Sequence, because the camera takes every trio as one shot. In case you set a number of photos to be taken in sequence, the camera will take corresponding number of trios. (Note: Bracketing could be used for color changes as well.)
You can use Bracketing repeatedly of course and get more than 3 images of your scene.
Cameras without Bracketing function can use Exposure Compensation instead. You can simulate Bracketing by manually setting the slider with Exposure Compensation. Nevertheless, this takes much more time so you have to take care about moving objects and also you should not make any movement with your camera. You see that this is not an ideal solution for taking HDR images.
This is the icon of Exposure Compensation - you can find it near the button which activates this function.
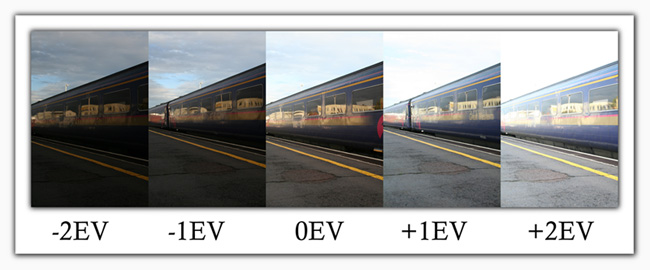
A sample of Exposure Compensation, most cameras allows us to move the slider after 1/3, but you can set the value to 1/2 on several cameras in menu.
The procedure of creating a HDR photo
In case we have our images ready to be merged to HDR, we do not edit them, we open Adobe Photoshop and choose File > Automate > Merge to HDR Pro from menu.
The first thing we see is a dialog window where we can choose our images. We put every file we want to use in the list.
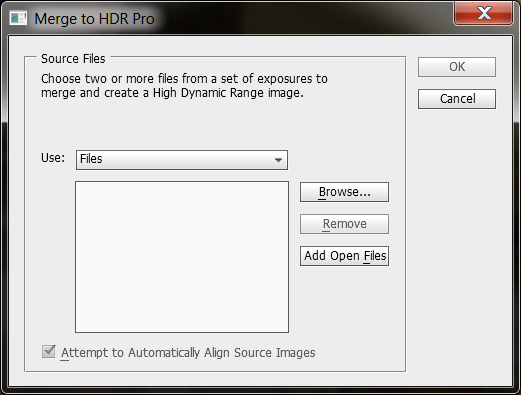
At the bottom we can see the option Attempt to Automatically Align Source Images. This option can be useful in case we moved our camera while taking component images but we should not rely on it. Turning this option on will increase the time needed for calculations.
After confirming the dialog we have to wait until the operation is done. During the calculations we can see the canvas flashing.
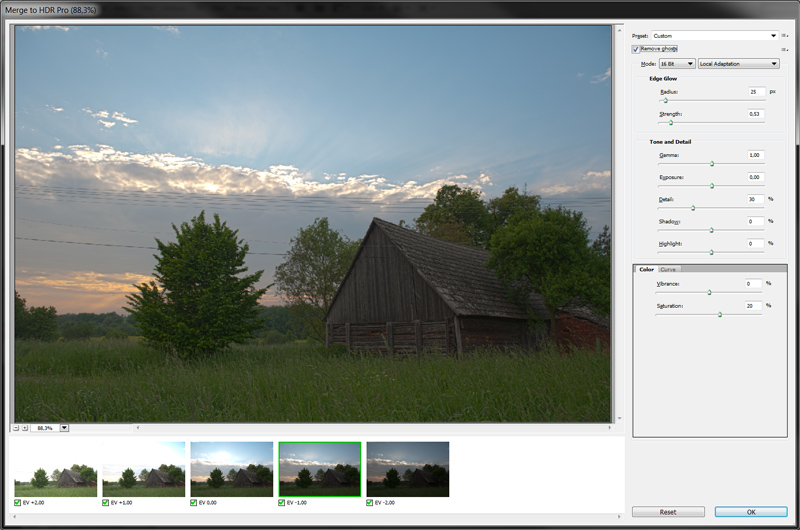
At the end of the calculations a new window appears. In the left part we can see the final HDR photo, at the bottom we can see the source images with the Exposure Compensation values. In case we want to cut any image out from the calculation, we simply uncheck it.
There is a panel with settings on the right side. Using this panel we will create the final HDR image in the way we want.
There are several presets at the top. These presets can illustrate many possibilities that Merge to HDR Pro tool provides. We can edit them and use them for our own HDR images to get fair results.
The next option is Remove Ghosts, which can help in case that an object was moving in the scene and after merging to HDR we see it being blend more times. Using the option Mode we can change the amount of colors, but we are going to use 16 bits per channel as default. We should consider using a jpg format when saving our final image, because jpg can hold only 8 bits per channel. An alternative could be format tiff which can hold up to 32 bits per channel so we would not lose any colors but the size of the file would be much larger.
There is an option to set brightness levels next to Mode, we are going to use Local Adaptation as default. You can read about the other ones on the pages referred at the end of the lesson.
Edge Glow
This option creates a virtual glow near the edges in the photo. This glow can make the photo sharper, you can set the radius and the strength.
Tone and Detail
Gamma sets the brightness of the photo, values lower than 1,0 stress midtones and shadows, values higher than 1,0 stress highlight areas. The Exposure can virtually extend or shorten the exposure time.
By dragging the option Details you can set the amount of sharpening and the number of details in the photo and using Shadows and Highlight you can lighten or darken these parts of the photo.
Color
The last option is the possibility to set Vibrance and Saturation of colors. Saturation simply edits every color which can lead to disastrous results. However, the Vibrance stresses only colors which are not saturated yet and leaves colors which are saturated.
If you like to work with Curves, you can use the option Curve and experiment with values.
In case we are satisfied with our settings, we click on OK button and wait until the program merges everything to one layer. During this process program can encounter an error in case that not enough RAM is available (you would get an error message). You should remember that it is no longer possible to return to the Merge to HDR Pro window, so it is a good idea to PrintScreen the values before clicking on OK (you can quickly re-enter the values later if necessary). You can work with the final layer the same way as you work with any other layer in Adobe Photoshop.
HDR images - samples
You can see several samples of HDR photos here, the settings from Merge to HDR Pro window are also available.
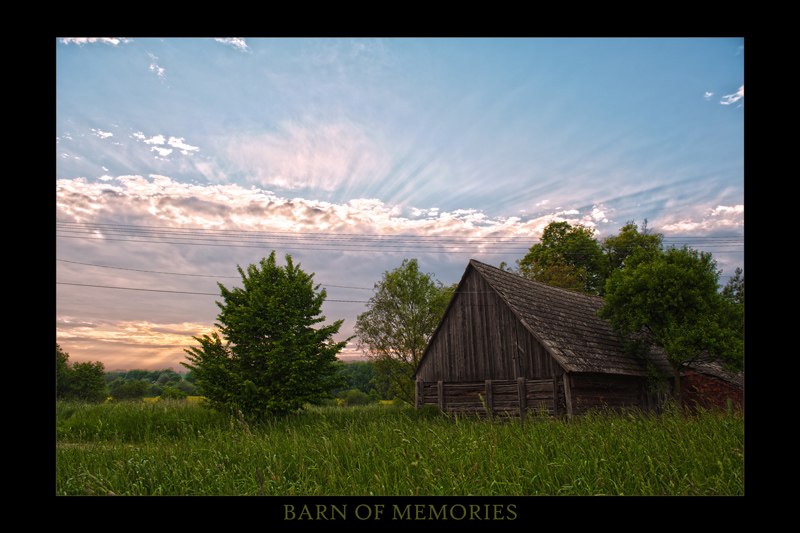
Sample 1: Barn of memories
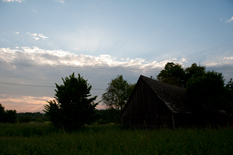
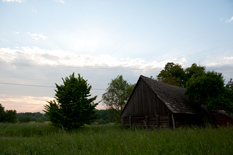
| Preset | Default |
| Remove ghosts | no |
| Mode | 16bit., Local Adaptation |
| Edge Glow - Radius | 116 px |
| Edge Glow - Strength | 0,24 |
| Gamma | 1,54 |
| Exposure | 0,45 |
| Detail | 286 % |
| Shadow | -39 % |
| Highlight | -46 % |
| Vibrance | 71 % |
| Saturation | 23 % |
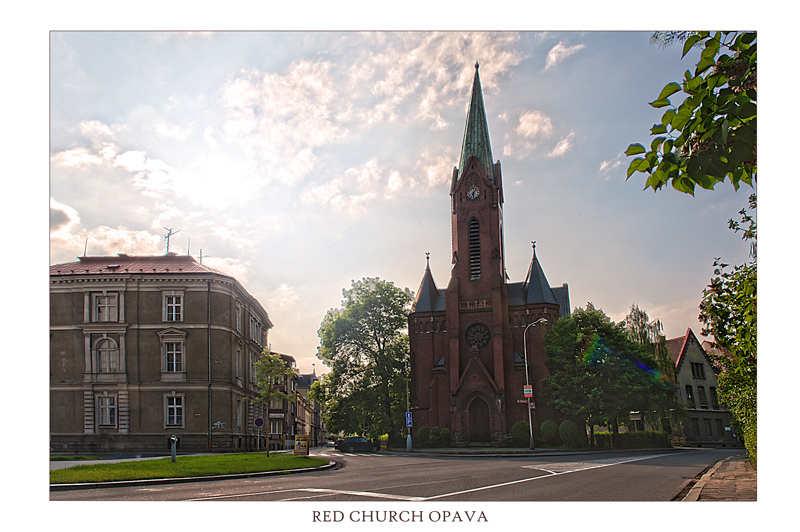
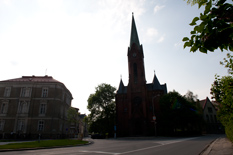
Sample 2: Red Church in Opava
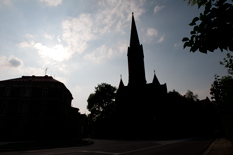
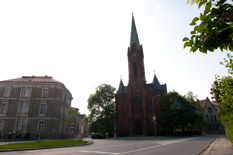
| Preset | Default |
| Remove ghosts | no |
| Mode | 16bit., Local Adaptation |
| Edge Glow - Radius | 128 px |
| Edge Glow - Strength | 0,72 |
| Gamma | 0,97 |
| Exposure | 1,30 |
| Detail | 148 % |
| Shadow | -51 % |
| Highlight | -100 % |
| Vibrance | 53 % |
| Saturation | 1 % |
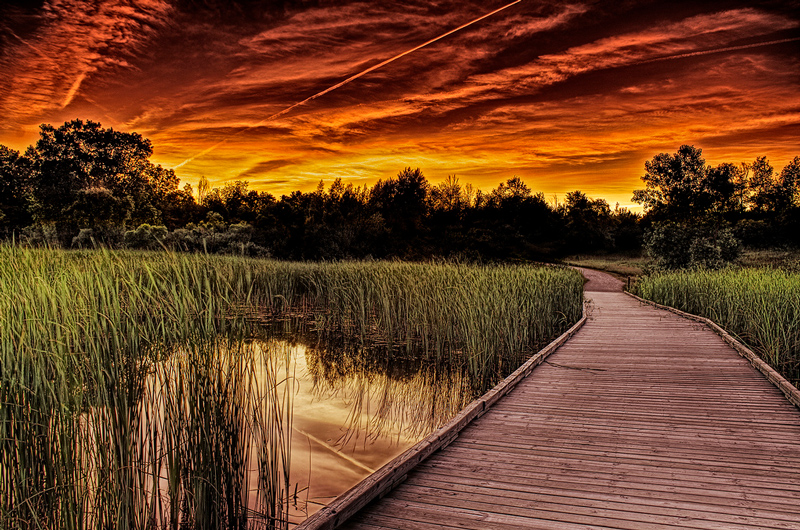
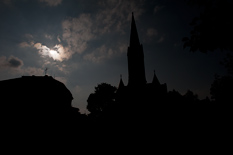
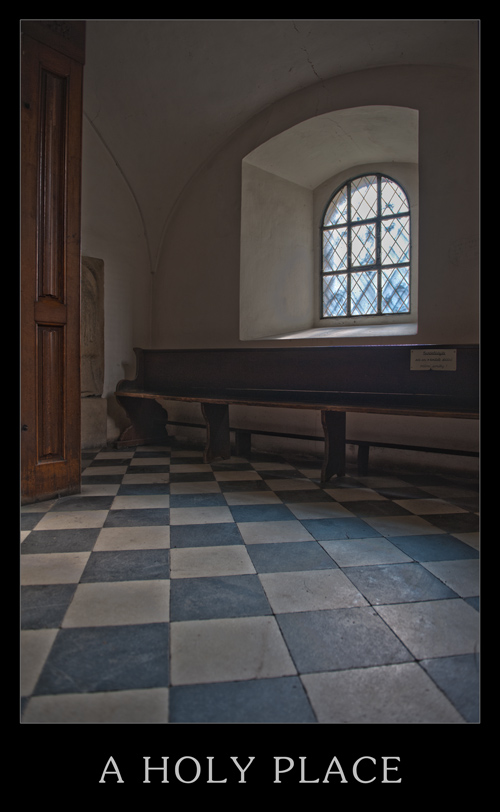
Sample 3: A holy place
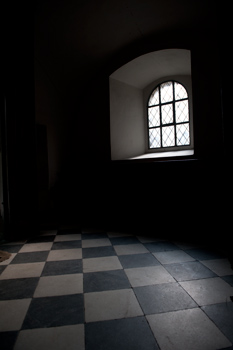
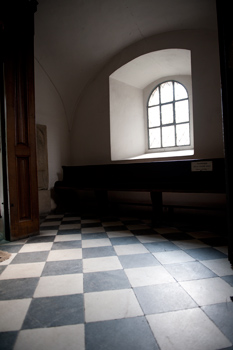
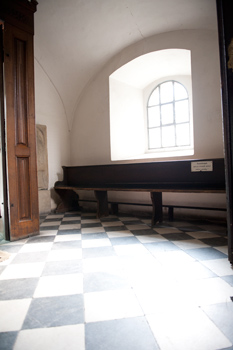
| Preset | Default |
| Remove ghosts | no |
| Mode | 16bit., Local Adaptation |
| Edge Glow - Radius | 128 px |
| Edge Glow - Strength | 0,88 |
| Gamma | 0,88 |
| Exposure | -0,25 |
| Detail | 76 % |
| Shadow | 11 % |
| Highlight | -15 % |
| Vibrance | 61 % |
| Saturation | 14 % |
Additional Texts
Questions and Exercises
- The source photos for creating HDR photos are available on the network drive. Try to merge images to HDR and practice using Merge to HDR Pro tool.
- Use any of the available sets of photos and create a HDR photo with border, background and add a suitable text.