Panoramic Photos I
 Content of the lesson:
- Procedure of Taking Photos for a Panoramic Photo
- Merging Photos Using Photomerge Function
- Panoramic Photo 0 - Prague City
- Panoramic Photo 1 - Zlín City
- Panoramic Photo 2 - Photo from Trip
Procedure of Taking Photos for a Panoramic Photo
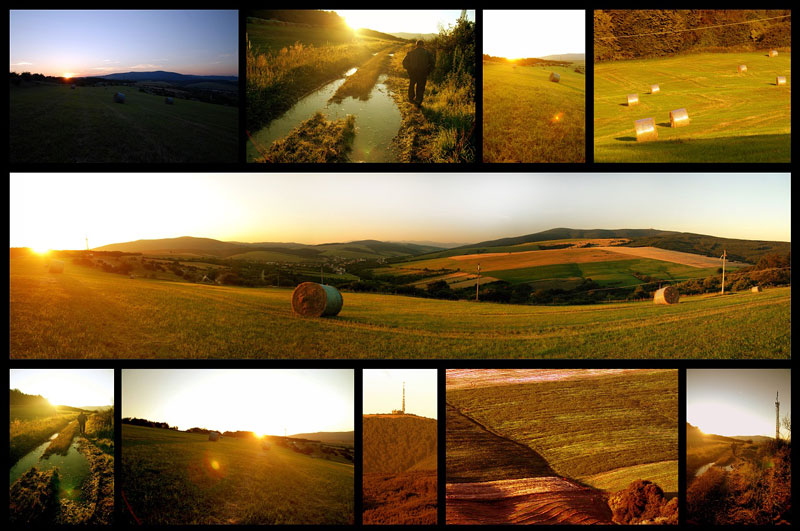
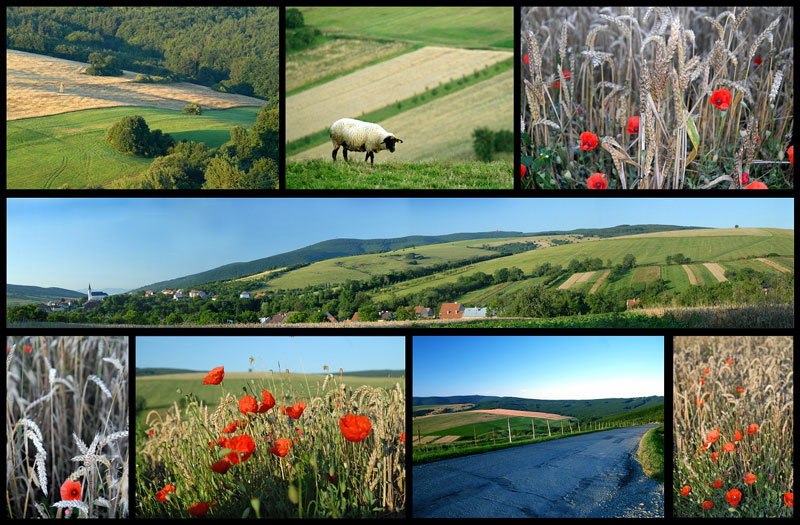
We will use the term panoramic photo for a photo merged from more parts (usually horizontally). Panoramic photos are created in case that your objective cannot capture the whole scene. Panoramic photos are most often used for landscape or when creating virtual excursions (schools, castles etc.). They are usually created from 3-10 photos but you can also use more if you want. For the beginning you can see a panoramic photo created from 14 parts:
And for illustration you can see another photo from the process of taking this panoramic photo (other panoramic photos were taken using a similar way):
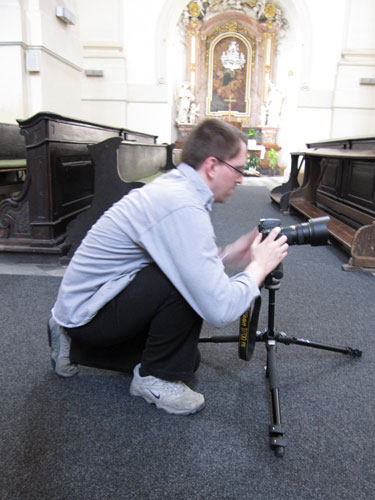
What can you see from this photo about panoramic photos? What all does the photographer need?
Because of the unusual oblong shape, panoramic photos are usually used for postcards (where the rest of area is filled with photos of similar sizes):
In case you want to create a panoramic photo, you need at least two photos which will be merged into one. To be able to use Adobe Photoshop when creating panoramic photos, you should keep the following:
- Overlap the single photos enough
- The photos should overlap of approximately 40 %. In case the overlap is smaller, it might happen that Photomerge will not be able to merge these photos. Do not forget that photos should not overlap of more than 70 %, otherwise the Photomerge might not be able merge them. Try to partly differentiate the single images at least.
- Use the same focal distance
- In case that you use an objective with zoom, do not change the focal distance (do not use zoom).
- Hold the camera horizontally
- Although the command Photomerge can process photos which are rotated, a big rotation might cause errors when creating panoramic photo. Usage of a tripod with rotary head can help you to keep the horizontal position of your camera.
- Stay at the same place
- When taking a series of photos you should not change your location. To keep the location you should use the optical viewfinder and keep your camera close to eye. Another possibility is to use a tripod.
- Do not use distorting objectives
- Distorting objectives can cause errors in Photomerge function. However, the Automatic option can process photos taken by a fish eye objective.
- Use the same exposure
- Prevent your camera to use flash only for several photos and more. Merge functions used in the Photomerge command can help you to balance the exposure but it is not possible if the differences are extreme. Several digital cameras change the exposure automatically so you should check it to be sure that all photos have the same exposure.
These principles were taken from help to Adobe Photoshop CS5.
Merging Photos Using Photomerge Function
The Photomerge functions which is used in Adobe Photoshop to merge photos can be found in the menu File>Automate>Photomerge. In the first part you have to insert data to the Photomerge window:
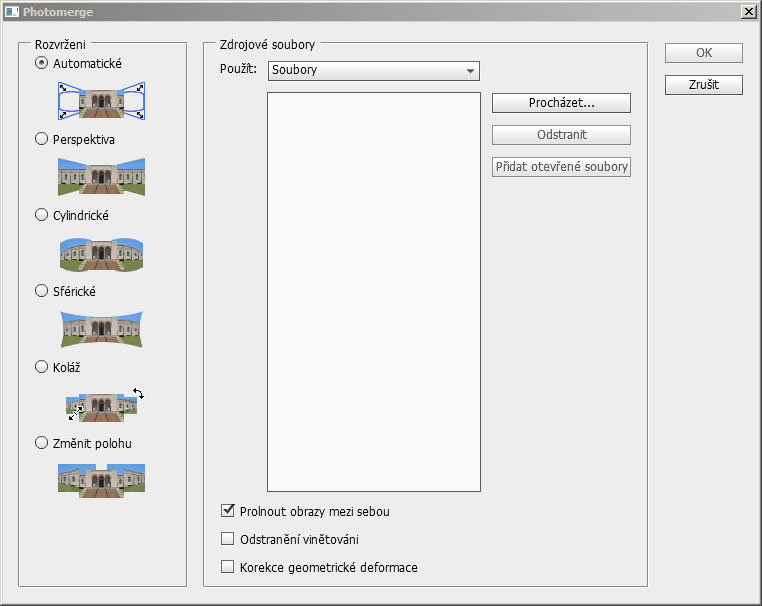
The most common procedure is the following one:
- Use the button "Browse" to choose the set of photos for your panoramic photo.
- Leave the layout to "Automatic" (Photoshop analyzes source images and will use the layout Perspective, Cylindrical of Spherical according to the fact which one is better).
- Three optional parameters in the bottom part can be checked (see the text below).
- In case you inserted at least 2 files, set automatic layout and check the option "Merge images between". You can launch the process of creating panoramic photo by pressing the OK button. Photoshop will try to create the panoramic photo (each photo will be placed to a new layer with mask).
Description of the bottom options inside the Photomerge window:
- Merge photos
- Finds optimal borders between images and creates connections according to these borders. In case this option is turned off, a simple rectangular blend is done. This can be better in case you want to retouch the masks manually.
- Remove vignette
- Removes vignette and compensates the exposure in photos which have darker edges which was caused by an aberration of lens inside objective or by using a wrong aperture value.
- Correct geometrical deformation
- Compensates barell and pincushion distortions or fish eyes.
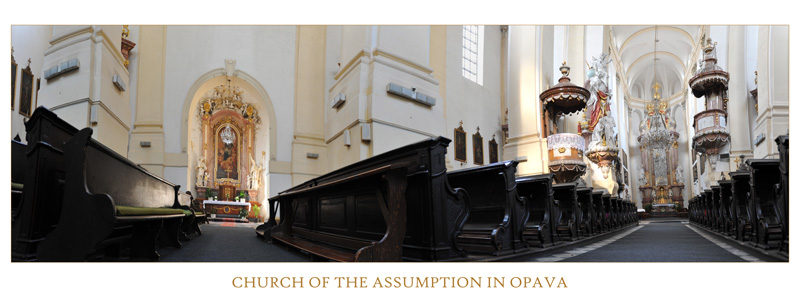
Panoramic Photo 0 - Prague City
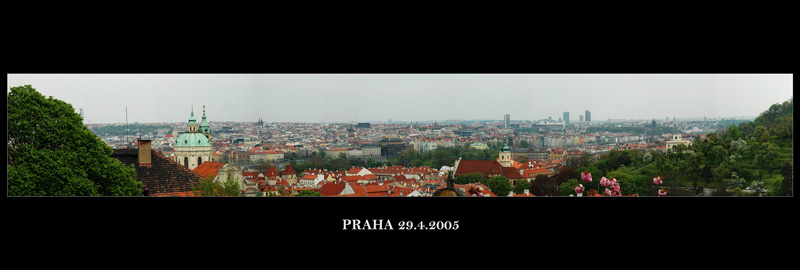
You can see a panoramic photo from Prague in the following image; it consists of 12 photos (captured by 6MPx camera Nikon D70 which means that every photo has resolution 3008x2000px).
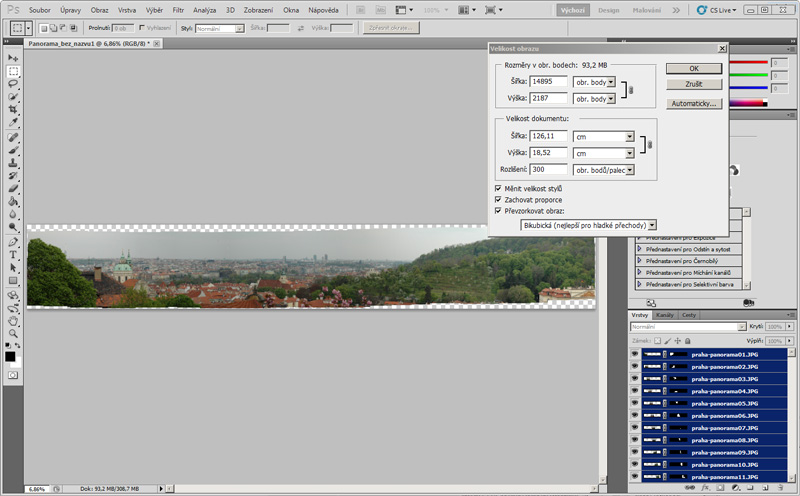
You can see the situation after Photomerge inside Adobe Photoshop in the following image (you can see that the photos were not correctly taken because of the crooked borders). You can also see that the resolution of the final photo is 14895x2187px.
You can view this panoramic photo in a little bit larger version here: panorama-praha-3000.jpg.
Individual Task - Panoramic Photo 0 - Prague City
Try to use these files (praha-panorama01.JPG, praha-panorama02.JPG, praha-panorama03.JPG, praha-panorama04.JPG, praha-panorama05.JPG, praha-panorama06.JPG) to create a panoramic photo and adjust the final photo to look like the previous image (do not create the black border and text).
Panoramic Photo 1 - Zlín City
We are going to create our second panoramic photo and correct several mistakes. Download these files inside folder panorama-zlin: zlin-1.JPG, zlin-2.JPG, zlin-3.JPG.
Problem 1 - dark sky
This problem can be solved by using a mask and adjustments layers. Consider using the radial gradient tool inside mask. The final panoramic photo should look like the following one:
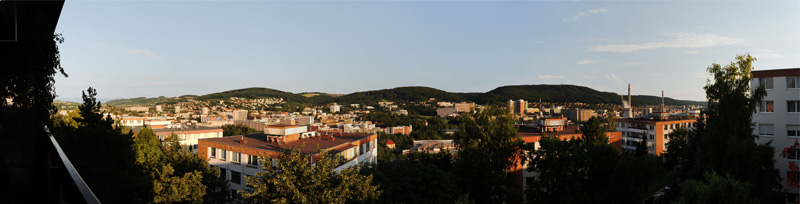
Problem 2 - wrongly blend places
In case you look at the final photo in details you can see several places which were not blend optimally by Adobe Photoshop. These mistakes are usually negligible (because of the size) or you can correct those using standard tools in side Adobe Photoshop (copy the whole image to a new layer and use Clone Stamp tool etc.).
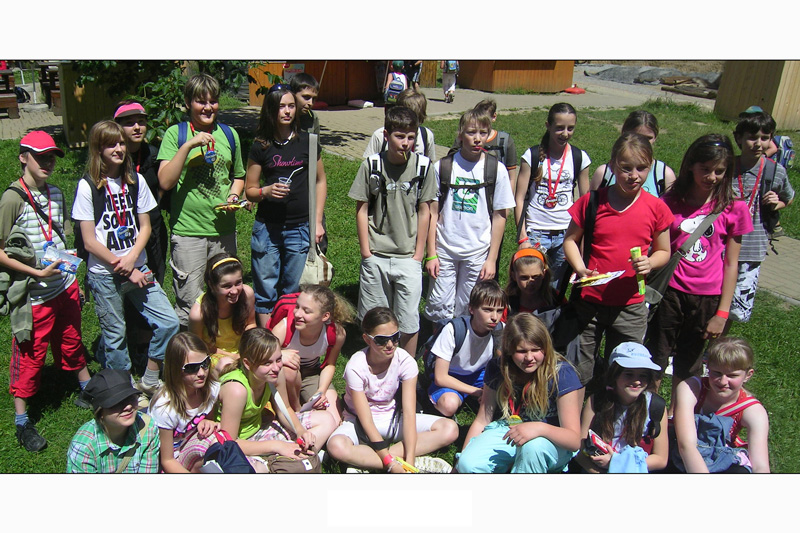
Panoramic Photo 2 - Photo from Trip
This is another situation when we need to merge two photos. The photographer decided to photograph a group of children (on a trip) but could not move backwards so the group did not fit. Two photos were created instead of one so everyone was captured at least once. Our task is to create the final photo to fit all children and to use aspect ratio 3:2 (why?). Download the photos (vylet-1.JPG, vylet-2.JPG) and save them inside folder "panorama-vylet".
The following image illustrates situation shortly after using the Photomerge function. You can see that Adobe Photoshop merged these problematic photos nicely.

You can remove as much useless (empty) parts as possible. We will try to reconstruct the remaining parts using the Clone Stamp tool.
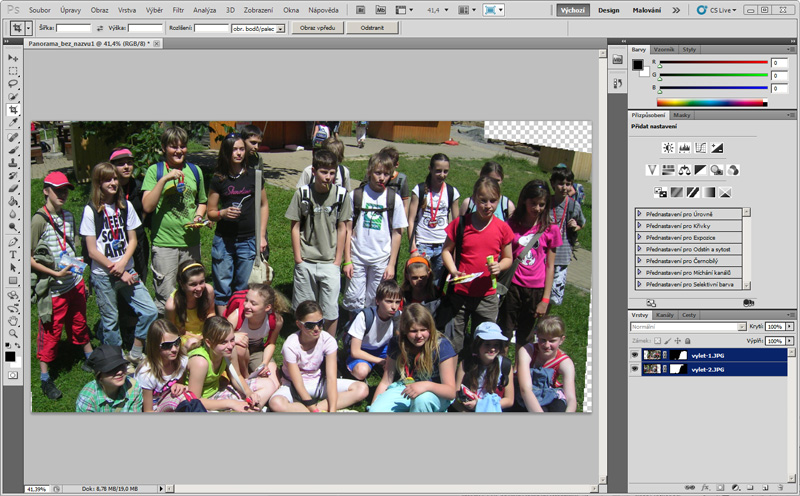
In the last step you should change the canvas size to keep the required aspect ratio (menu Image>Canvas Size). You can add a thin border around the photo and place a text below it.
Preview of the Final Panoramic Photo