
Creating Background for WWW Page
 Content of the lesson:
- Background of HTML Page
- Single-colored Background
- Gradient Background
- Image on Background
Background of HTML Page
Every page has usually a white background in default if you do not specify another color (see pozadi1.html). We are going to create three types of background in this lesson:
- Single-colored background - you can define the background color
- Background realized using a gradient - a special image should be created
- Background image - the last static possibility to insert any image or photo as the background
At first create a new empty HTML file with the CSS styles section in head.
            <!DOCTYPE html PUBLIC "-//W3C//DTD XHTML 1.0 Transitional//EN" "http://www.w3.org/TR/xhtml1/DTD/xhtml1-transitional.dtd">

              <html xmlns="http://www.w3.org/1999/xhtml">

              <head>

              <meta http-equiv="Content-Type" content="text/html; charset=windows-1250" />

              <title>pozadí</title>

              <style type="text/css">


            </style>

              </head>
            <body>

              </body>

              </html>
If you like to insert a background, you have to use CSS styles (you change the appearance of the page). The background of the page should be applied on the body tag because body represents the whole page.
Single-colored Background
The simplest and fastest way is to set a single-colored background (the amount of transferred data is small and the drawing speed is high). You have to add the following line to get a background.
             body{

                background-color:#069;

                }
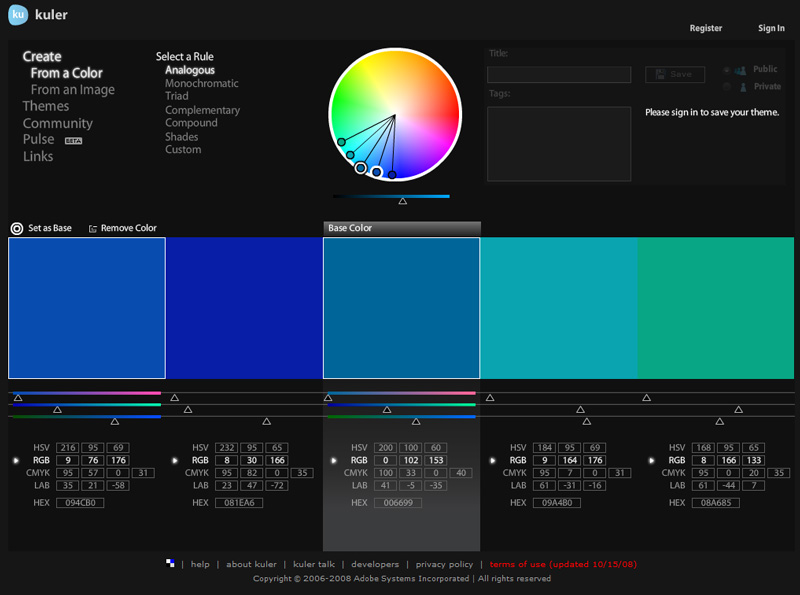
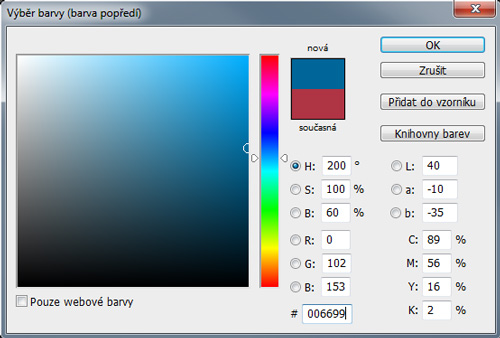
We have set the background-color attribute to value #069 for the body element. This kind of entry is the same as #006699 and it is a hexadecimal notation of a color. You can get a HEX code in applications like Adobe Kuler or Adobe Photoshop (see the following images).
The final page can be viewed here: pozadi2.html.
Gradient Background
A linear gradient between two colors is used very often. You have to create an image using a graphic editor like Adobe Photoshop (it is important to consider the height of the final image). The whole procedure can be described in three steps:
- Create a new file with dimensions 800x300 pixels for example.
- Set foreground and background color as you want.
- Choose the Gradient tool and set mode to Linear. Drag the gradient using left mouse button and after you release the button a gradient is drawn (TIP: you can hold the SHIFT button when creating a gradient to create it straight). Create an image like the following one:

This file should be saved inside the directory structure of your web (to "images" folder for example - this tutorial will continue using this folder).
                 body{

					background-image:url(images/pozadi.jpg);

                }
We have set the background-image value to a relative path of our image. You can view the result of this step: pozadi3.html.
Our image is still repeated along the y axis so we have to fix this problem - see the result: pozadi4.html):
                 body{

					background-image:url(images/pozadi.jpg);

					background-repeat:repeat-x;

                }
We used the background-repeat property which was set to value repeat-x. This means that the background should only be repeated along the x axis (horizontally) until the end of browser is reached.
Our page still does not look like we wanted because there is no background for the rest of the page. You should set the background to the value of your background (or forehead) color of your gradient so you will make an illusion that the background does not end but continues to infinity.
                 body{

					background-image:url(images/pozadi.jpg);

					background-repeat:repeat-x;

	                background-color:#069;

                }
The final page can be seen here: pozadi5.html.
Realize one thing - the image with our gradient has a particular size and it is necessary to download it before drawing it. The smaller size you use the less time will be needed. Is it possible to make the image smaller or to use a compression?
The solution is very easy - remember you can repeat any image as many times as you want along the x axis. You can set the width of your image to 1 pixel using the Crop tool in Adobe Photoshop and resave it.
The result will be the same but you do not have to download so much data: pozadi6.html.
Individual Task
Imagine setting the background-repeat attribute to no-repeat value. What would happen?
Image on Background
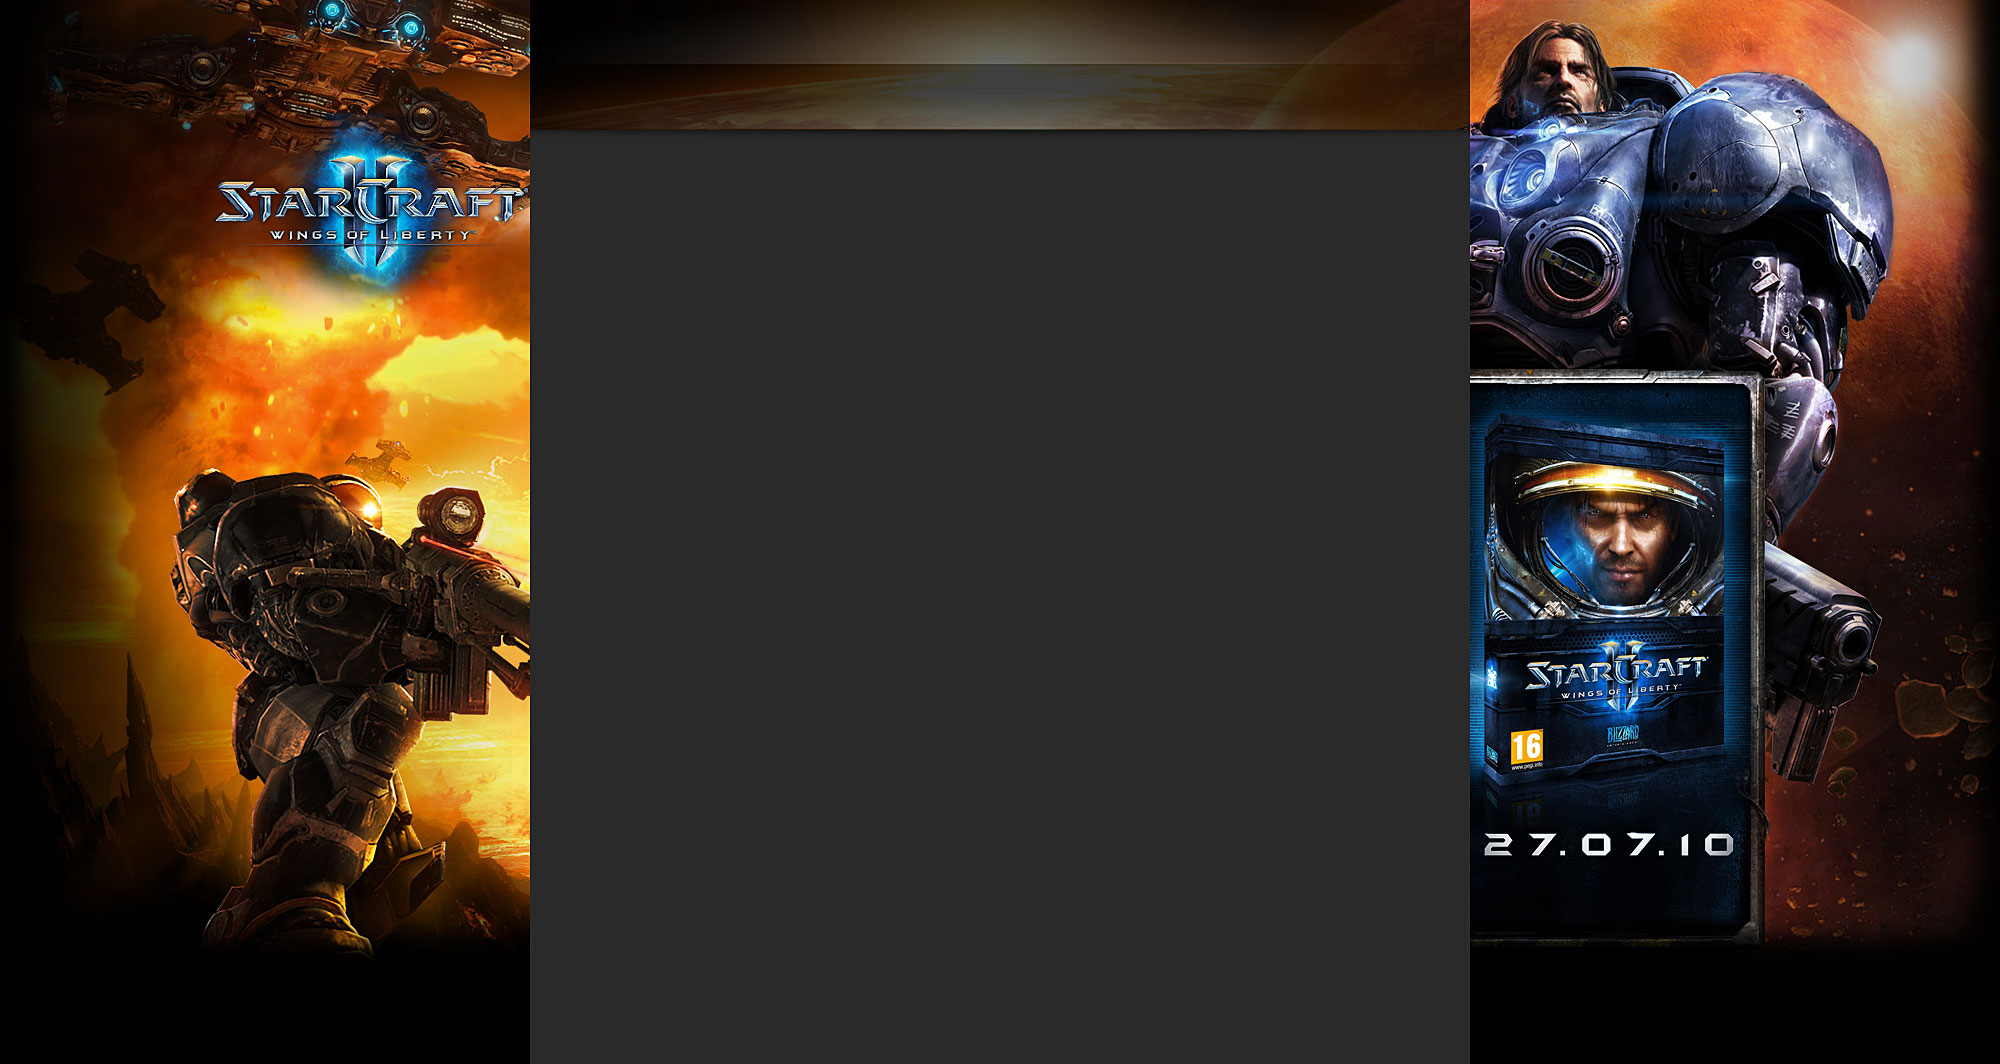
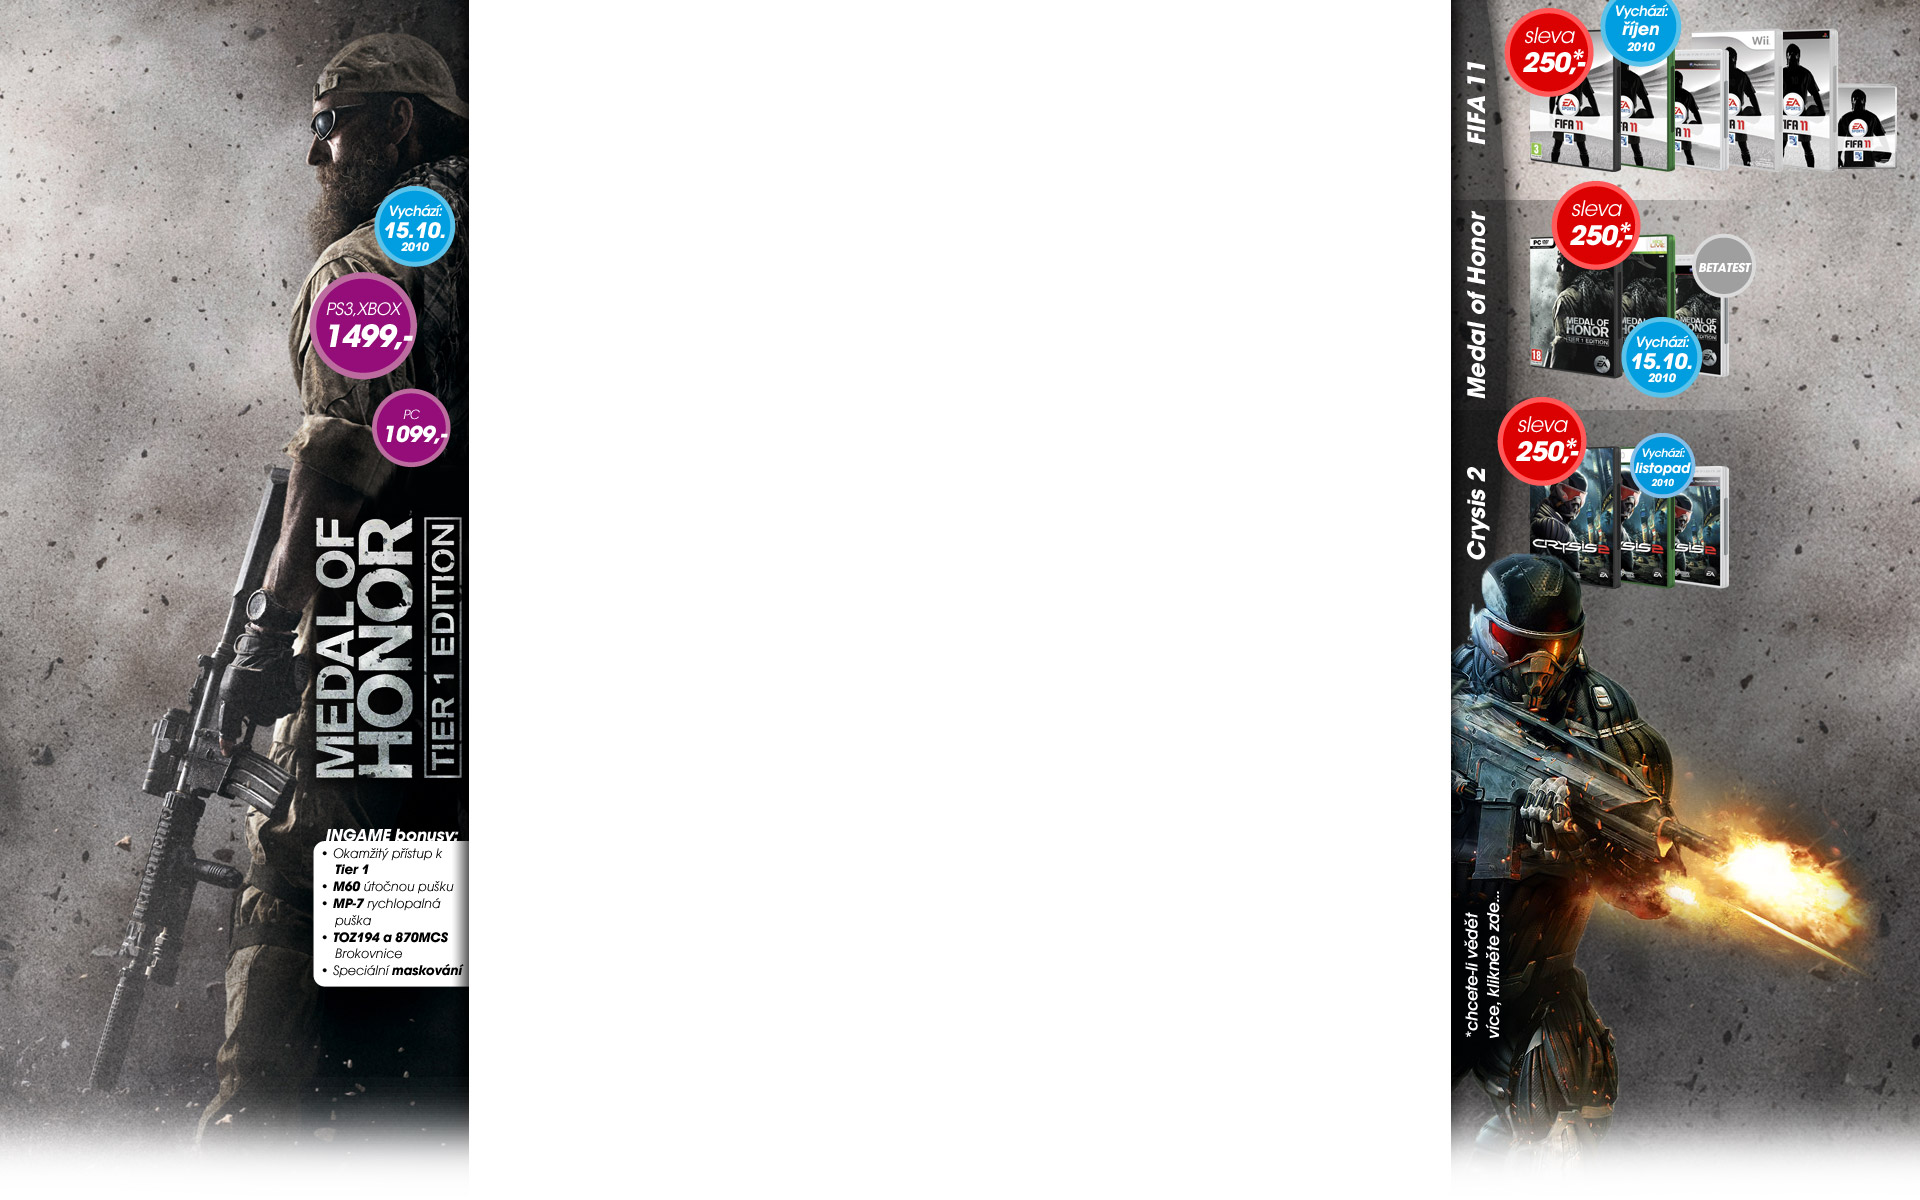
In case you need a more complex page background - photo, graphics etc., you can use a background image. This variant needs much data to be transferred but you can achieve interesting effects. This possibility is usually used when creating a web presentation to attract a customer. Take a look at several examples:
E-shops
The background is created from two computer games images (images are resized in your browser but you can save them in the full resolution):
A Shadow Effect
This method is very often used because you can achieve a 3D effect easily.

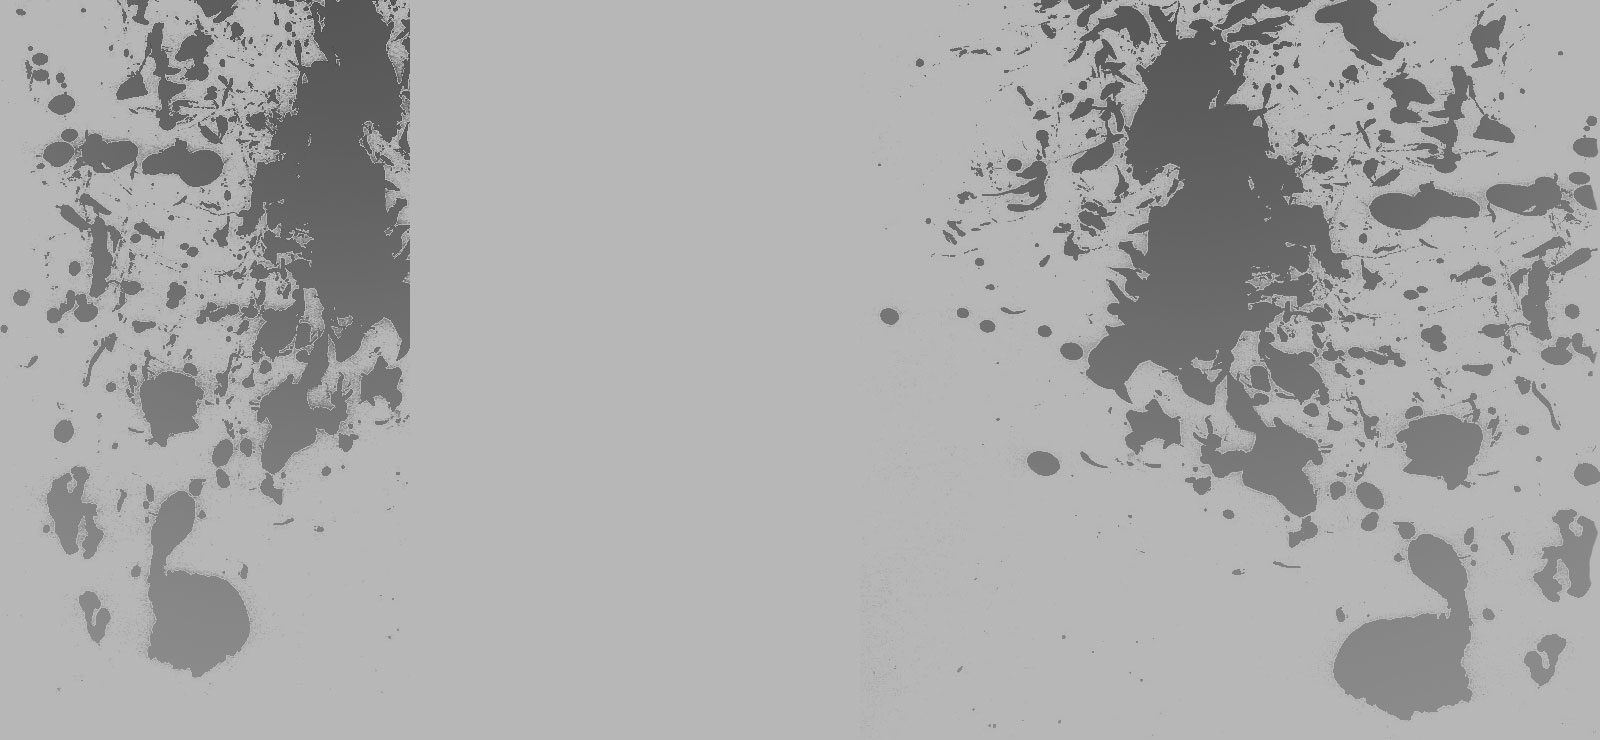
Background of GJŠ Website
The last sample is the background of our school website.

Discussion
Try to find common features of websites and describe them. Think about the size of background images. Find out which sizes are commonly used (in pixels).
Save the last presented background because you will try to insert it into your page.
                 body{

					background-image:url(images/ukazka-pozadi-5.jpg);

					background-repeat:repeat-x;

	                background-color:#069;

                }
The created page can be seen here: pozadi7.html. You see that the background image is repeated so try to disable it. (PAY ATTENTION: you will get another appearance on an office computer with 1024x768 pixels resolution than on a FullHD monitor). Use the background-repeat property and set the no-repeat value.
                 body{

					background-image:url(images/ukazka-pozadi-5.jpg);

					background-repeat:no-repeat;

	                background-color:#069;

                }
The adjusted page can be seen here: pozadi8.html.
In the end you can horizontally center your background image and align it to the top border of your browser.
                 body{

					background-image:url(images/ukazka-pozadi-5.jpg);

					background-repeat:no-repeat;

	                background-color:#069;

					background-position:center;

					background-position:top;

                }
The final page can be viewed here: pozadi9.html.
Individual Task
Try to describe pros and cons of the following background images. How would you create such an image?
Background 1

Background 2
Questions
- Characterize the possibilities to create a html page background.
- Write and explain CSS rules for horizontal centering of your image and aligning it to the top of your browser.
- Which requirements should an image follow in case we want to use it as a background image?