
Creation of an Advertising Banner
 Content
of the lesson:
Content
of the lesson:
- Beginning of the Project
- Importing the iPhone image
- Working with Texts
- Masking
- Finishing the Project
Beginning of the Project
We are going to create an advertising banner for the new iPhone in this lesson. We will import a file from Adobe Photoshop, add a shadow, and then we will add a text which will fly to its place or fade in and add a sale icon. In the end we will add a mask to make an effect of revealing the iPhone. The whole procedure without any breaks is available in the end of the document.
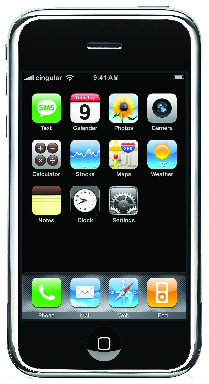
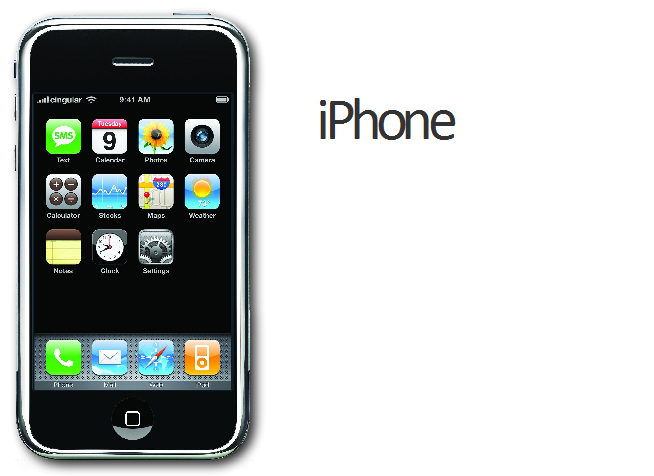
We need this image of iPhone for this lesson.
Open Adobe Flash Professional, choose a new ActionScript 3.0 document, set the dimensions to 550 x 400 pixels and set 24 FPS because we want a smoother animation. This banner will be ready to be presented in any webpage as an advertisement.
Importing the iPhone image
Open the iPhone image in Adobe Photoshop, mask the white background (including the bottom shadow) and cut it close to the edges of iPhone. The background should be transparent.
Save the file and select Import to Library (from menu File > Import) in Adobe Flash CS5 Professional. If we import a file from Adobe Photoshop, we can choose which layers should be imported - choose only the layer with our image.

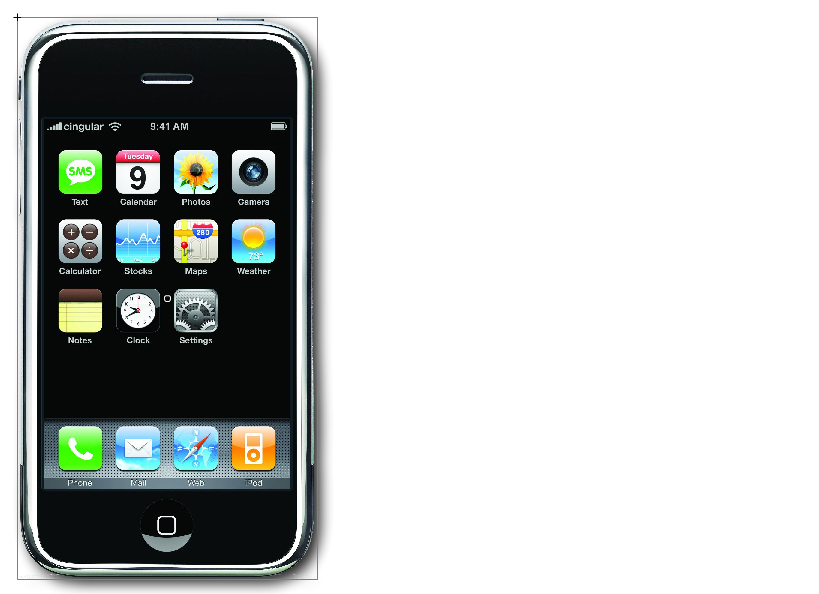
After confirming the dialogue the image will be imported into the Library but not as an symbol. We have to drag it to the canvas a convert to symbol manually. Set the type as the Movie Clip to have access to advanced properties (the type of the symbol can be changed also after the creation in the Properties panel).
Drag the symbol to the Canvas and adjust its dimensions using the Transform panel so it will fit nicely.
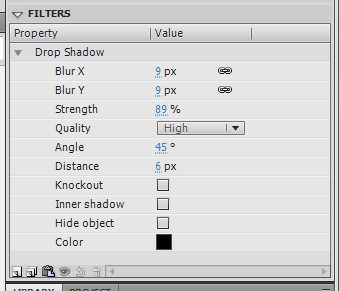
After clicking on the added symbol, we can see an option Filters in the Properties panel. Click Add Filter in the bottom part and choose the Drop Shadow filter. Set the values according to the next image so the iPhone will cast shadow to improve the final graphic impression.
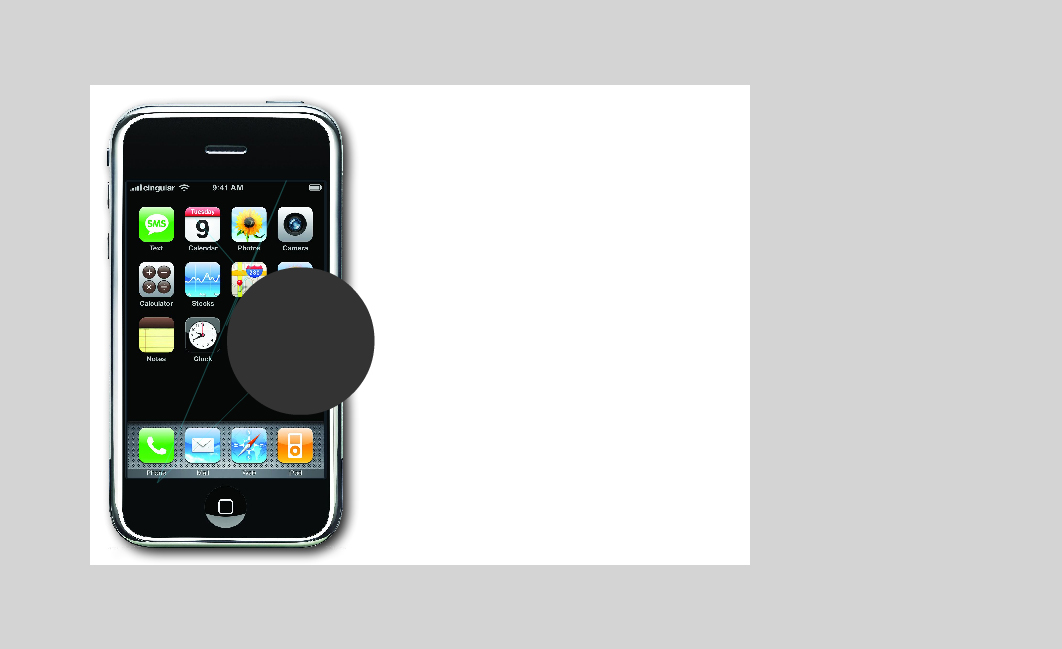
We have finished working with iPhone image after this step because it is placed and looks like we wanted. We have to create a common frame in frame 150 and rename the layer to obrazek.
Working with Texts
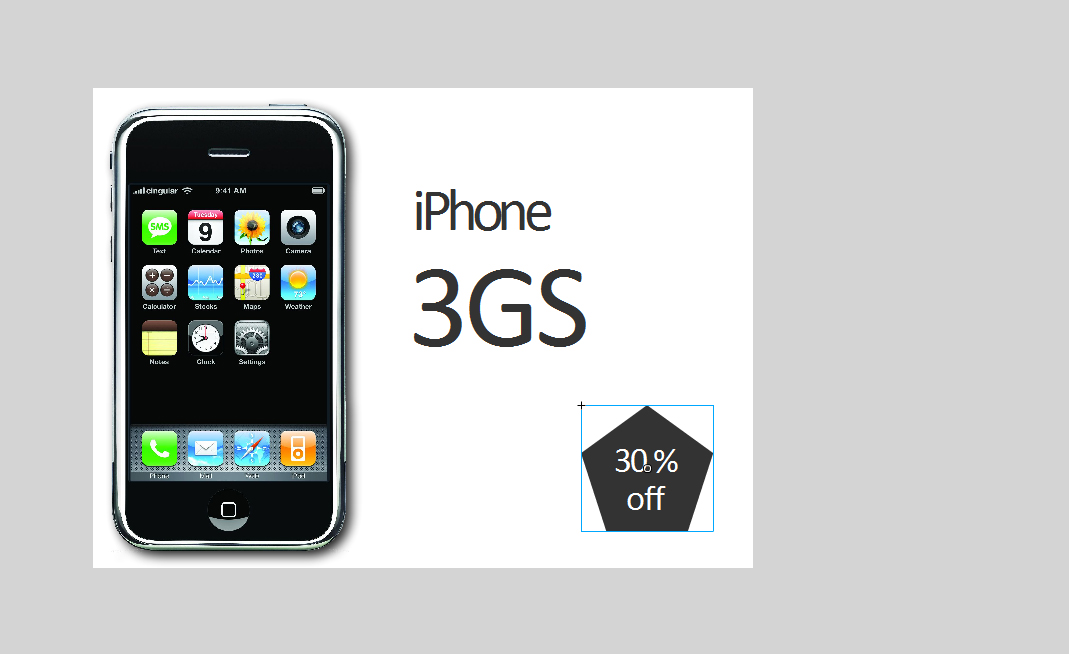
Text iPhone
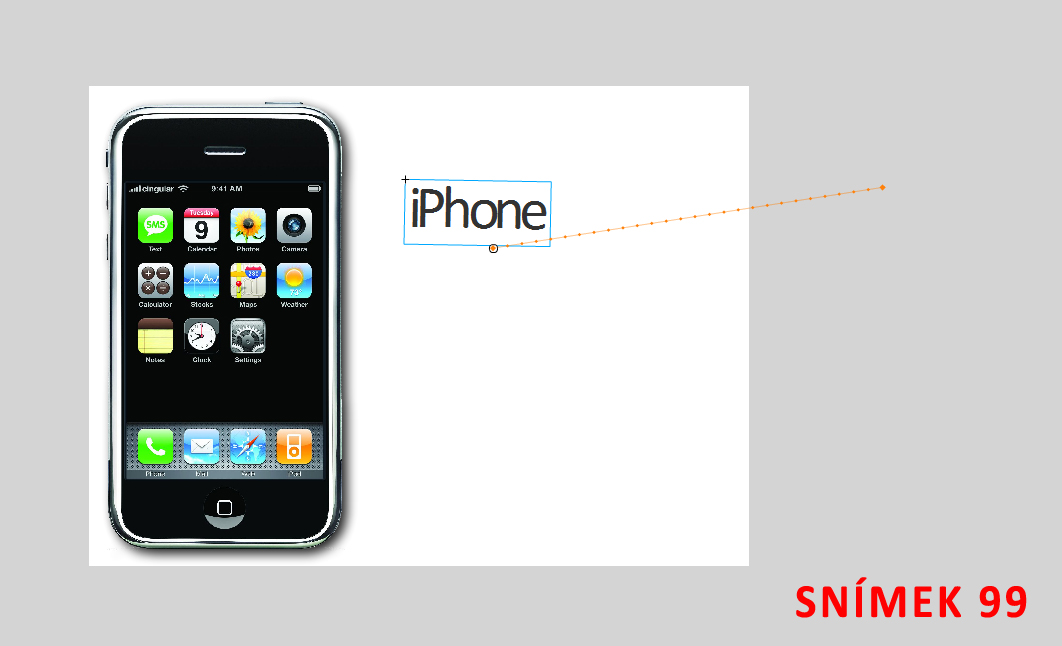
Create a new layer for the text iPhone (rename it to text) and create a new keyframe (F6) in frame 72 so all frames between 1 and 72 will remain empty. Then add the text iPhone next to the image and use a suitable sans-serif font, for example Calibri. Set the size around 50 and use a dark grey (almost black) color.
Convert the text to a symbol to be able to add the animation and create a common frame (F5) in frame 99. Apply the MotionTween animation between frames 72 and 99 because we are going to let the text move in these frames.
Now go to frame 72 and move the text out of the canvas not to be visible (we are going to simulate an effect that the text will fly to the canvas to the place where we have created it). The last thing which is missing is to add a rotation to the text symbol inside the frame 99 - for example 1080¯ will make the text rotate three times around its center while flying to its final position.
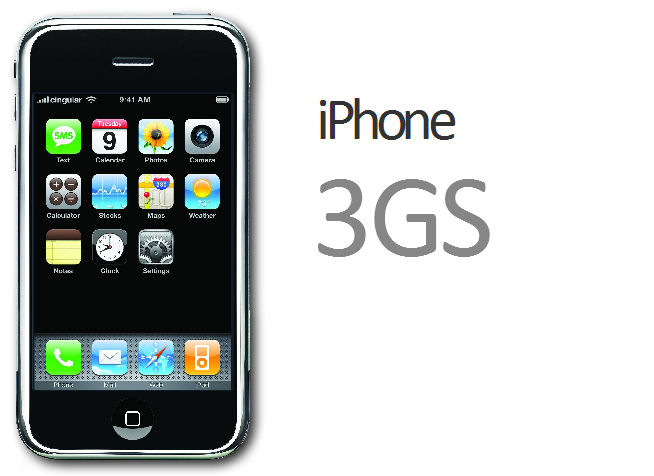
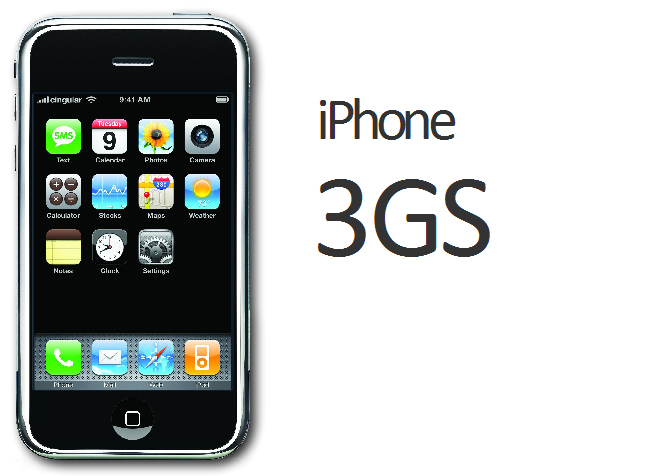
You can experiment with the rotation and the path until you think it is perfect. There are frames 72 and 99 shown in the images below.

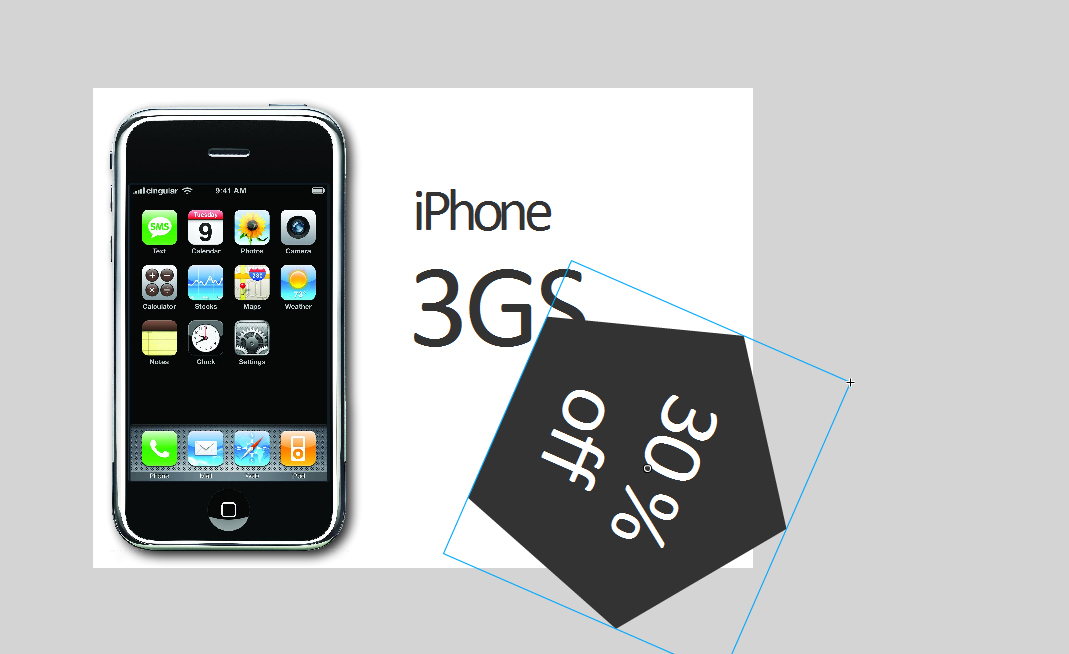
Text 3GS
Add another text (3GS) using the same way (create a new layer and rename it to 3gs, then create an empty keyframe in frame 100, let the previous frames empty and create the text in frame 100 - use Calibri font, make it larger and convert it to a symbol). Then apply the MotionTween animation to this symbol between frames 100 and 129 and do not forget to create a keyframe (F6) in frame 129.
We are going to use another effect here - the transparency. Go to frame 100, select the symbol with the text 3GS and in the Properties panel, under the Color Effect bookmark, choose the Alpha style and set the value to 0. We will get the effect that the text will fade in between frames 100 and 129.
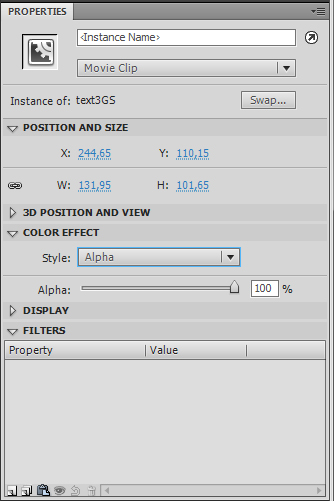
It can happen that you will have to set the Alpha value back to 100 in frame 129, it depends on the order of the steps we were doing.
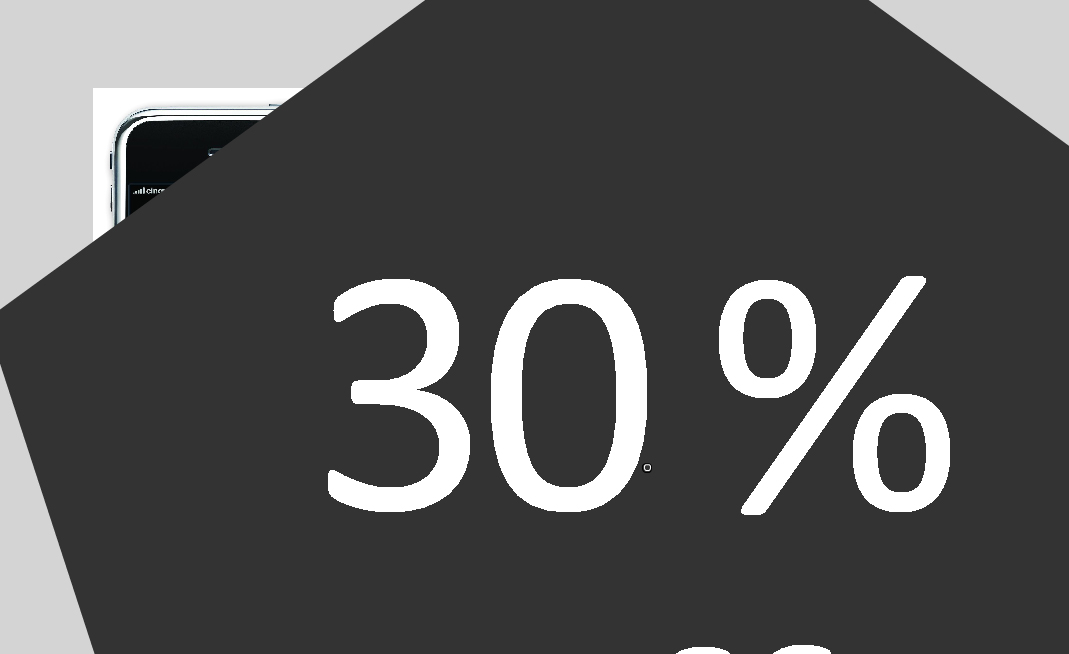
The sale stick
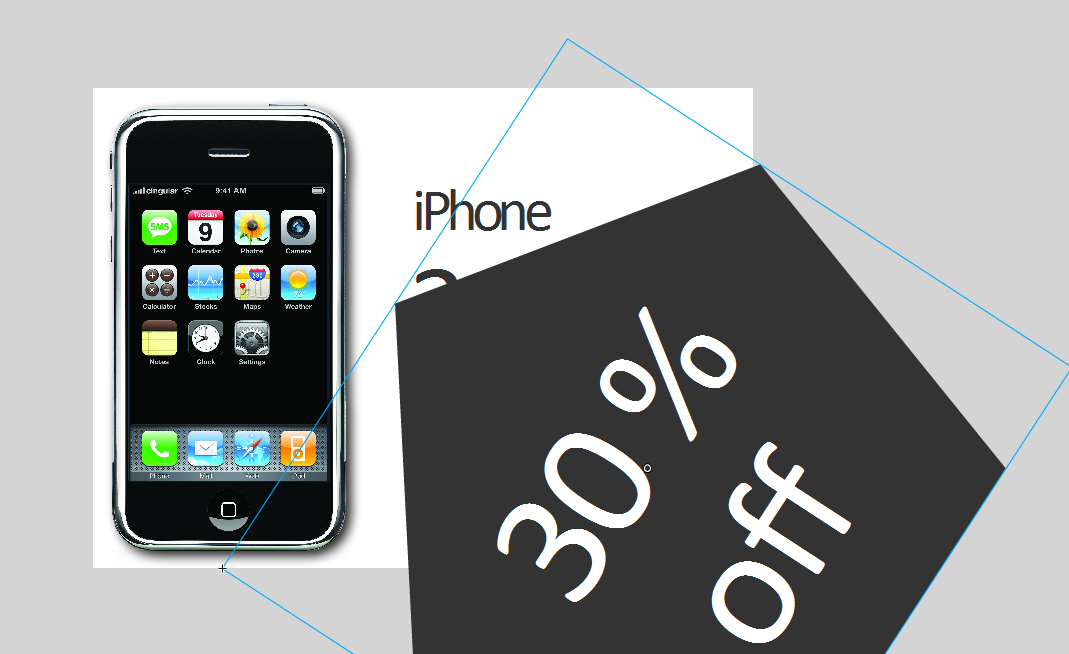
The last object which will be added to the scene is the sale stick. Create a new layer and rename it to sale. Create a new keyframe in frame 130. Add a pentagon and write "30 % off" inside it to be clearly visible.
Convert everything to a symbol inside the Library and place it in the bottom right corner. Create a new common frame in frame 150, then apply the MotionTween animation between frames 130 and 150 and do not forget to create a keyframe in frame 150. Then you can enlarge the symbol in frame 130 as much as you wish and rotate it 720¯.
We will get the effect that the pentagon falls down on the canvas and stops in the bottom right corner.
Masking
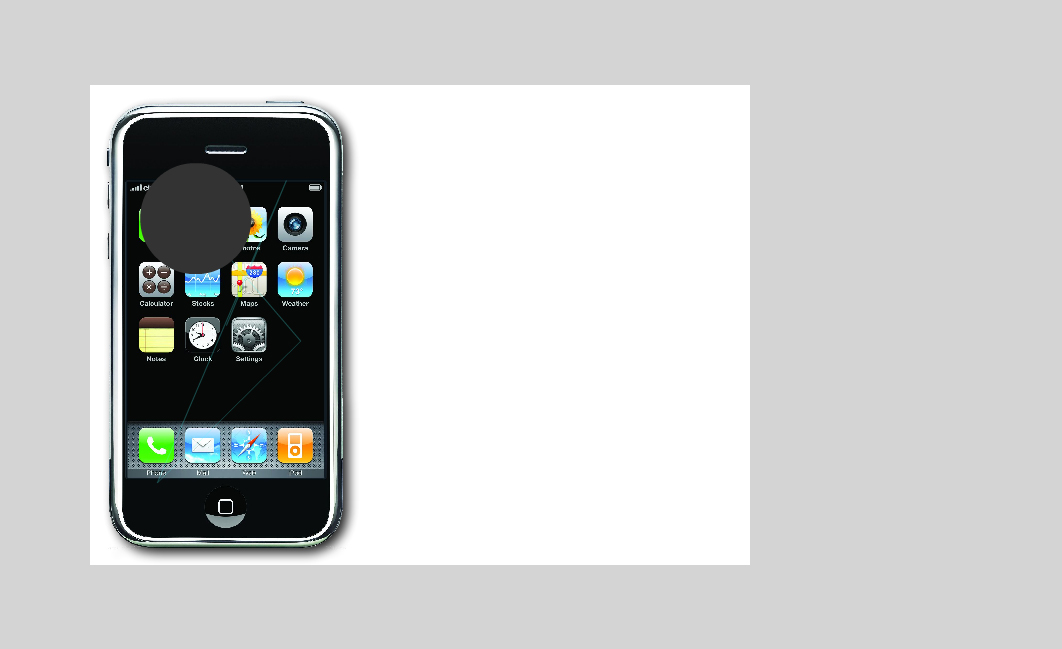
The next step is adding a mask layer. We can imagine the mask similarly as in Adobe Photoshop - it is a layer which sets which part of the layer below it is visible.
Create a new layer above the layer obrazek and rename it to maska. Click on it using the right mouse button and choose the option Mask. Then draw a circle over the iPhone image inside the layer mask and try to preview the animation using Ctrl+Enter keys.
You can see that there is no colored circle in the preview but the mask was applied and you can see only this circle from the layer below it. Use the MotionTween animation between frames 1 and 72 and try to simulate a random movement and gradual enlargement of the circle. In frame 72 the whole iPhone image should be visible (the circle has to be larger than the image).

Finishing the Project
All you have to do is to check whether every layer ends in frame 150, if not then you have to repair the mistake (pay attention not to damage your MotionTween animations). The only exception is the mask layer which ends in frame 72 because we do not want it to be applied after this frame.
Create a new layer kod and insert a blank keyframe in frame 150. Insert the Stop action in this frame to stop the animation (looping is not wanted in this case).
The whole project has been finished, you can export it to the swf format or to the avi format - it depends on where you need to place the final animation. The following video illustrates the whole procedure without any breaks.
The final project with banner can be downloaded here.
Additional Texts
Questions and Exercises
- There is a window called Presets in the left bottom corner - this window contains presets for the MotionTween animation so try to find a suitable preset and use it in the project to improve the quality.