
Photomontage Harley-Davidson (I, II)
 Content
of the lesson:
Content
of the lesson:
- Cutting Motorbike from the Photo
- Editing the Motorbike
- Creating Gradient Background
- Creating Shadow
- Adding Additional Elements into Image
Target of the Lesson
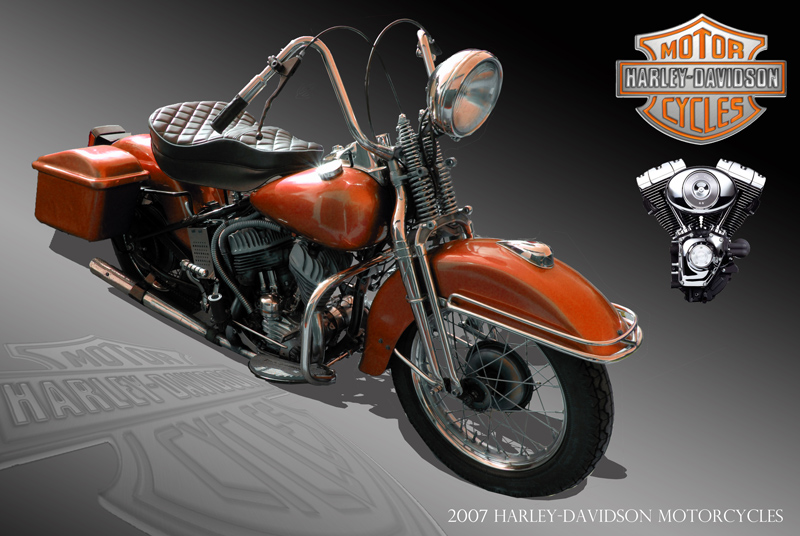
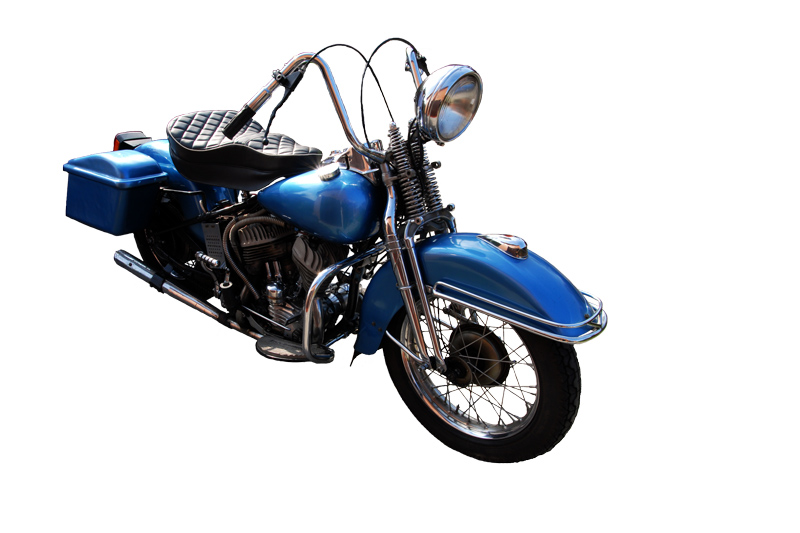
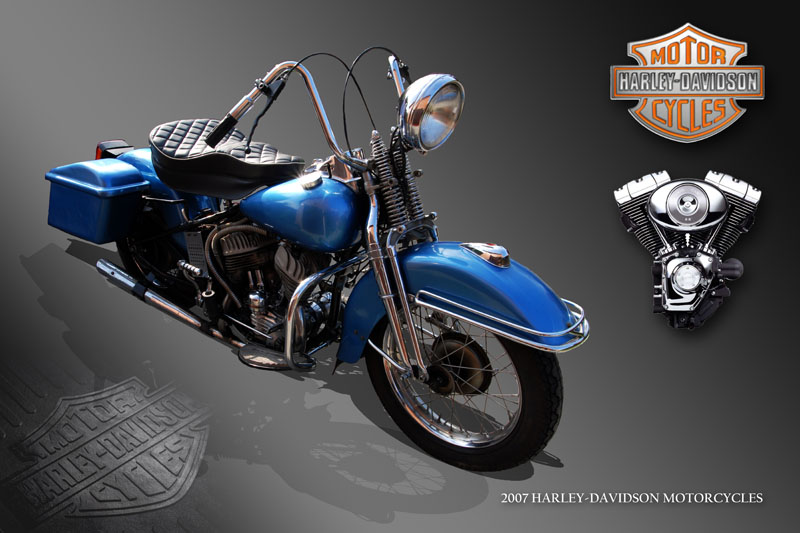
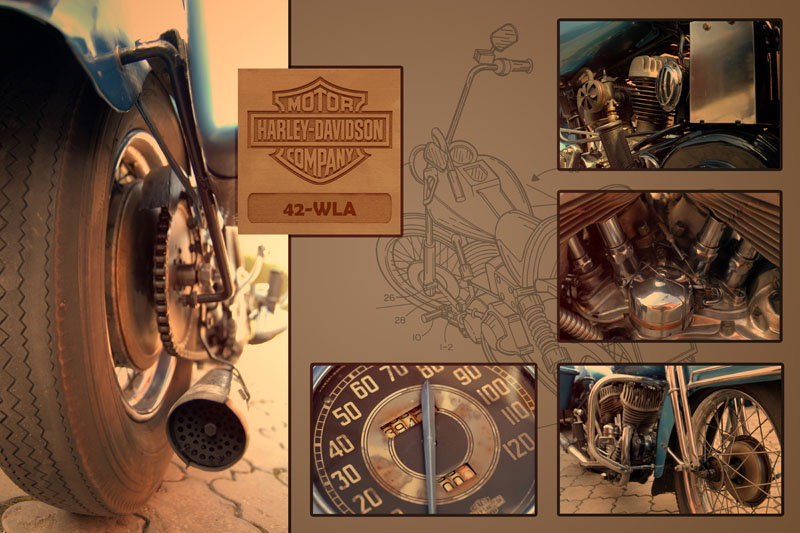
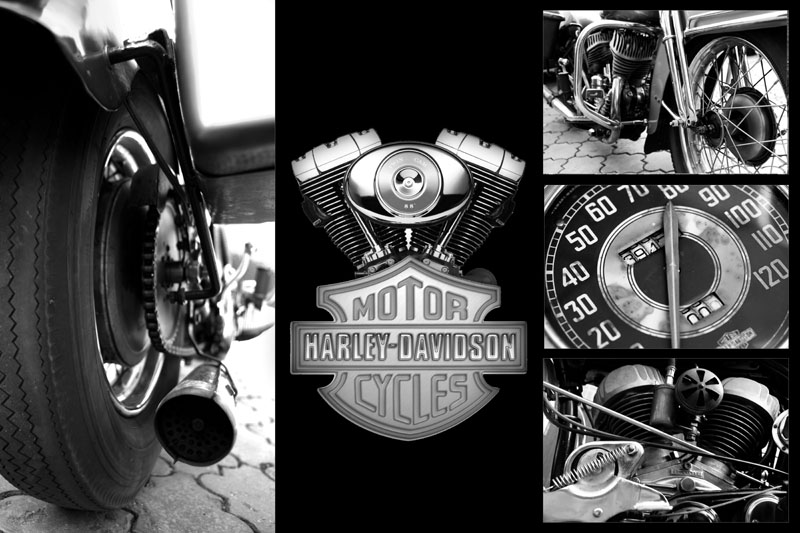
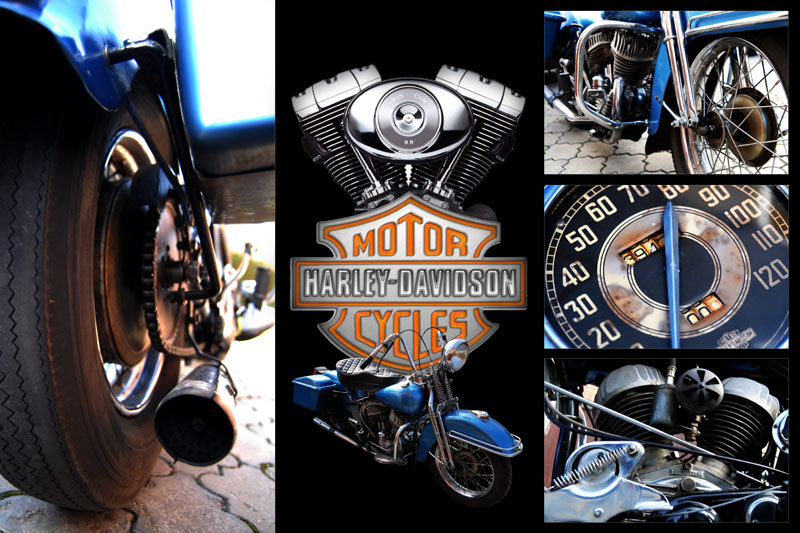
We will try to create a photomontage with motorbike Harley Davidson according to the following image:
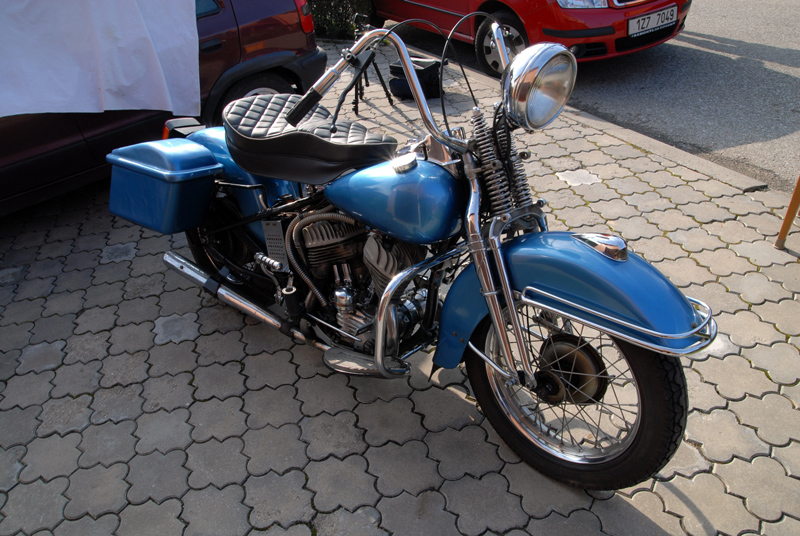
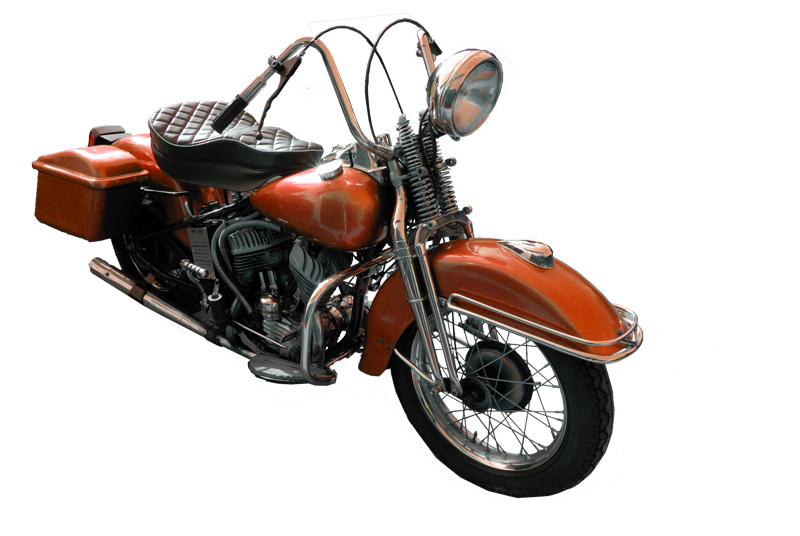
We will need this source photo.
Cutting Motorbike from the Photo
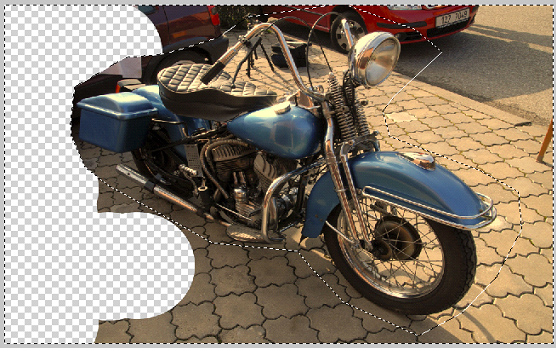
Open the source photo and you can see that the background consists of several different patterns. However, we need only the motorbike.
The imge is usually opened into the Background layer which cannot be edited so you have to convert it to a normal layer at first.
The source image:
It is a good idea to regularly save the file because the application can crash, there might be a problem with electricity or other error can occur - you might lose your data. It is also a good idea to duplicate layer before making any adjustment to be able to return to the original layer if needed.
Create a mask for the upper layer (click on the layer using the right mouse button and choose Create Mask).
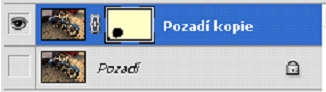
You can see that the mask is drawn into a second rectangle next to the image of layer. When editing the mask you have pay attention to draw really into it and not into the current layer.
Now we can continue by cutting the motorbike. This process is very long in case you want to be accurate so the procedure how to get the final result will only be explained in this lesson.
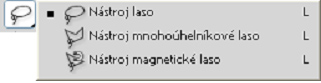
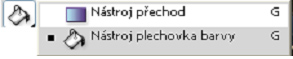
There are many ways how to cut the motorbike, we will start with Polygonal lasso tool which can be seen in the following image.
Select the whole motorbike using the lasso tool and invert the selection (CTRL+SHIFT+I, or from the Selection menu). Fill the selected area into the mask using black color (ALT+Tab in case the foreground color is set to black).
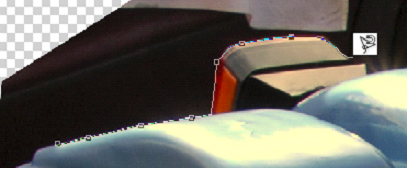
To cut the details you can use the Magnetic lasso tool which is in the same group as the Polygonal lasso tool. This lasso allows you to choose areas with contrast edges. When dragging, the tool automatically snaps to the edges. You can also affect the borders by clicking with mouse.
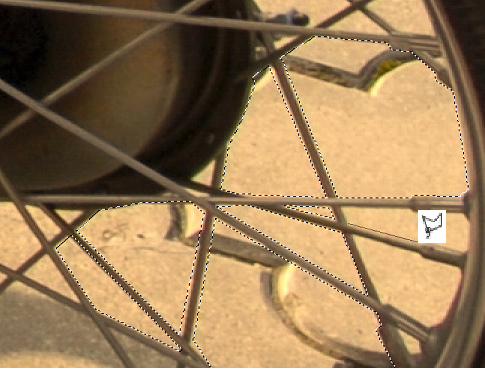
The filling of the front wheel is very difficult for selection but it consists of lines so you can effectively use the Polygonal lasso tool. You can gradually cut single areas or you can use the icon Add to selection in the top panel and select larger areas. You can similarly use the option Remove from selection. When using these options you will see a small plus of minus next to the cursor of the lasso - you see if the area will be added or removed...
You can use many other tools to select the areas but their disadvantage is that they also select areas which are not required. When editing simpler images you can crop them at first and then create the mask - it will be created according to the selection.
The cut motorbike can be downloaded here to be able to continue with the rest of the lesson.
Editing the Motorbike
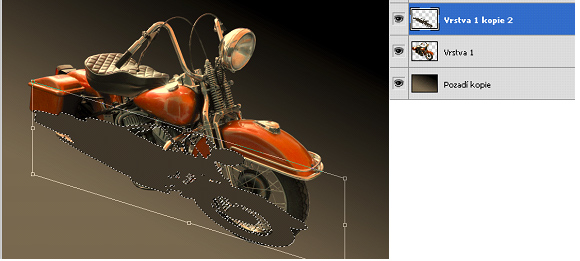
Now select the motorbike (hold CTRL and click using the left button on the icon of the layer). Select the command Adjustments>Replace Color from the menu Image. You can change values as you want to get a suitable result.
Select the layer with the motorbike and adjust it as needed - you can change size (CTRL+T) or move the motorbike.
Creating Gradient Background
Create a new layer and fill it with black color (choose the foreground color as black and press ALT+Backspace).
Apply the gradient for this layer using the Gradient tool.
You can choose the style of gradient in the top panel, we will
use the linear gradient
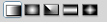 .
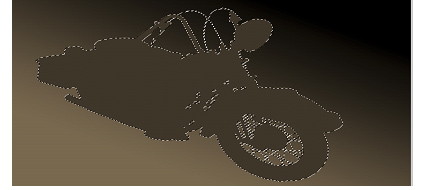
We will also use the options Reversed and Opacity value of 40 %. The
gradient can be applied easily, click below the motorbike and drag
the gradient up to the light of the motorbike (diagonally). Then
release the button and the gradient will be drawn. You can see the
black background in the left and the gradient in the right.
.
We will also use the options Reversed and Opacity value of 40 %. The
gradient can be applied easily, click below the motorbike and drag
the gradient up to the light of the motorbike (diagonally). Then
release the button and the gradient will be drawn. You can see the
black background in the left and the gradient in the right.

Creating Shadow
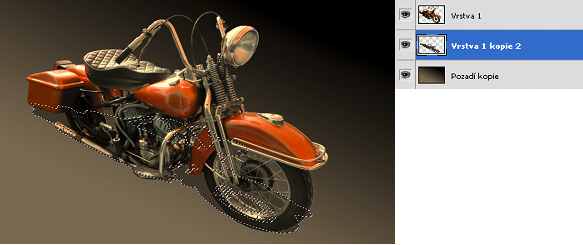
Duplicate the layer with motorbike and select it (hold CTRL and click on the image of the layer). Then create a new layer and fill the selection with gray color from the background into it (ALT+Backspace) - use the Eyedropper tool.
Then we will deform and move the layer to get a realistic shadow. We can use the classical Transform tool (CTRL+T) or we can use a better tool from the menu Edit>Transform>Distort.
Once the shadow looks like you want and is deformed, you have to move it behind the motorbike - simply drag the layer with the shadow below the layer with the motorbike.
Adding Additional Elements into Image
We have to add several details - add the logo and additional elements. You will need these files for this part: logo-harley and logo-motor
We can start with the logo. Select the white background using the Magic want tool, invert the selection (CTRL+SHIFT+I) and apply mask. The logo is prepared to be positioned.
The procedure with the motor is very similar, you can also change its size by CTRL+T. The result can be seen in the following image:
We will add the logo once more in the bottom part of the image to create a fictive shadow on the ground. This can be done by duplicating the layer with the logo and then transforming it with a new transform tool from the menu Edit>Transform>Perspective. This tool can transform an image to look like you are watching it from another angle.
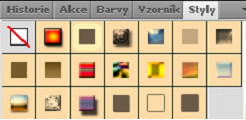
To get a similar logo to the one in the sample image you have to apply the style Sepia tone from the panel Styles (you can open it from the menu Window).
The opacity should be decreased to 21 % and the blending mode set to Vivid Light. You can see the result in the following image:
Then we will add the text using the Text tool. We used the font Titling MT with size 30pt in the document, the smoothing method was set to sharp. Use a white color and move the text using the tool for movement.
All adjustments are finished after this step, you can create a milder shadow using the Gaussian blur filter from the menu Filters. The result can be seen in the following image:
Homework
Create your own poster from the available photos (use the topic Harley-Davidson).
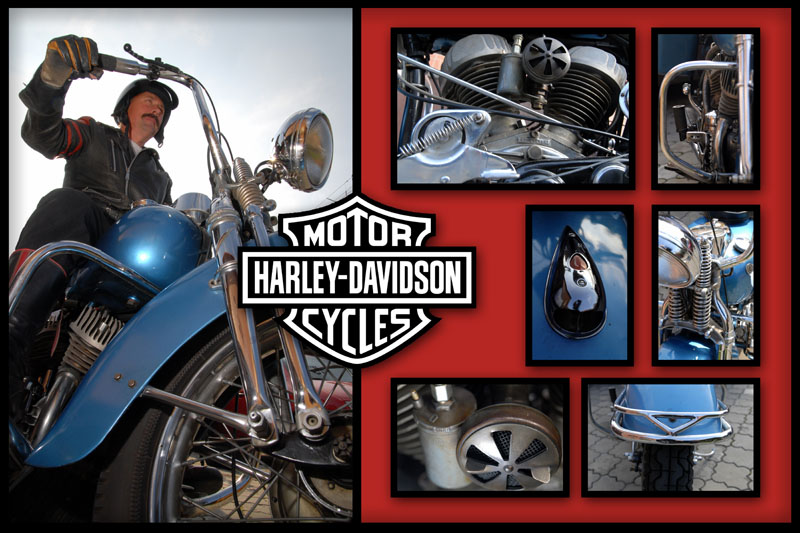
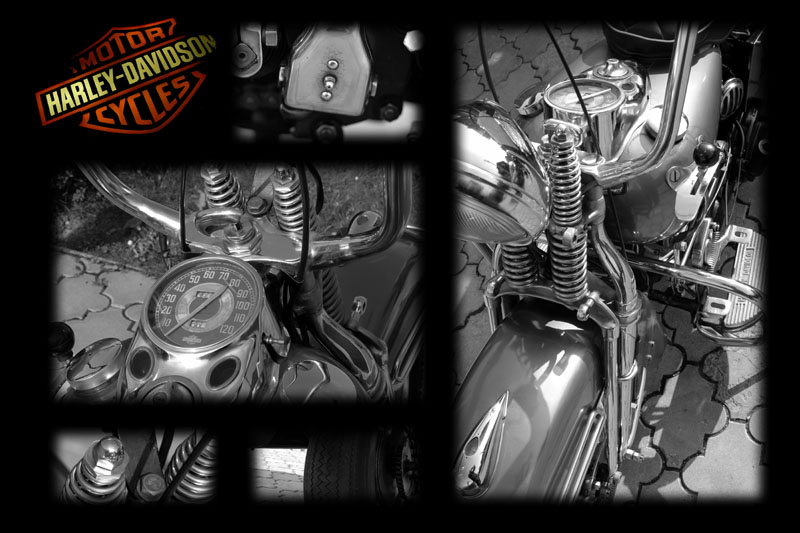
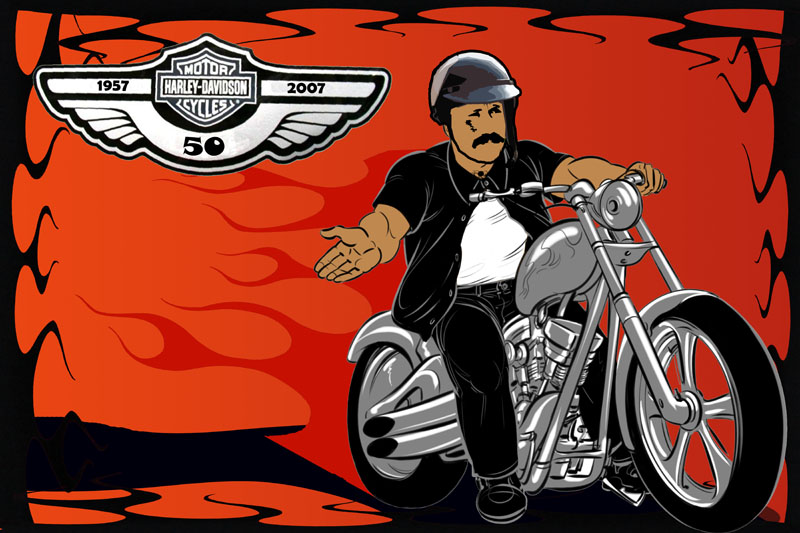
Inspiration for the Homework
Questions
- Describe tools for creating selections and their possibilities using the input photo of this lesson.