
Colorization and renovation black-and-white photo II
 In this lesson:
- Default photo
- Crop scanned picture
- Colorize our photo
Placement of colorized photo in the background
Step 4 - bonus - stick photo in carpet background and adding frame
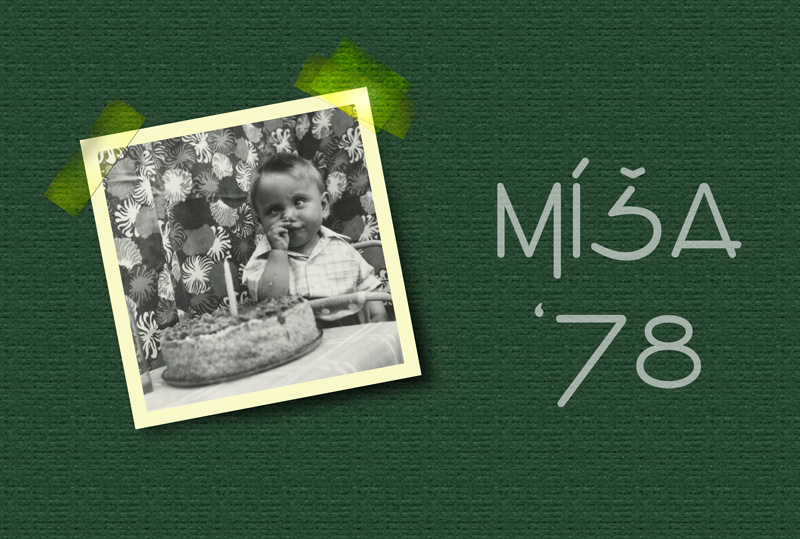
We create simple montage in this bonus step. Create any document with any resolution - it will be background of notice board where our photo will be stuck by strips of tape.
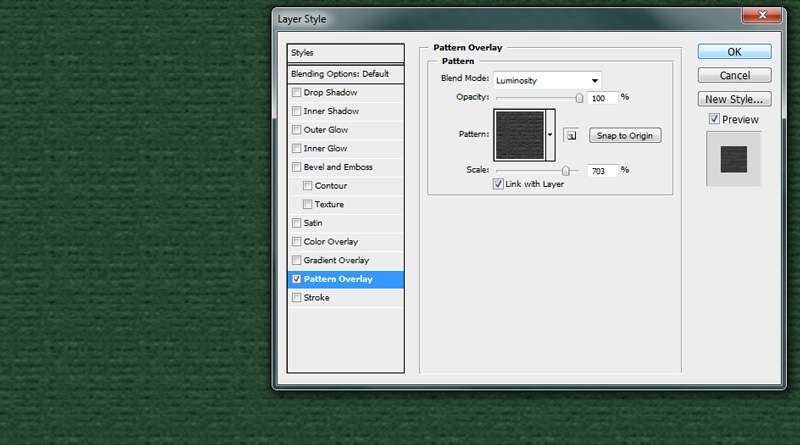
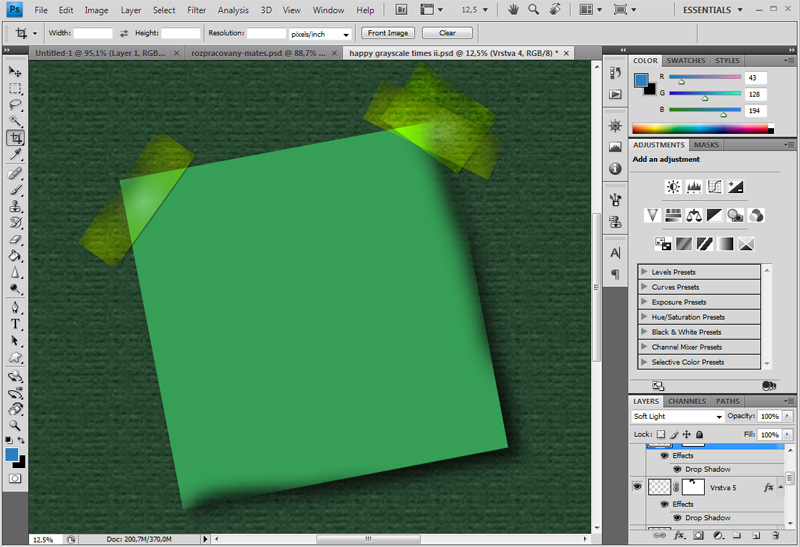
Fill the entire background of desired color (we use green color) and set Pattern Overlay (as you can see in the picture below). We get pattern similar to notice board.
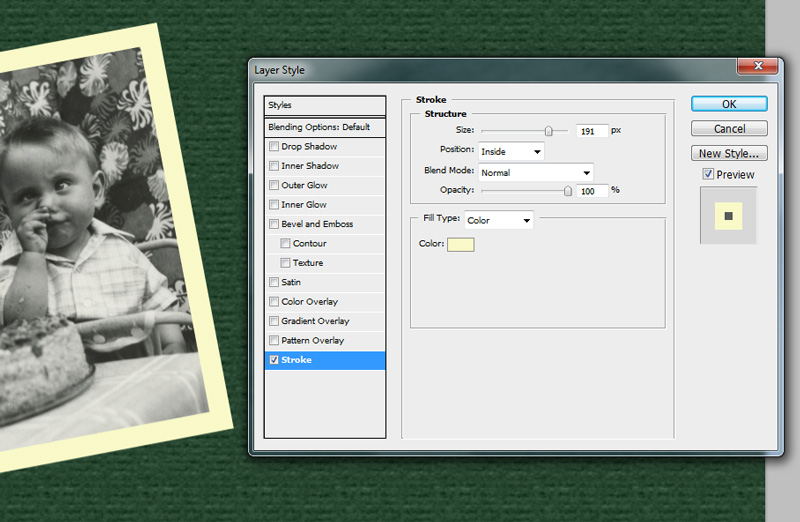
Insert photo in our document (as new layer) and set Stroke using Layer Style menu (as you can see in the picture below).
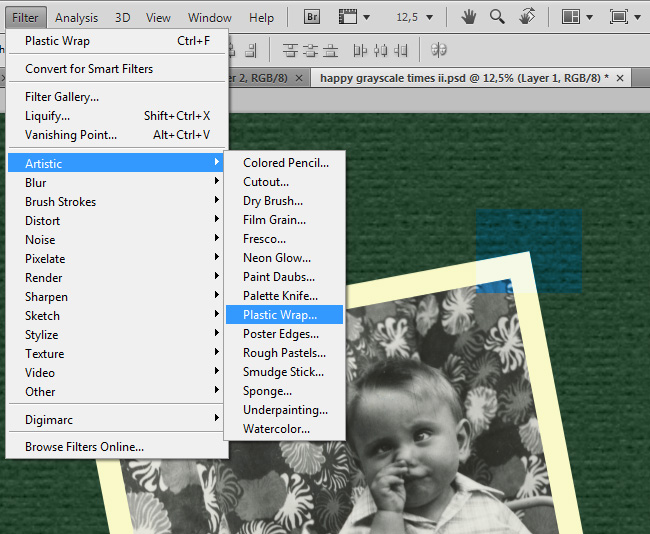
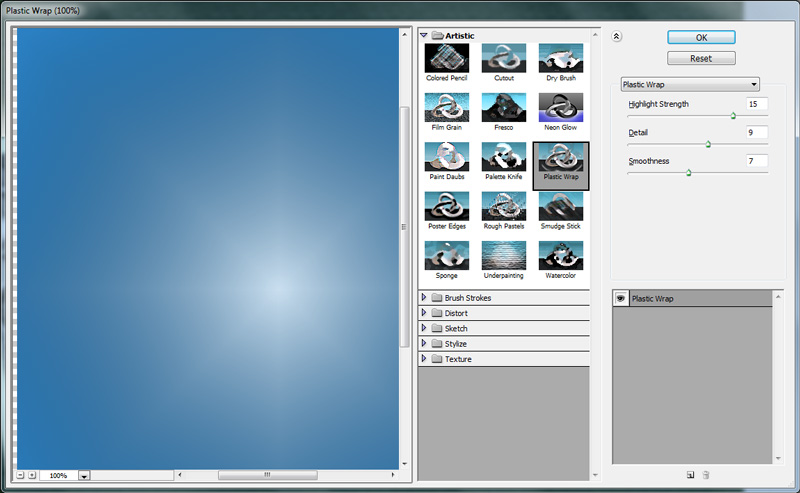
We have photo and background and it remains to "stick" our photo at notice board using tape. Create new layer for every stripe and use Rectangular Marquee Tool to create rectangle. We can rotate the stripes using Tranformation Tool (T). You can experiment with Layer Blending options to make tape transparent. You can do it right but we want to make it more plastic. Use filtr in menu Filtr -> Artistic -> Plastic Wrap.
You can set it as you want.
It's possible to use Layer Mask to tapes' layer to make more realistic appearance (using different brushers' stroke).
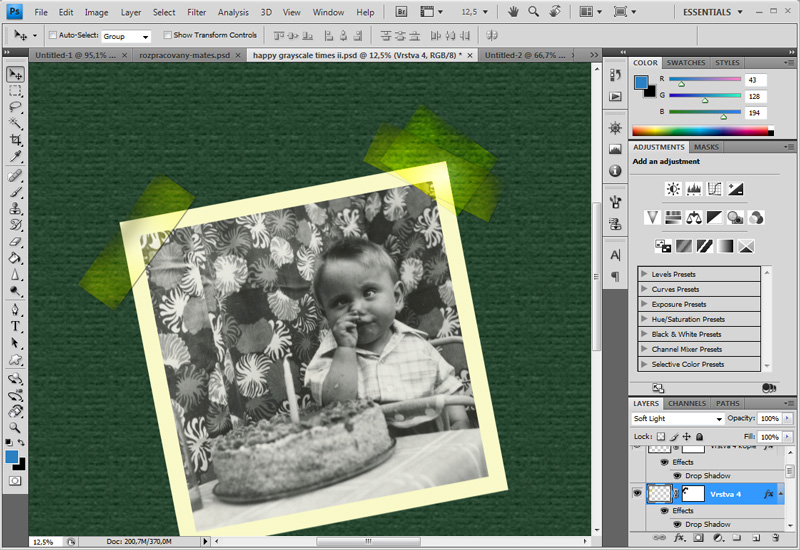
We stick photo only in upper corners in our case. We could add curvature effect (especially old photos aren't usually straight). So add shadow effect below photo and modify it using Layer Mask to make it not symmetrical. We create the impression of crooked photo.
Completion
You can add more picture to our collage (making yearbook, ...) and text.
Individual work
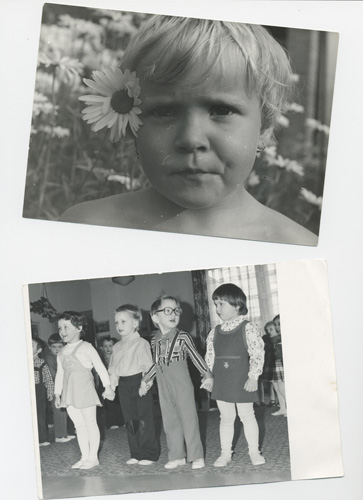
Modify one of other two picture using same process (the second from the first picture or the first from following).
You can download this photo in full resolution happy-times-ii.jpg.
Homework
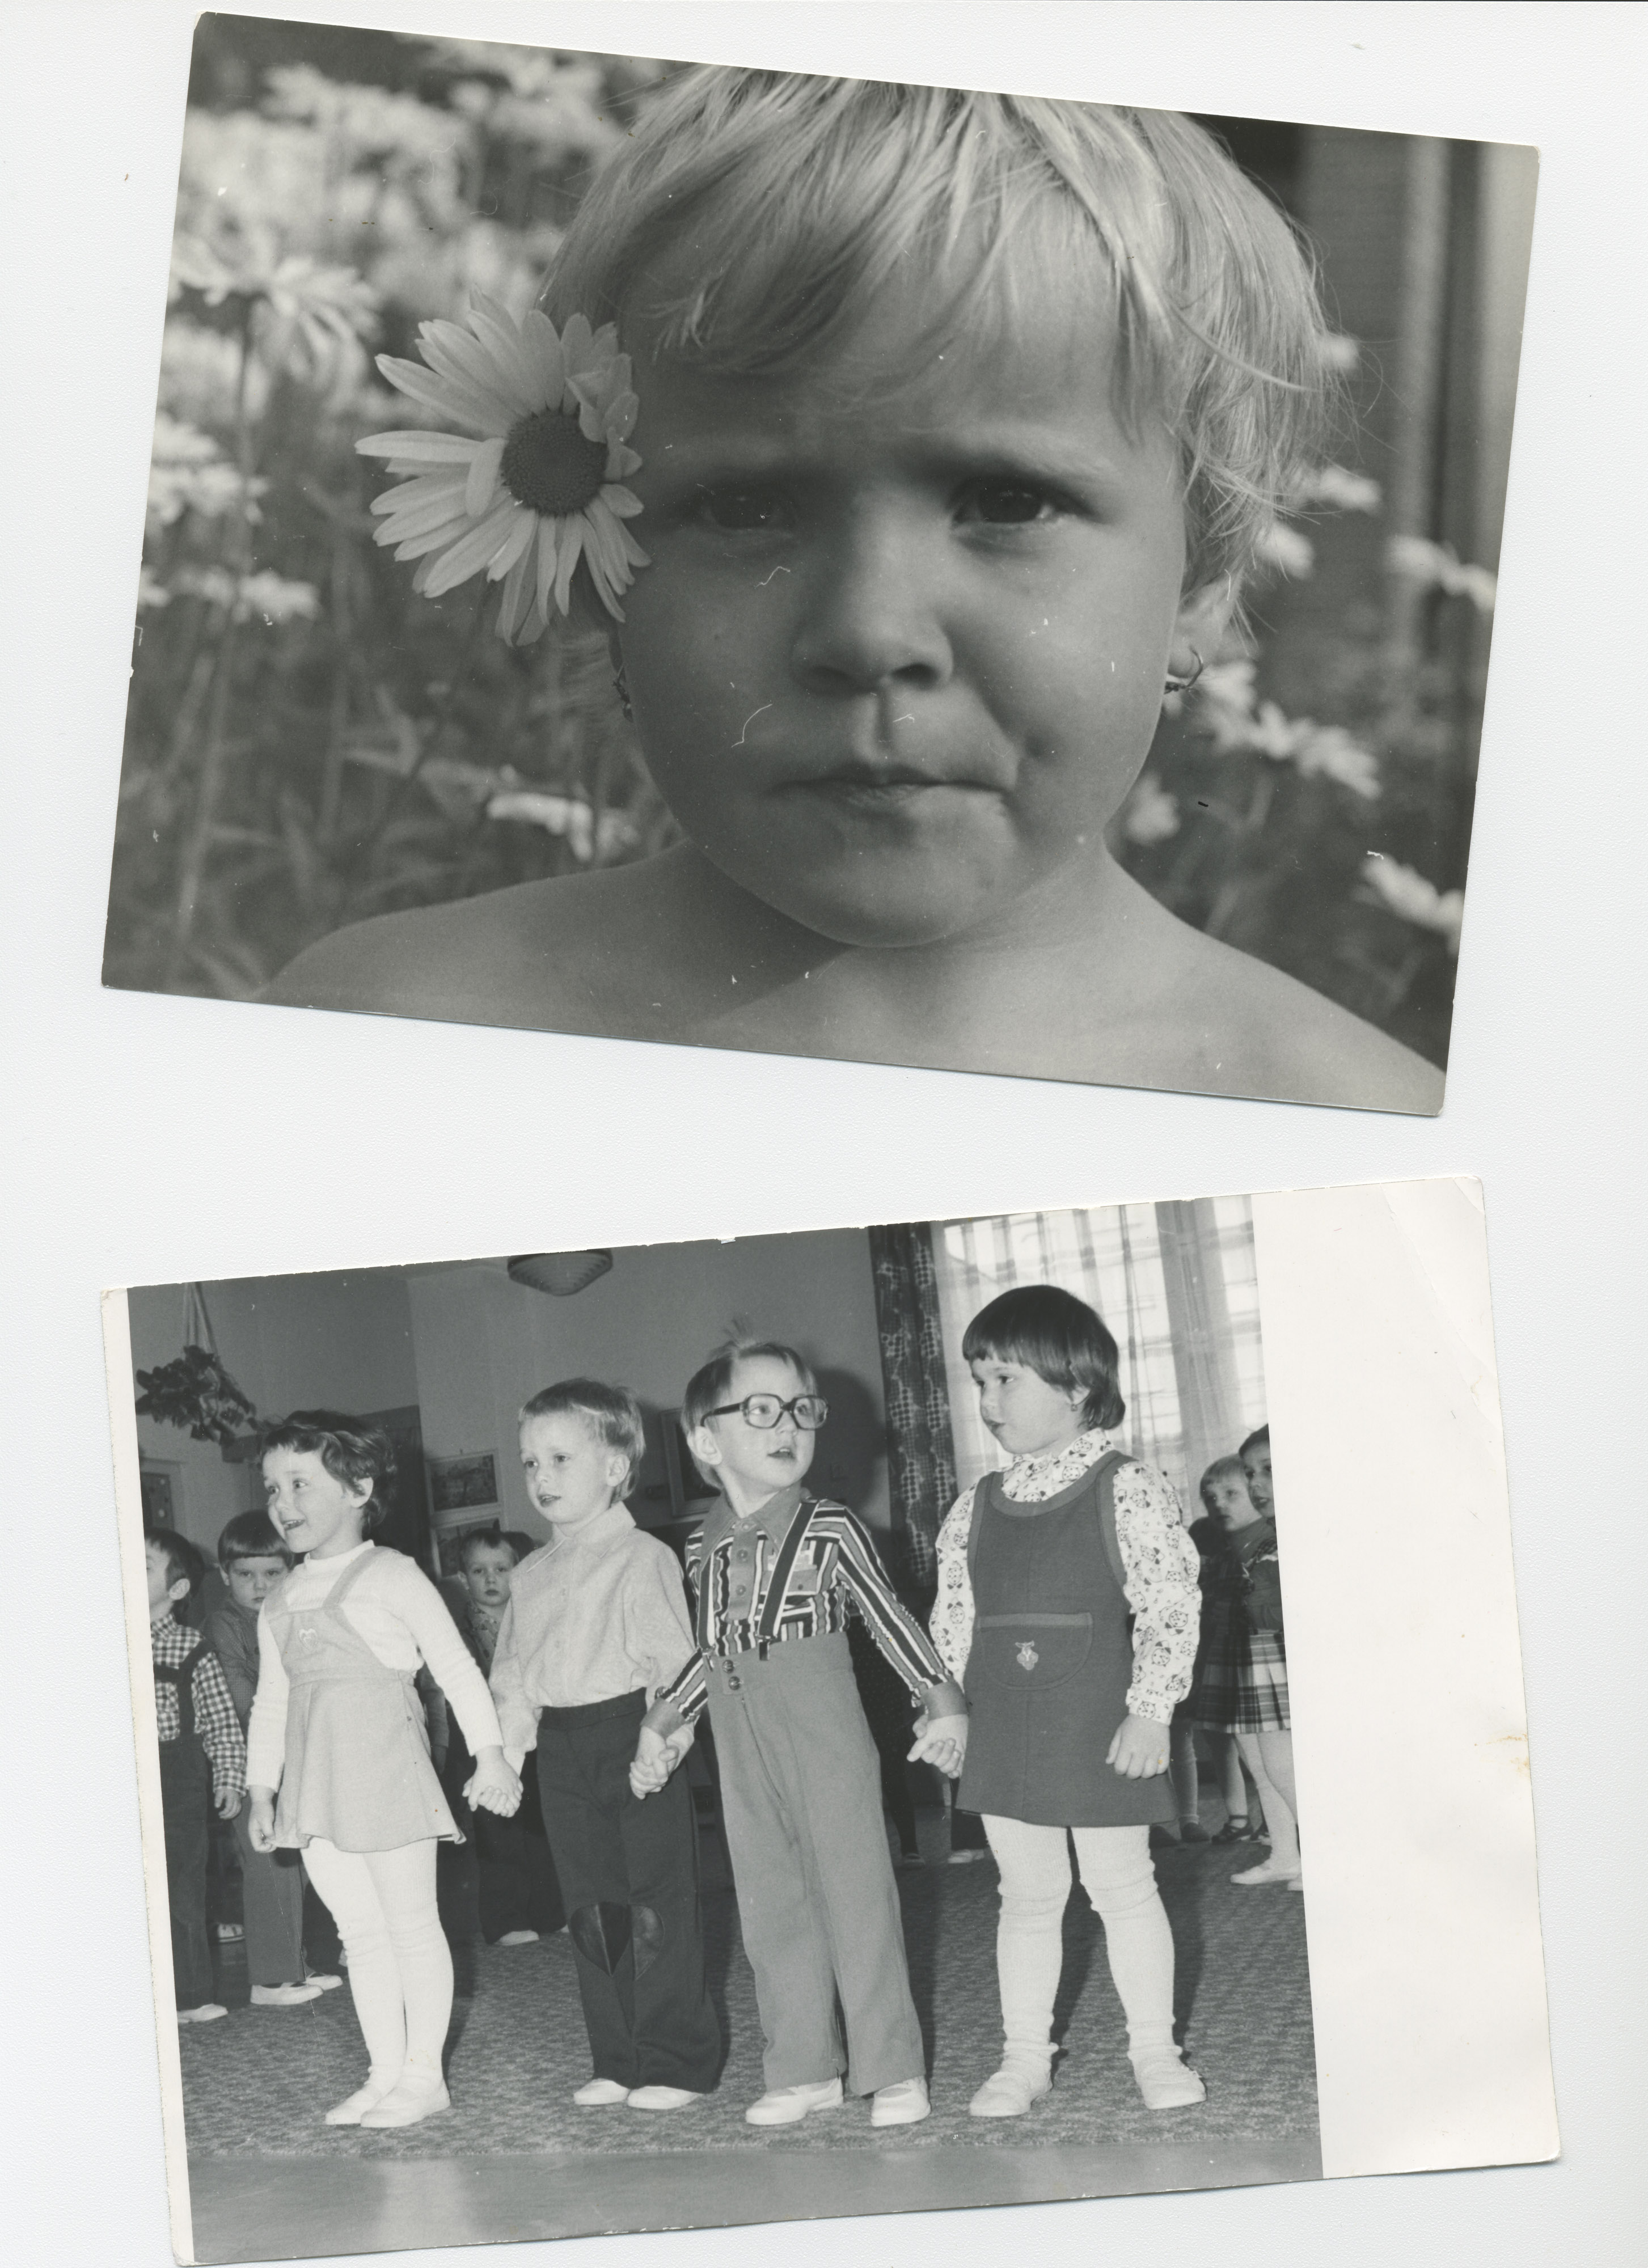
Crop and colorize the second photo from the second picture (group of children). Create own layer to any colorized object (individual child and background).
Further reading
Questions:
- How can you fill layer's background with texture?
- Is it possible to make your own texture? How?