
Retouching Tools in Adobe Photoshop
 Content of the lesson:
- Clone Stamp Tool
- Spot Healing Brush Tool
- HEaling Brush Tool
- Fill Selection
- Red Eye Correction Tool
- Patch Tool
Clone Stamp Tool
The Clone Stamp Tool ![]() is one of the most common retouching tools in Adobe Photoshop. Take a look at two examples how to use the Clone Stamp Tool.
is one of the most common retouching tools in Adobe Photoshop. Take a look at two examples how to use the Clone Stamp Tool.
Examples of using the Clone Stamp Tool
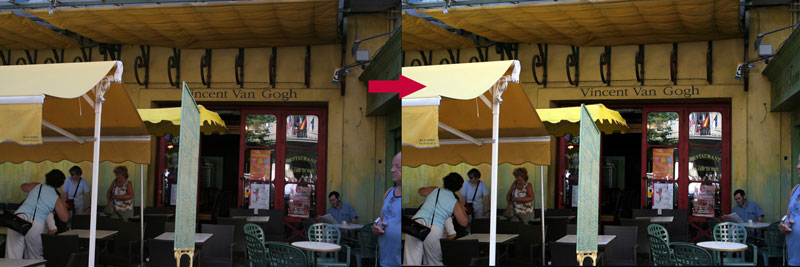
In the first photo (vacation photo) is building with the inscription Vincent Van Gogh. But the letter "V" (in word Vincent) is covered. It is necessary to use the Clone Stamp Tool to remove this imperfection. Covered places are replaced by similar parts of the photo. In the end, color and contrast was modified too.
In the second photo, there is captured the performances of two bartenders. There are flames but thanks to their intensity they lack graining (left part of the picture) and we can see only white spots. We used the Clone Stamp Tool to improve this photo and the middle part of the flames was darken to make the structure more visible.

The Clone Stamp Tool works so that as a first step we choose the source (default) location in the picture (pressing Alt key and left-click) and as a second step, click on another location in the picture where the image begins copy from the source location (clone). The most important options is shape and diameter of the brush - gives us the shape and size of the cloned area.
Example of using the Clone Stamp Tool
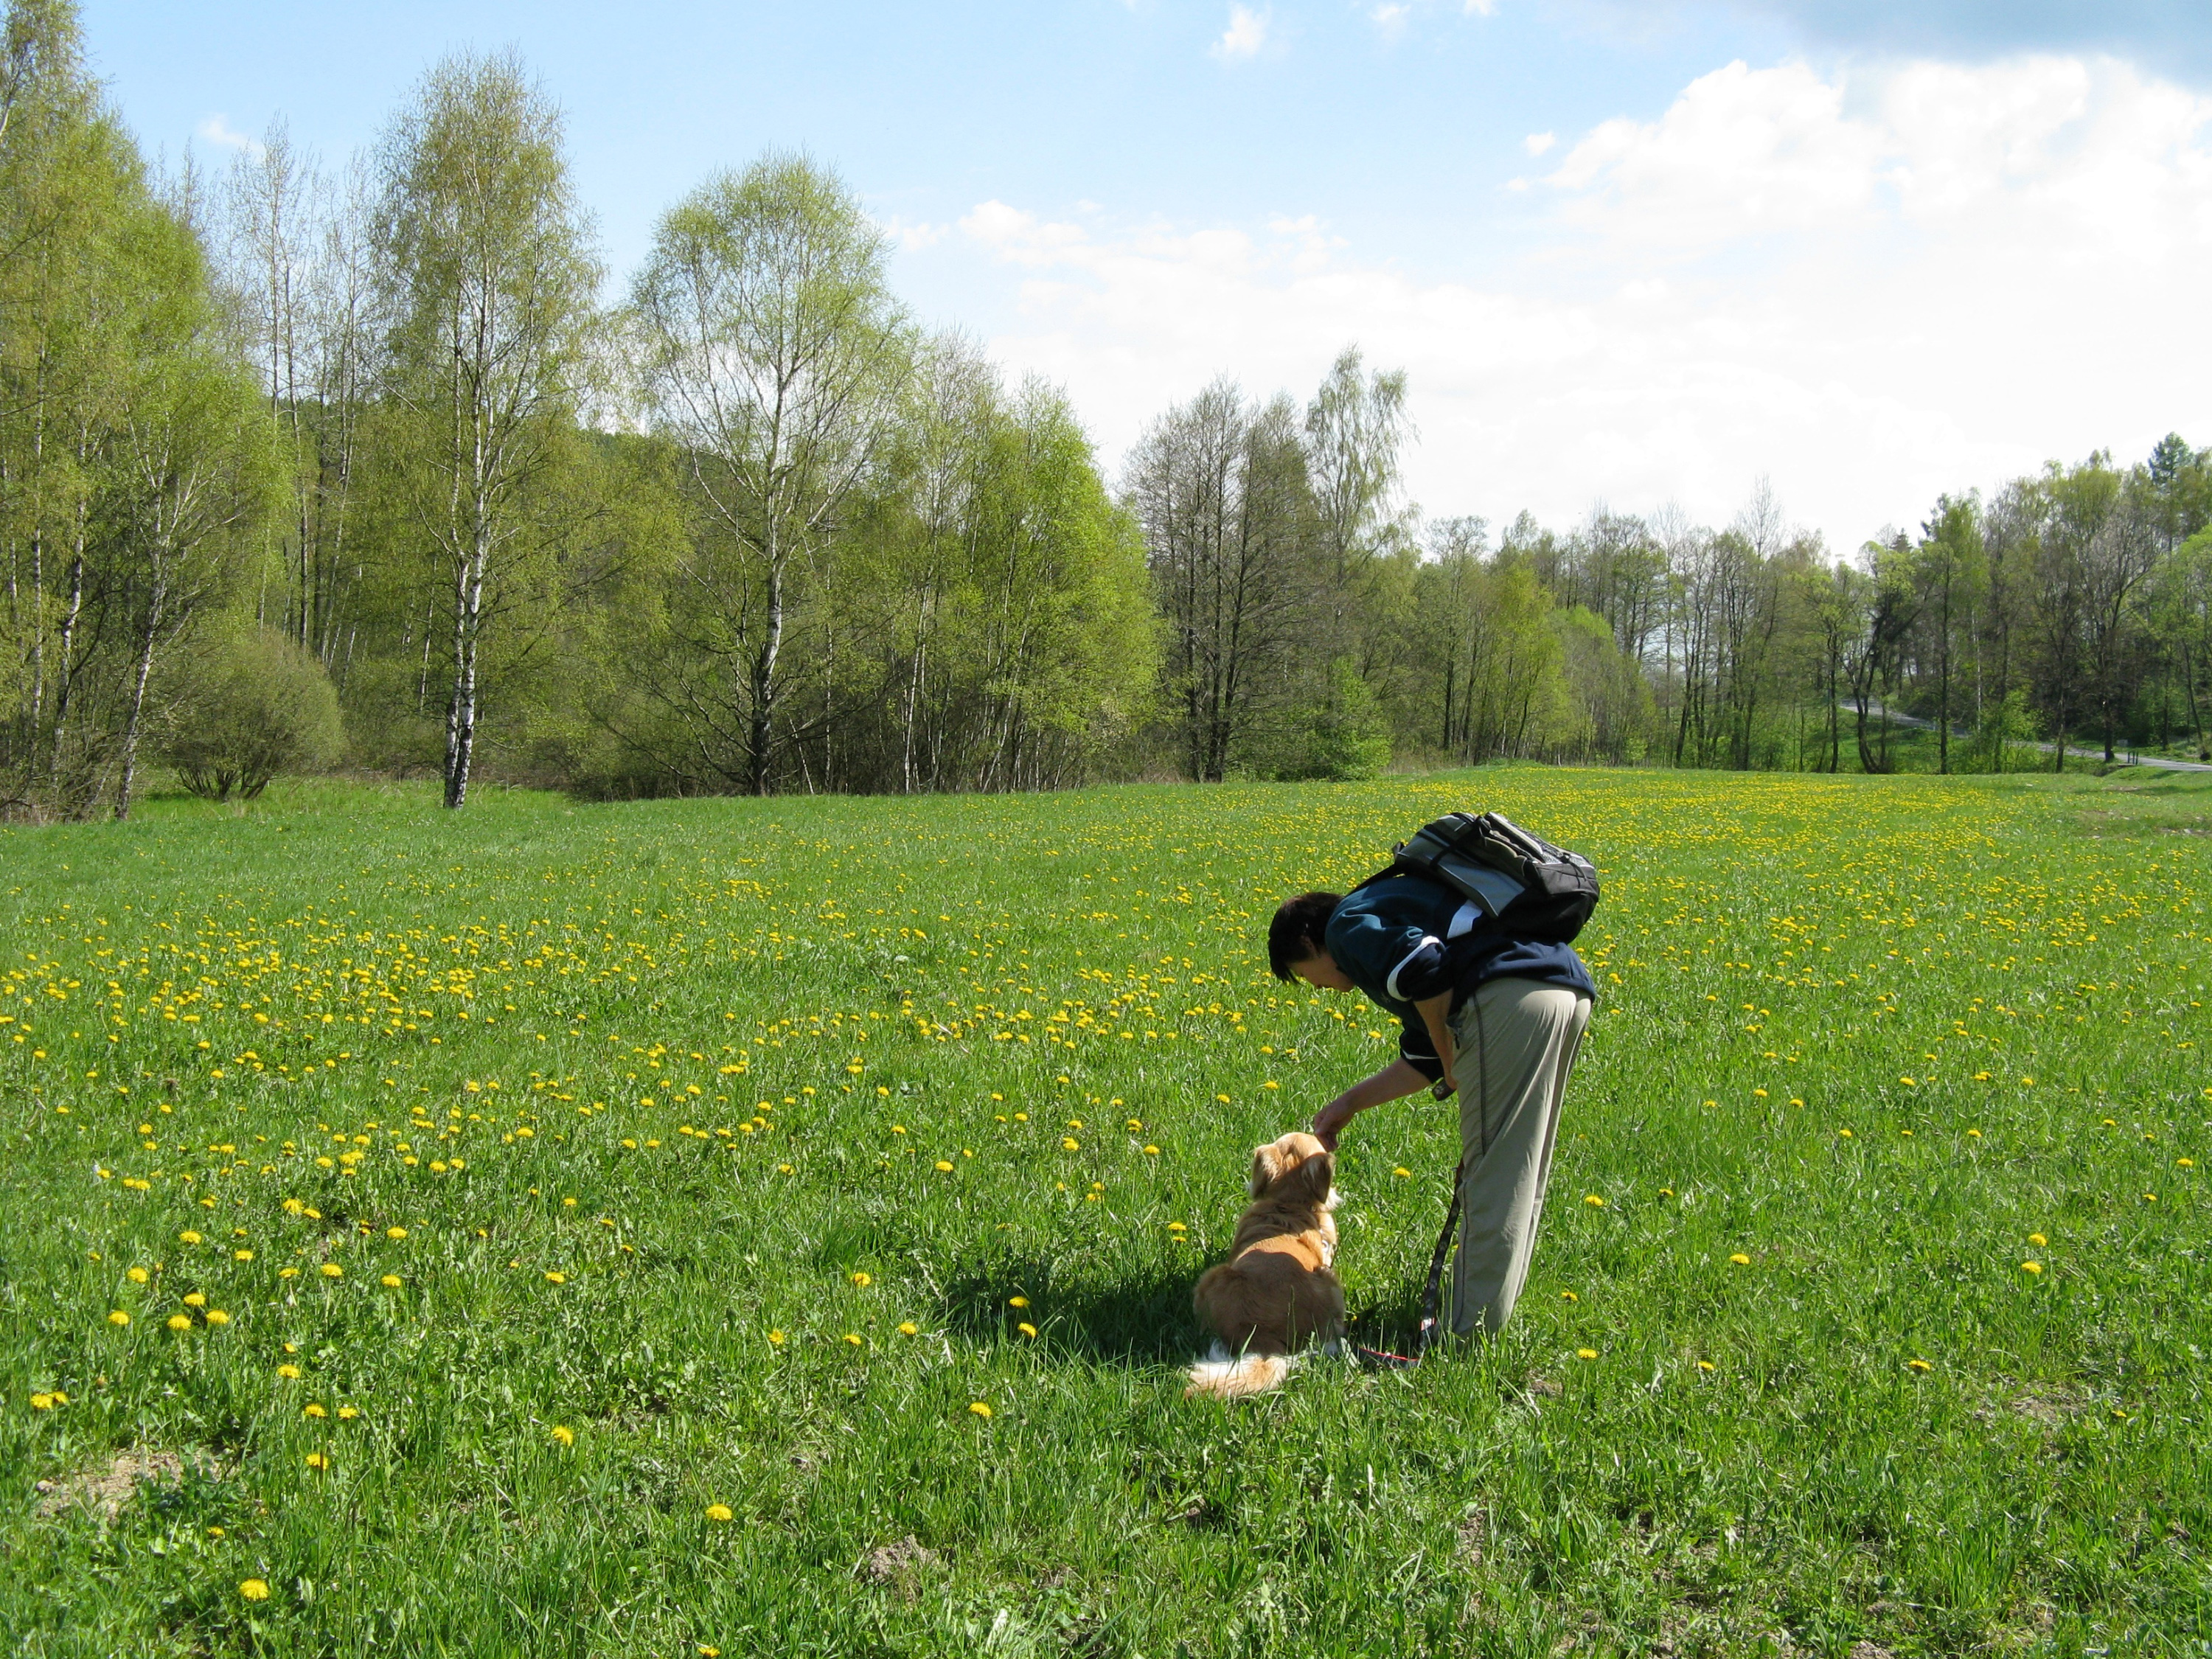
We will try how to work with the Clone Stamp Tool in this picture (na-vylete-i.jpg).

Our next task is to remove woman and dog from the picture. We will try to find part of the picture which could replace area where is dog and woman. Follow these steps:
- Open photo in Adobe Photoshop.
- Choose the Clone Stamp Tool (use shortcut K).
- Select the source (default) location in the picture (ALT + left-click) and set suitable brush diameter. The cursor has changed to reticle when you press ALT key.
- Release ALT key and move the cursor to place where would you like to clone source picture. When you press left mouse button, the source area will begin to copy to this place.
- Repeat these steps until you aren't satisfied with the result.
Work with this tool carefuly and slowly and try to make all changes unrecognizable. Sometimes, it's suitable to change diameter. The video below shows how can be this picutre retouched.
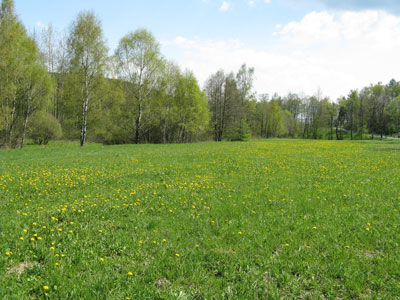
The final picture should look like the photo below.
Practical task
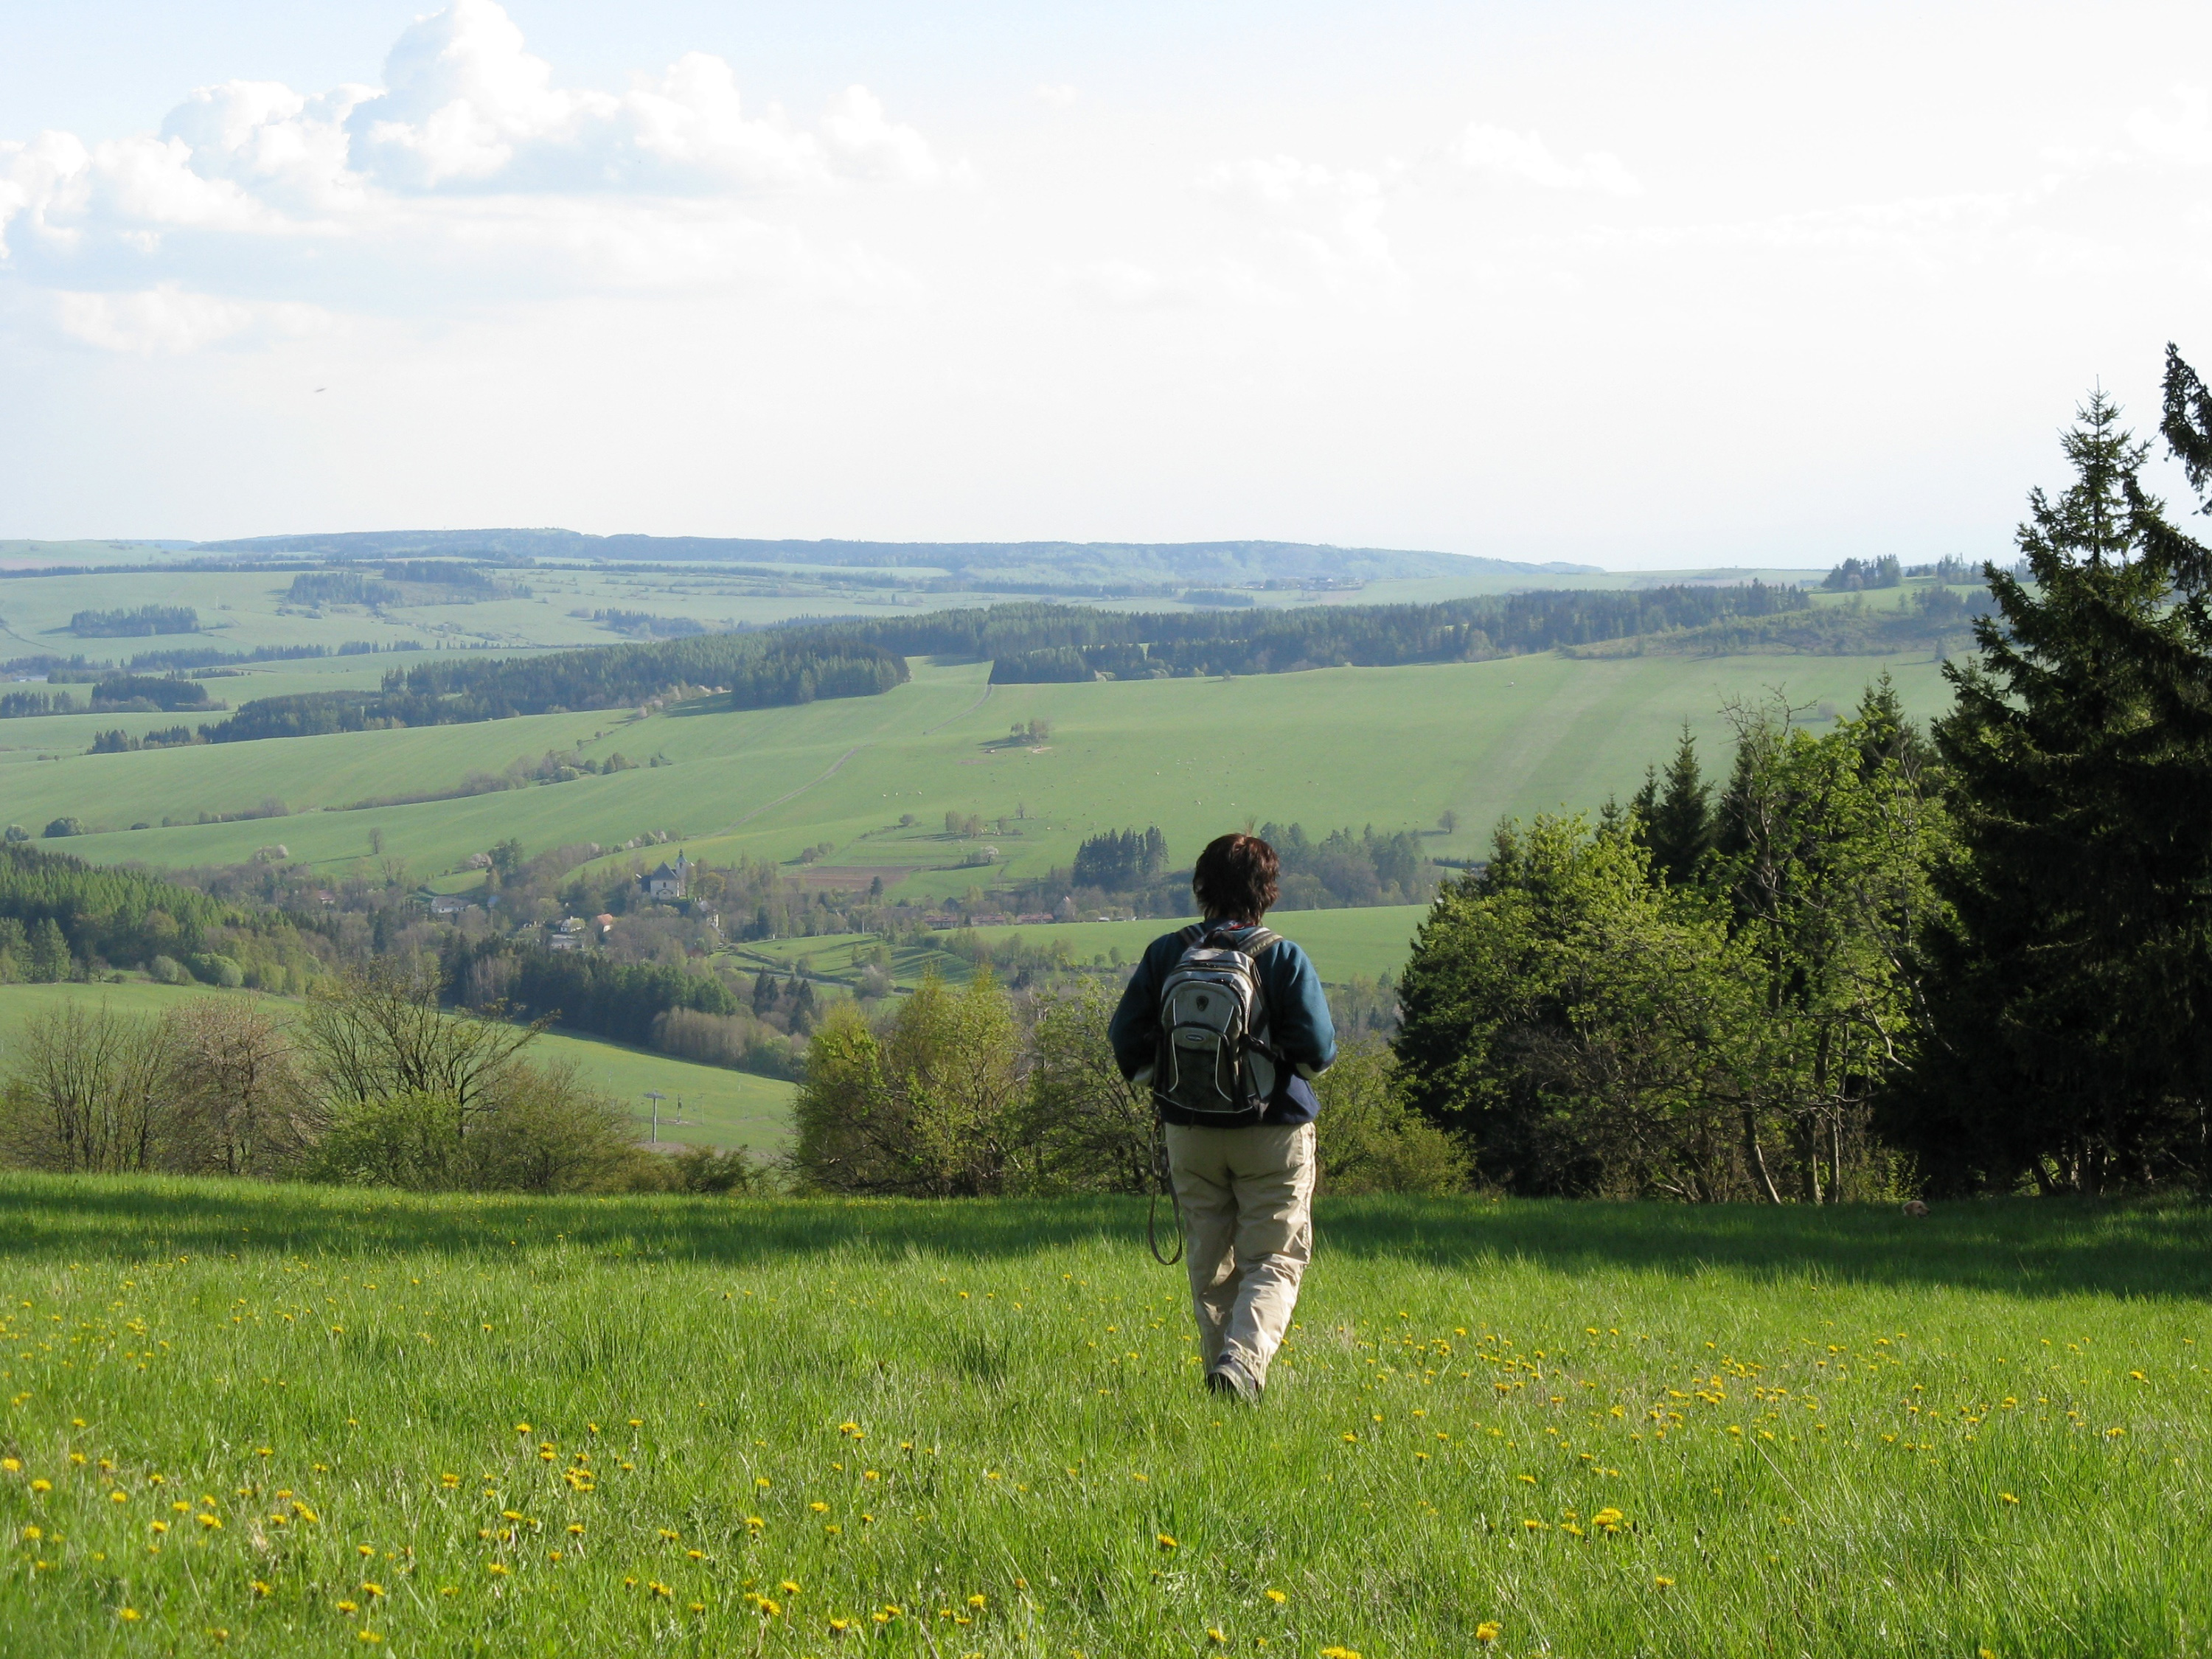
Use the Clone Stamp Tool to remove person from this photo (na-vylete-ii.jpg). It's the similar task as you tried before but it's more difficult.
We have 10 minutes to complete this task. Don't forget to change diameter of the brush and try to reach the best result. Try to remember place, where is easy to clone picture and where is it more diffucult.
Default and final picture is in the picture below.

Spot Healing Brush Tool
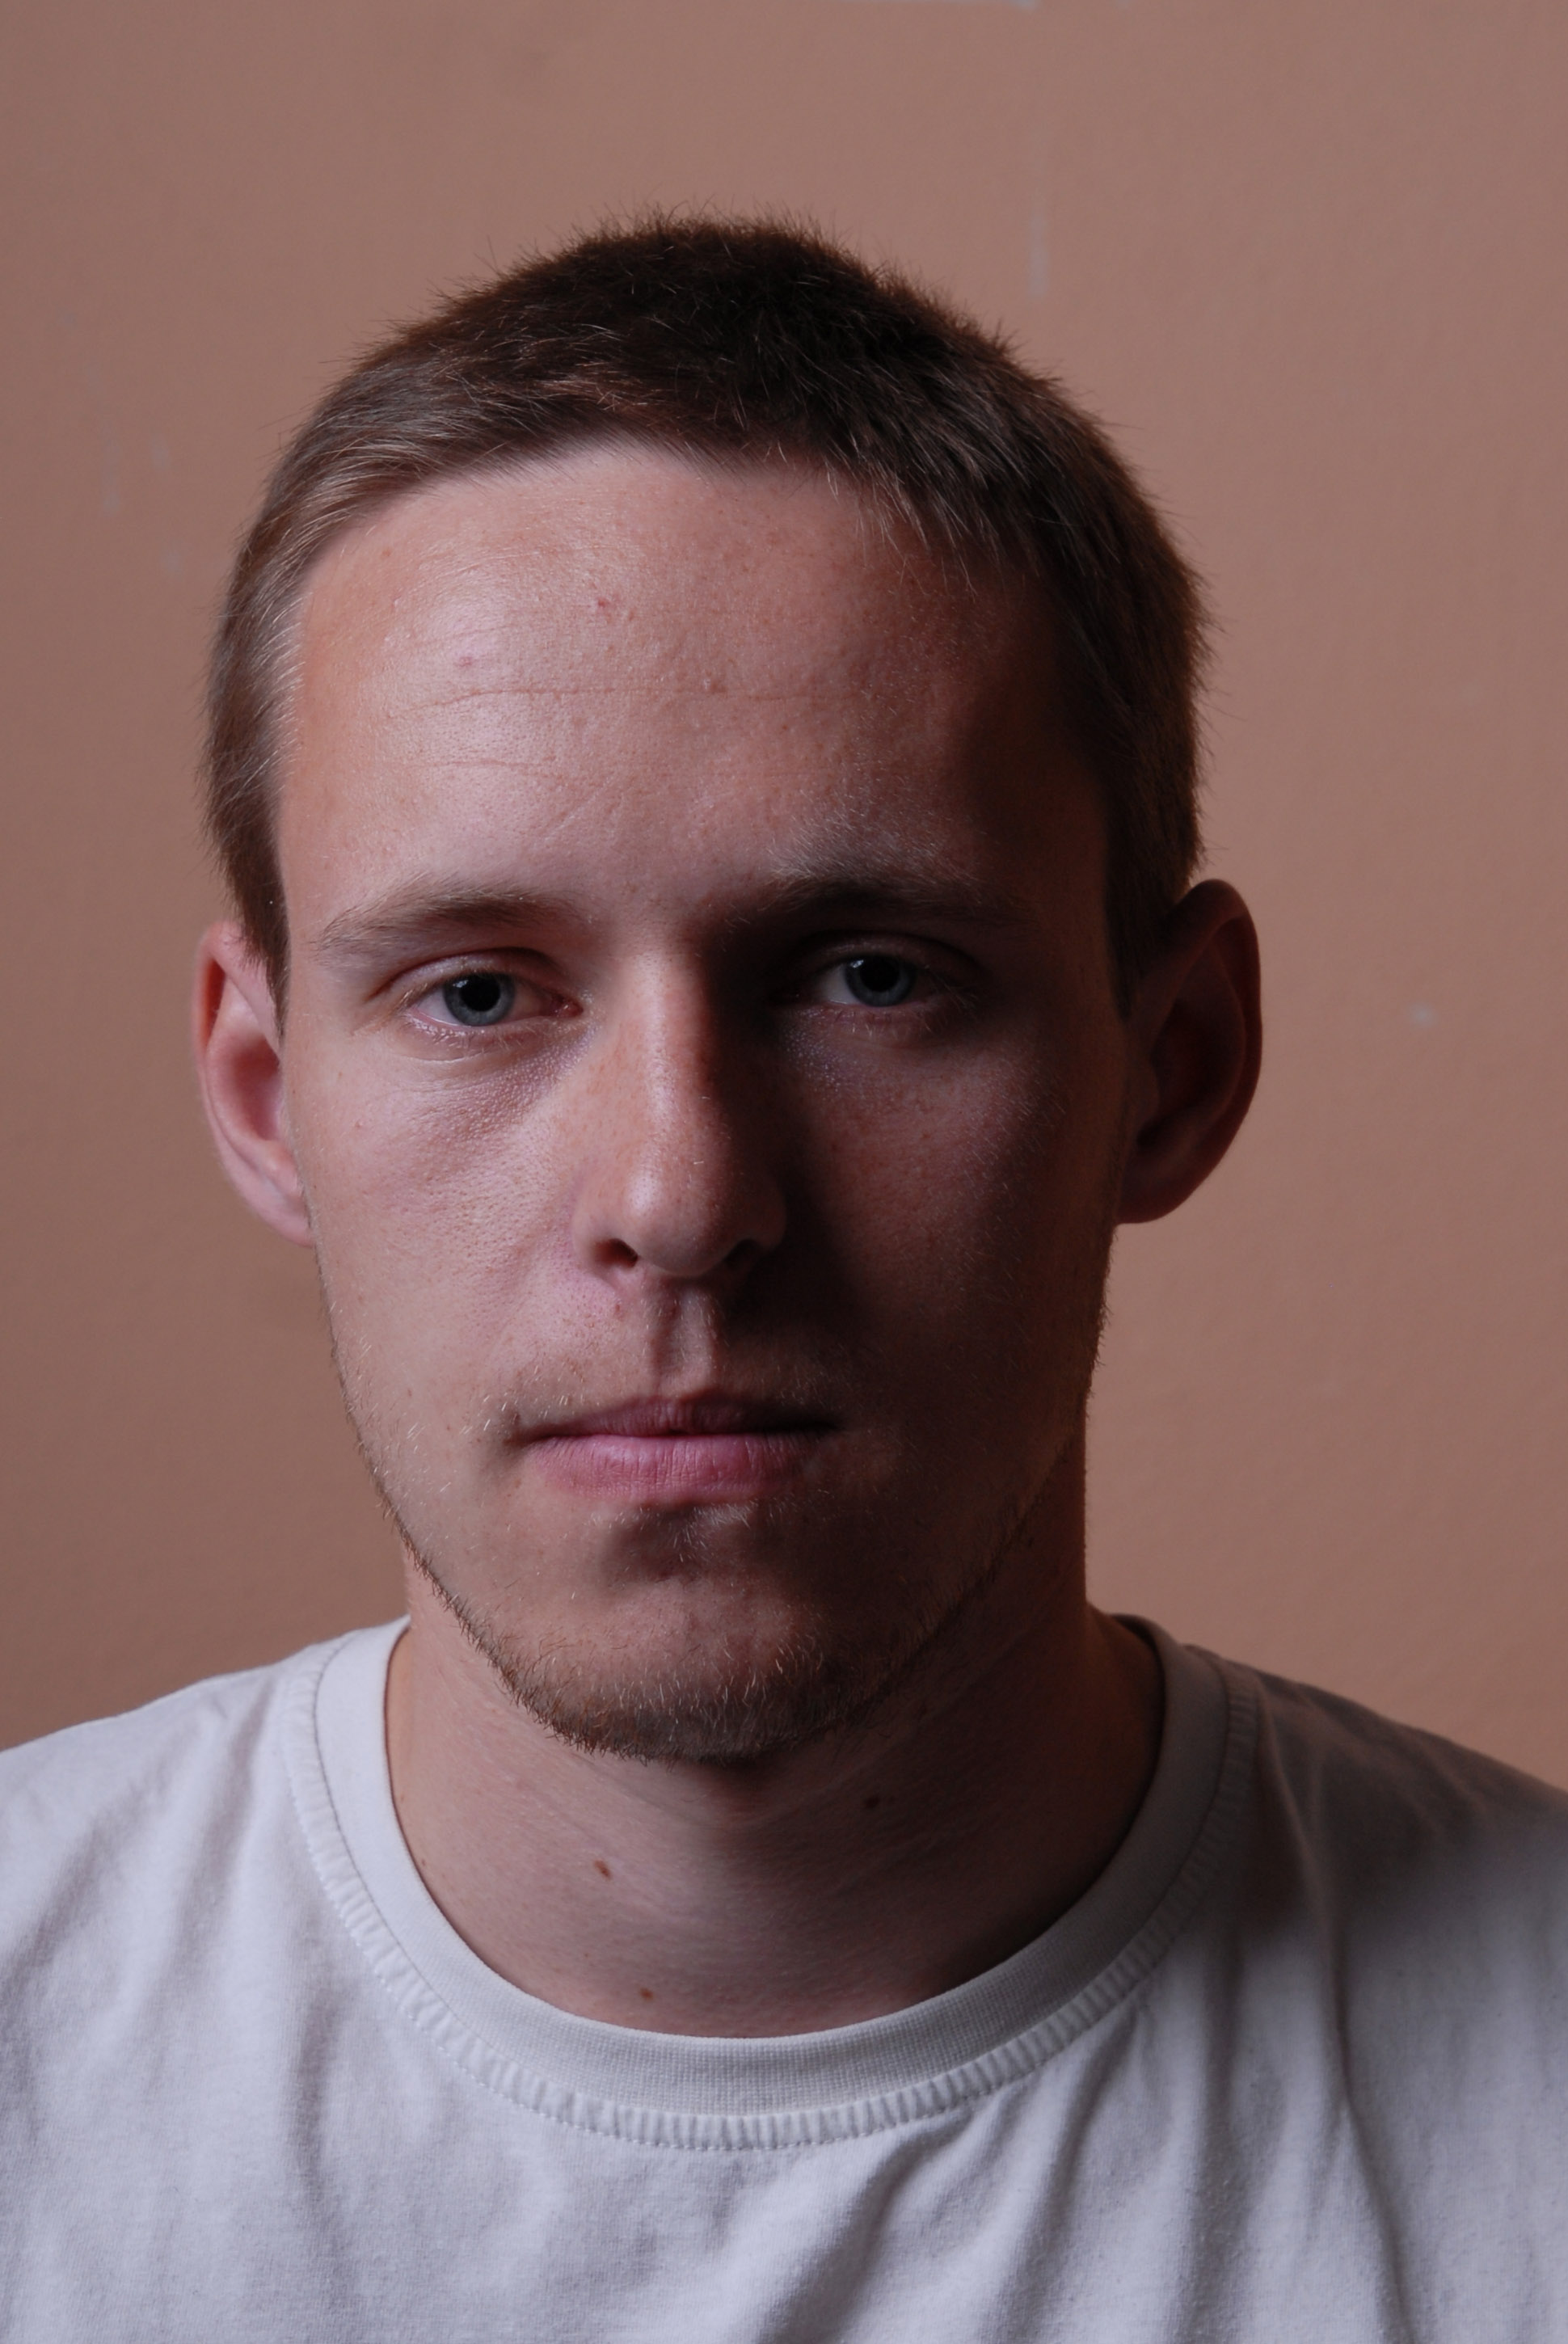
This tool![]() is used mainly to correct small problematic parts of picture. It's suitable to retouche photo (to remove imperfection of the skin). We'll try it with this photo. (portret.jpg).
is used mainly to correct small problematic parts of picture. It's suitable to retouche photo (to remove imperfection of the skin). We'll try it with this photo. (portret.jpg).
Take a look at the part of the defult picture and how it was retouched using the Spot Healing Brush Tool. We can see some imperfections in the left part of the picture (left part of the forehead and under nose). We made few clicks and get retouched picture (right part of the photo).
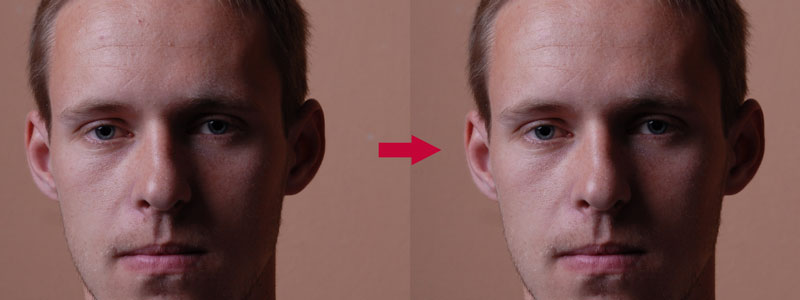
If you mark some place with the Spot Healing Brush Tool, Photoshop tries to sketch in, considering surroundings. You can just mark required part of the picture and Photoshop will do what is needed. But be careful! This tool isn't suitable for retouching big parts of the photo.
You can see the video with this process below.
Healing Brush Tool
Healing brush tool can be used similarly as the Spot healing brush, but has one advantage. You can choose the area which should be used to compute the result which means that you can keep the texture.
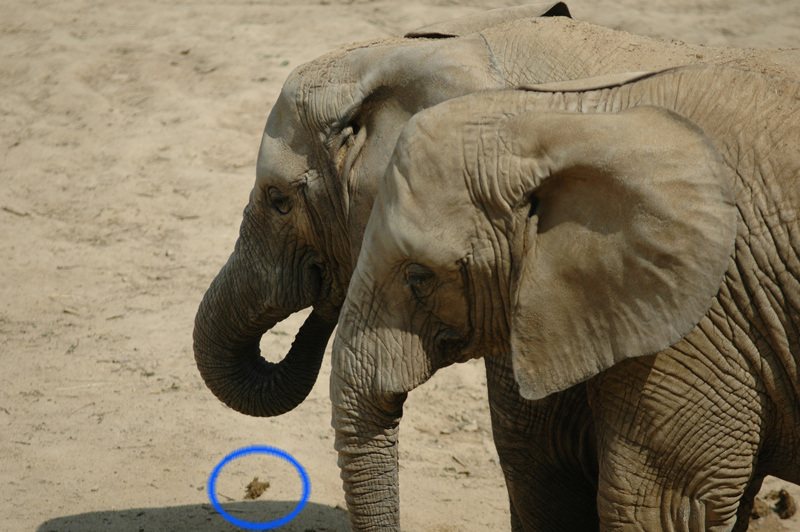
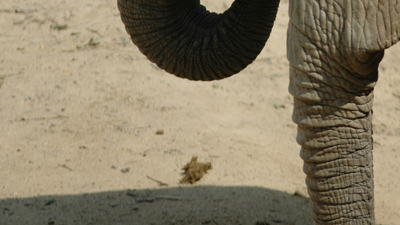
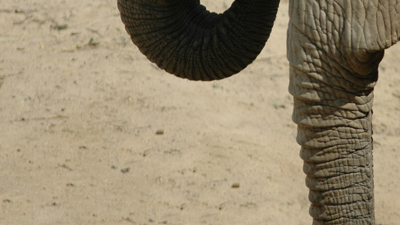
Its usage is explained in the following video. You can see a photo of an elephant, a shadow under it and another item which we want to remove. In case we used the clone stamp tool of the classical spot healing brush, we would blur the background and the texture would be lost. Using this way you can choose the texture from another place in sand and apply it on the selected place instead of the item. We use the selection to prevent the area of shadow to be used for the calculation.
You can see the difference between versions before and after the adjustment.

Fill Selection Tool
The tool Fill offers you to fill a selection. You can use this tool for a quick retouching of selected area - the previous photo of elephant is used to describe it. Imagine you want to remove the shadow in the bottom part. You could use the clone stamp tool of another tool, but this procedure would be too complex.
The advantage of this tool is in the speed. You only have to select the area, press SHIFT+F5 and confirm. The tool will not smooth the areas around the leg of course so you have to use the clone stamp tool or the healing brush tool.
It is a good idea to select as small area as possible to prevent degradation of the correct parts of photo. You can see the situation before this adjustment in the left image and the situation after it in the right one.
Red Eye Correction Tool
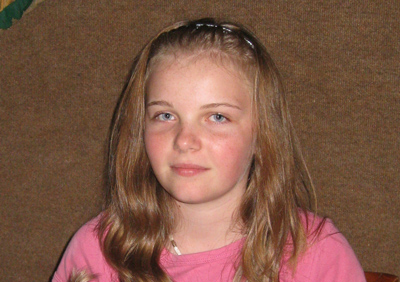
This tool is located in the same group as the healing brushes, its usage is simple. You have to select approximately the area of eyes (using a rectangular selection) and the tool then automatically converts red color to gray. Using this procedure you will lose the original color of eyes of course.
The girl in the left photo has red eyes which were adjusted by this tool in the right image.

Patch Tool
This tool can be used similarly as the Healing brush tool, you have to select the area which should be adjusted and then drag it to another area which should be used to compute the result. It can be used for example for wrinkles on neck or for other retouching, too. The disadvantage is that the result might be slightly blurred.
The usage of this tool is shown in the following video where we smooth the wrinkles on the neck and also the mole which is located in the shadow and might cause problems if retouched for example by the clone stamp tool.
Homework
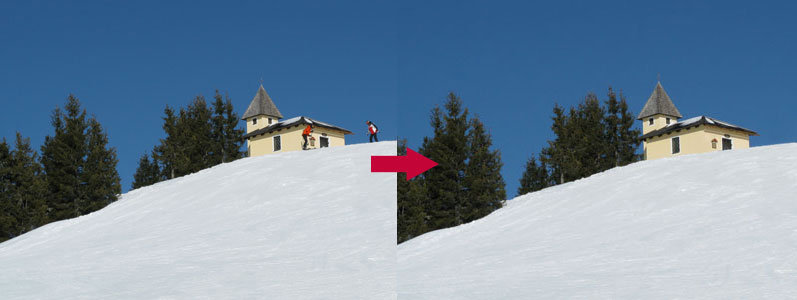
Retouch this photo lyzari-v-alpach and remove the skier. The result is in the picture below.
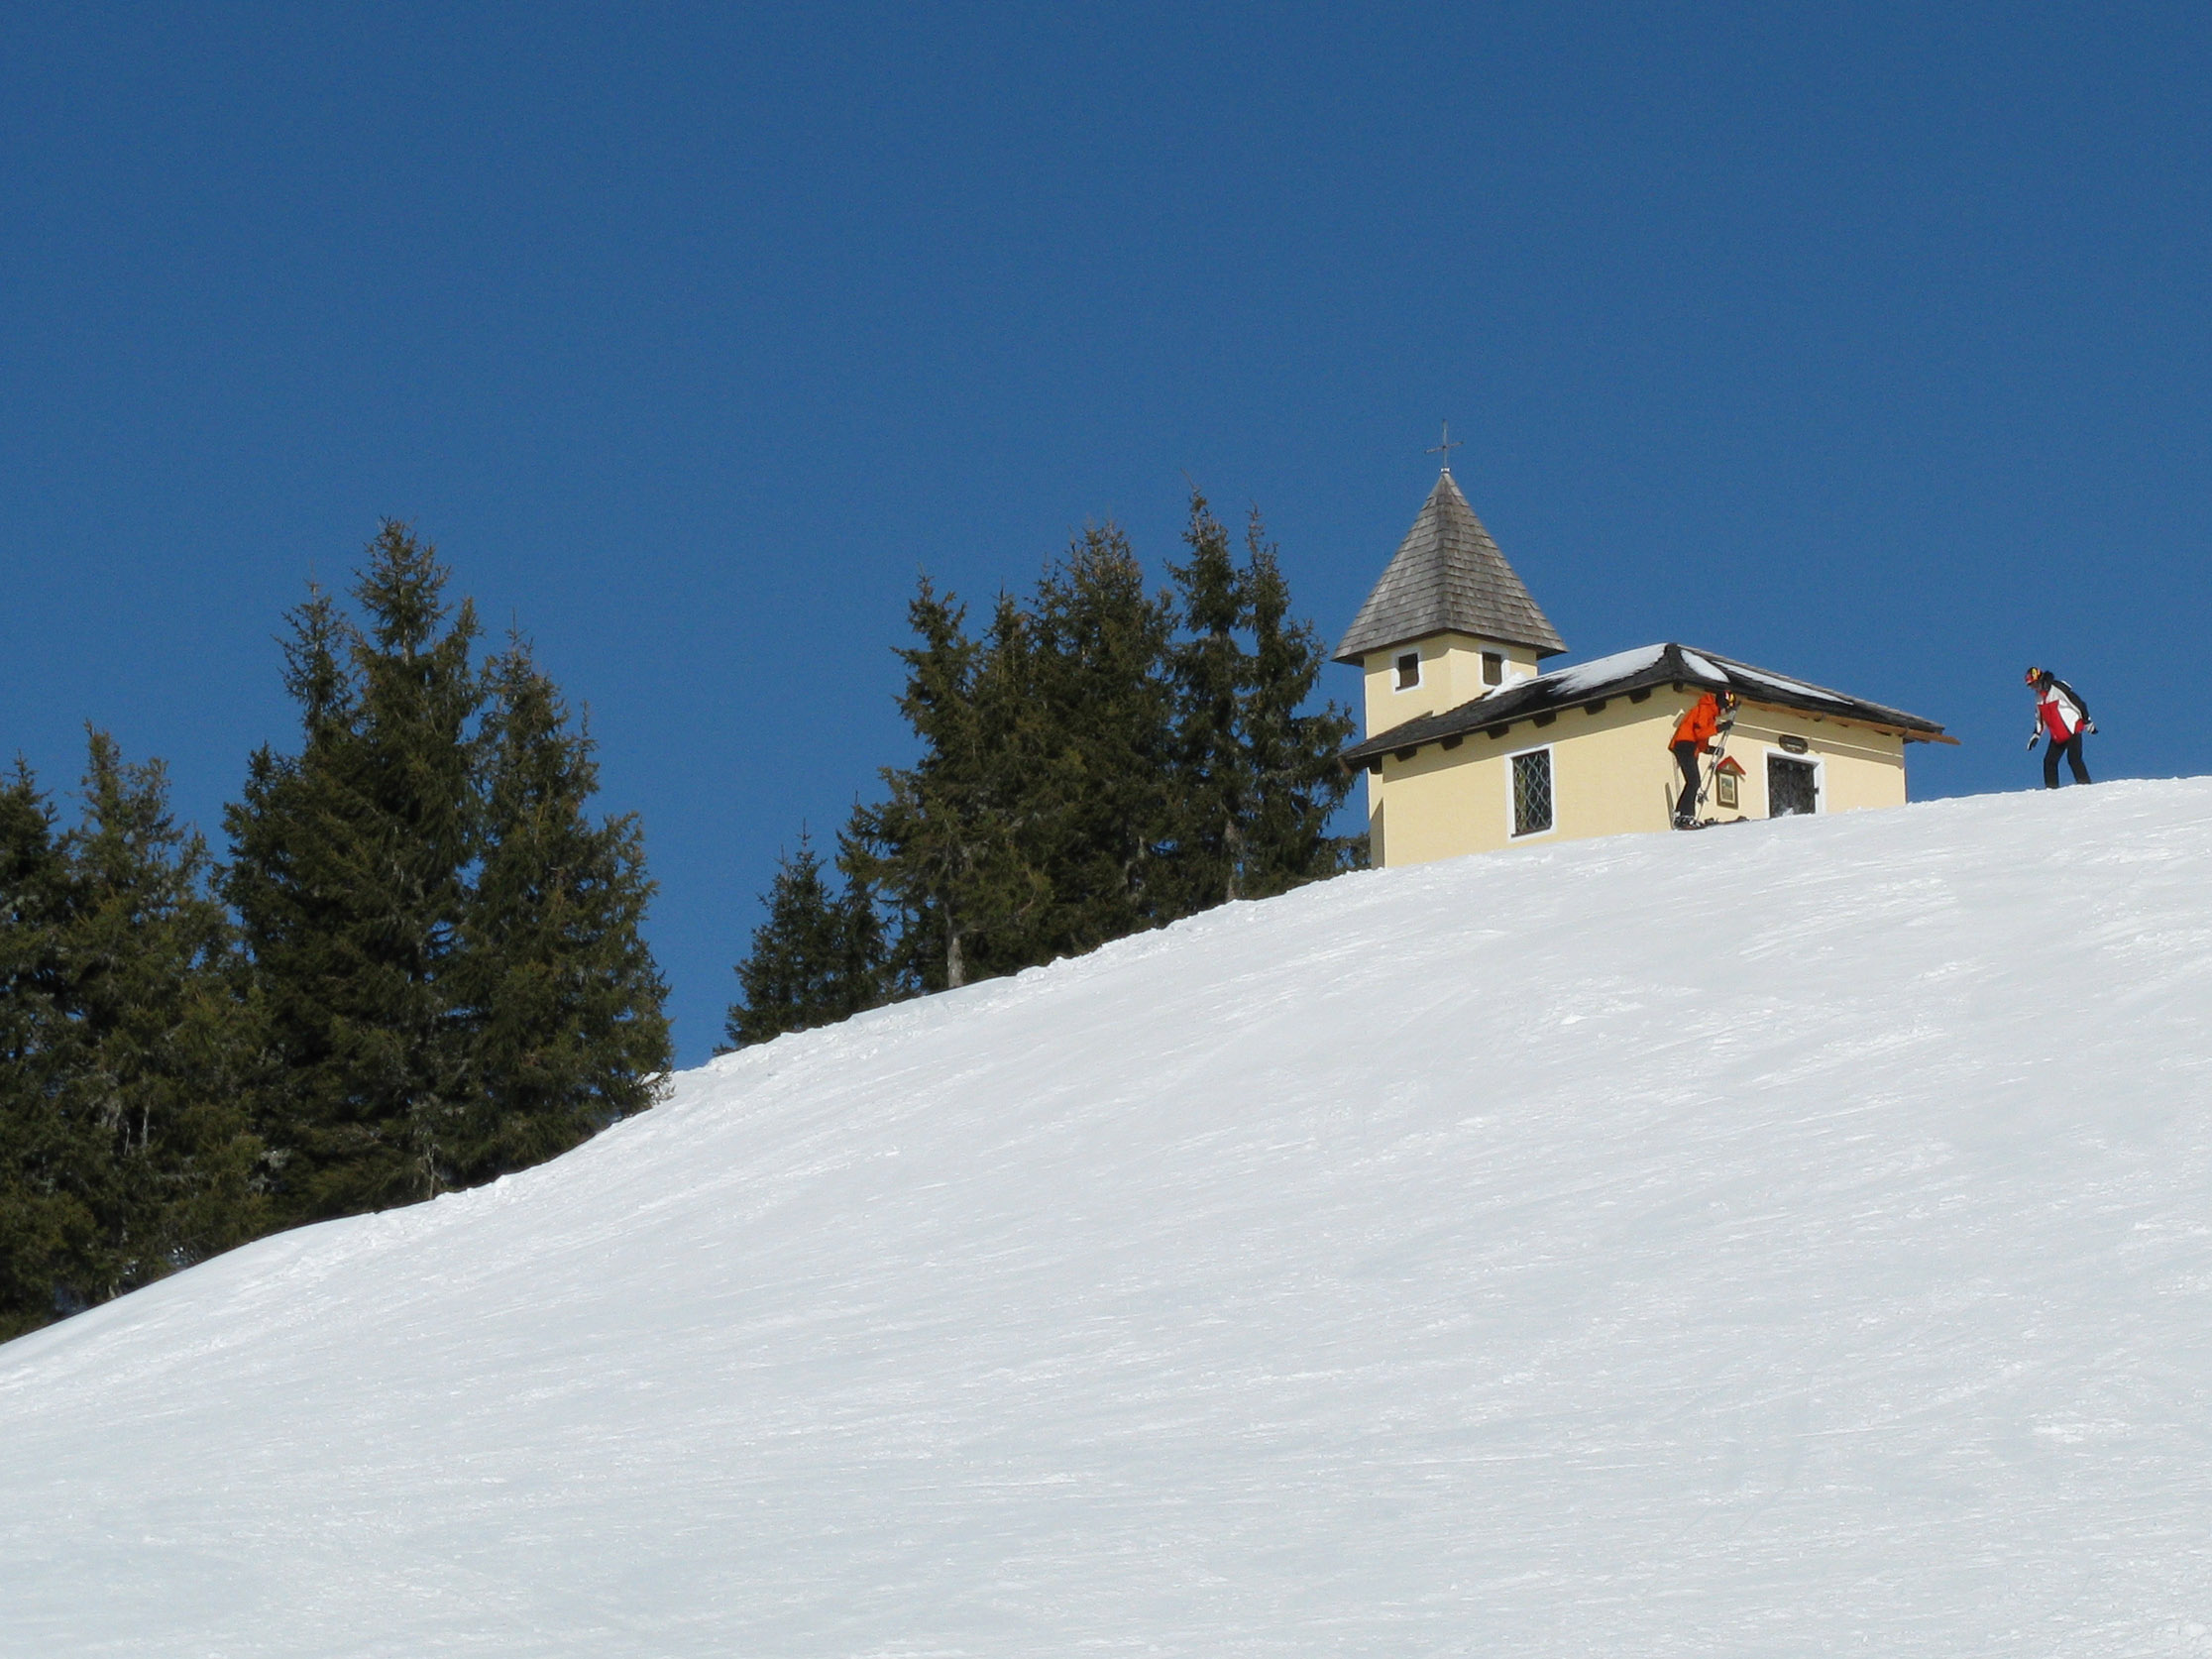
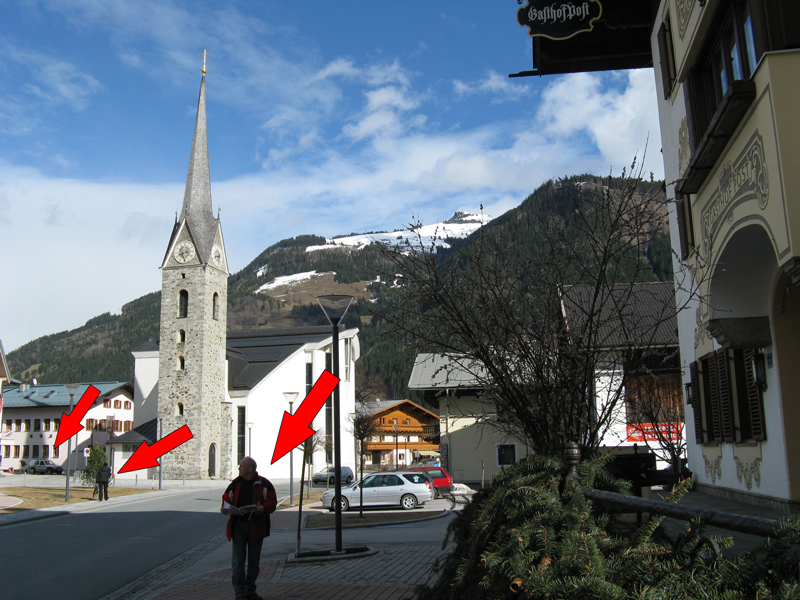
Homework II
Using the retouching tools remove both people who are walking on the pavement from the photo. You should also remove the car which is parking in front of the building in the left part.
Further reading
Questions
- Describe suitable examples of working with these retouching tools.
- Describe situation when is better to use the Clone Stamp Tool and when the Spot Healing Brush Tool.
- Describe several examples of using the Fill Content Tool or the the Patch Tool.