Creation of Film Poster
 Content of the lesson:
- Retouching of Source Photo
- Highlighting the Eyes and Eyebrows
- Darkening the Surrounding of Face
- Moving the Forehead
- Adjusting Exposure and Colors
- Adding Suitable Texts
Lesson Objective
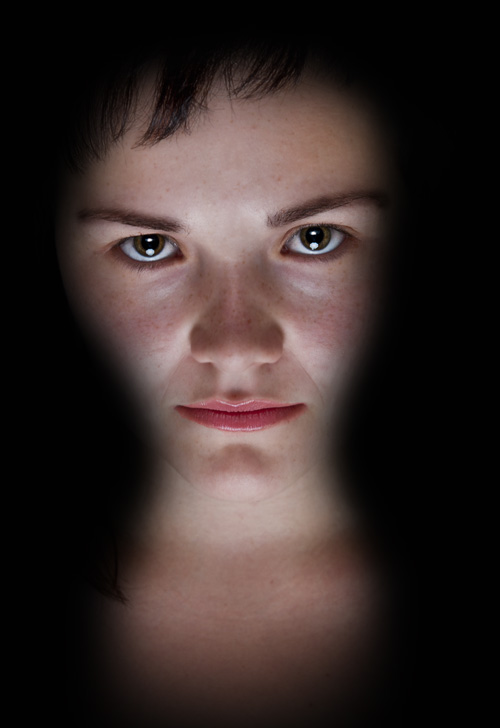
In this lesson we will try to create a film poster which will be publishable and will contain several effects which are commonly used in film industry. We will take inspiration from the following poster for film Salt with Angelina Jolie.
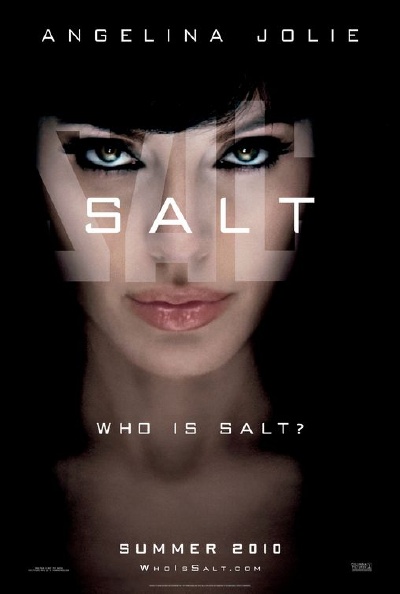
You can see that there is one photo in the poster which was retouched (highlighting or eyes and reflections, eyebrows, lips and more), shadows were adjusted, the surrounding of face was darkened and texts with title of the film, name of actress and more were added at the end. The face is purposely moved to the left side and we will do the same.
You should rename every layer while creating the poster and save your file regularly to avoid loss of data.
Step 1: Source Photo
We will use this file (2,5 MiB) as the source photo. Be sure you download the file and not save the following image because the following image was resized.
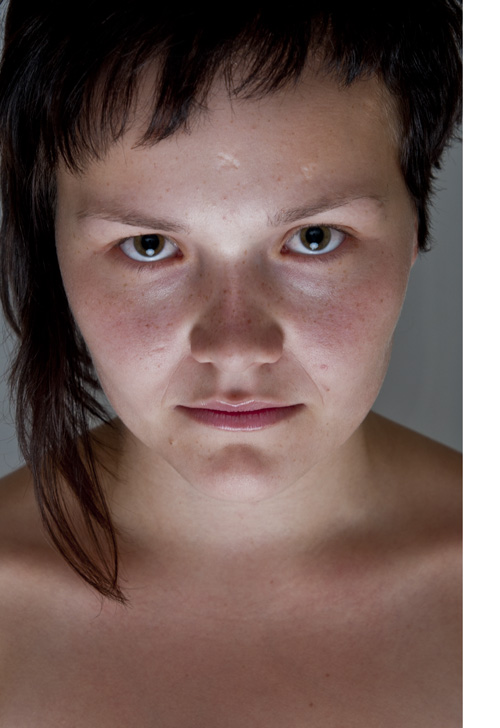
You can see a white strip in the right part because the photo was prepared to move the face slightly to the left side as in the sample poster.
Step 2: Retouching the Source Photo
At first you have to retouch the photo. You can use the Spot Healing Brush tool (the place where you click will be computed from the surrounding area), Patch tool (you can select any area and use pattern from another place, the program will blend the selected area properly) or Clone Stamp tool (copying texture from one place to another one, it is better to use a lower opacity).
You should remove dirt on the faces and on the nose as well as clean ills on the forehead. It is a good idea to duplicate layers to be able to return back in case of a bad adjustment. You can also increase the number of reversible steps in the settings of Adobe Photoshop.
Note.: You do not have to retouch the neck and the body because these parts will not be visible in the final poster.
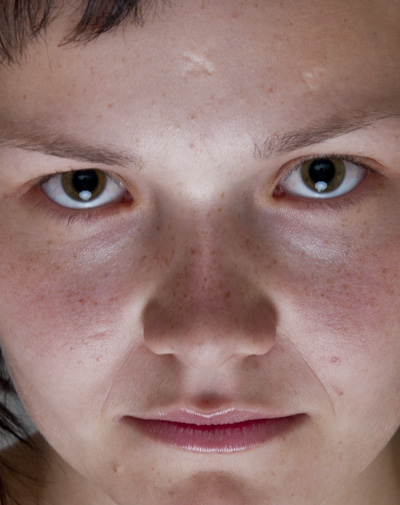
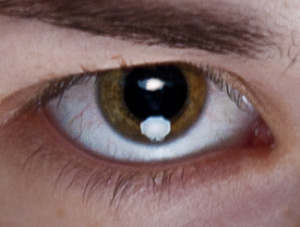
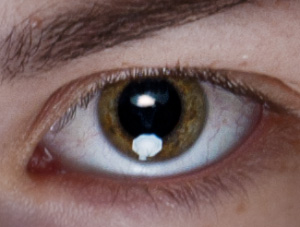
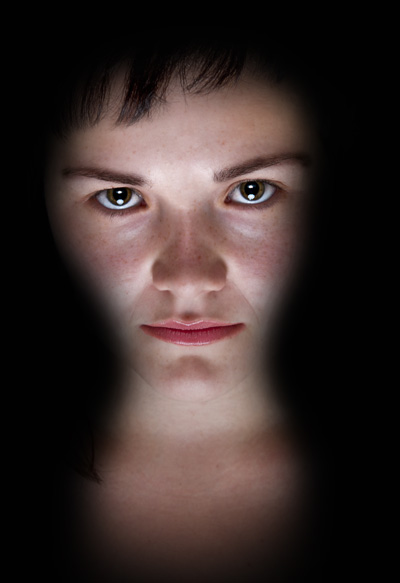
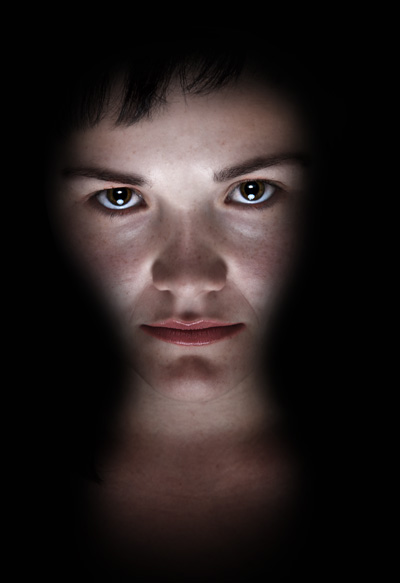
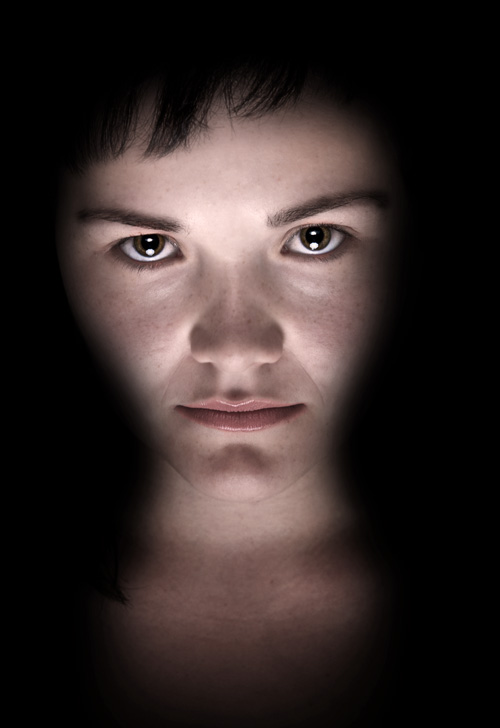
After retouching, you can use the Lighten tool and a lower opacity value to lighten the eyes - we do not want them to be so dark. You should use the Midtones or Shadows mode. The result of both adjustments is visible in the following image (you can see the source photo in the left image and the retouched photo in the right one).

Step 3: Sharpening of Eyes, Eyebrows, Mouth and Hair
We will use a filter for sharpening of eyes, eyebrows, mouth and hair in this step. Duplicate the last layer, choose from menu Filters > Other > Highpass and set a suitable value to highlight eyes (for example 14). Confirm your settings and you can see that the layer changed to grey color and edges are highlighted.
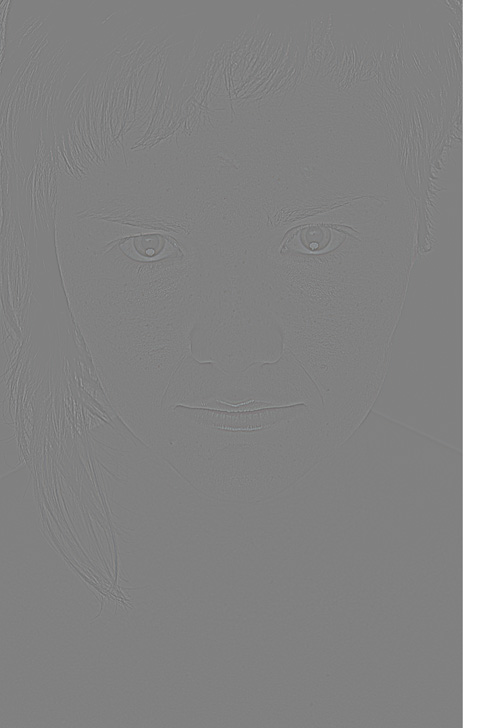
Add a mask to this layer, fill it with black color and use the Brush tool to make eyes, eyebrows, mouth and hair visible (draw them into the mask using white color).
The last step is changing the blend mode of this layer. Set the blend mode to Hard Light which will sharpen those parts of face which we wanted. The rest will remain the same. Of course you can repeat this procedure more times or change the opacity of this layer if needed.
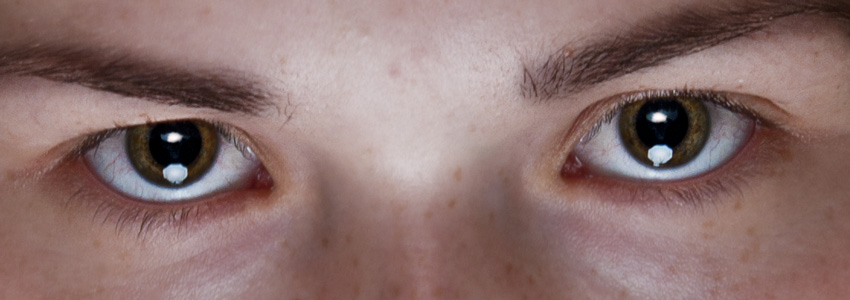
You can see the difference when you zoom to eyes (situation before using the filter is illustrated in the left image, situation after using the filter is illustrated in the right one).

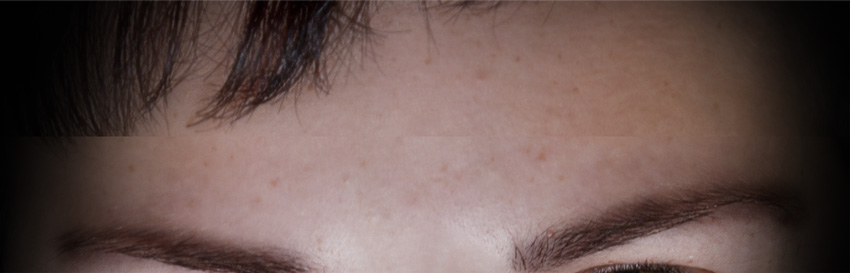
Step 4: Highlighting Eyebrows
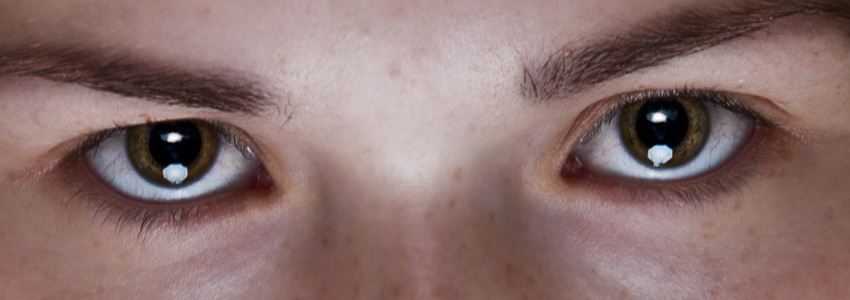
Highlighting parts of face is very often used for film effects. We will start with eyebrows. Create a new layer, set the blend mode to Soft light and set a dark grey color (or slightly brown). Draw the eyebrows and adjust the shape and size using the mask. Finally, you should decrease opacity because the effect does not look real (the following photo uses the value 83 %). You can see the result in the following image (compare the difference with the previous images of eyes).
Step 5: Highlighting Eyes
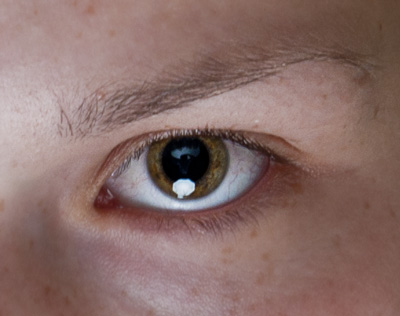
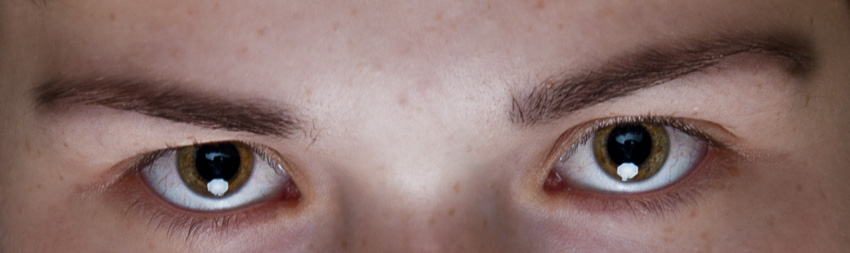
The next step is highlighting eyes because the actress in the source poster has dark and significant eyes. We will add a reflection into each eye - create a new layer, use the Brush tool with a smaller hardness and draw a trustworthy shape into the upper part of pupils as in the following images. It is certainly a good idea to zoom the image as much as possible. The following images show the both eyes.
Then we will highlight the borders of pupils to increase the contrast inside both eyes. Create a new layer and draw the border of pupils using the Brush tool. Pay attention not to draw inside the white part of the eyes! Decrease the opacity value to 59 % and use the blend mode Overlay - you can experiment and try to find a better combination of settings. The result should look like the following image. Try not to overstate this adjustment; otherwise the result will not look real.
The last thing which will be done with eyes is darkening the border of the eyes - you can see that the actress in the source poster has very dark eyes. Create a new layer again, set the blend mode to Overlay and decrease the Opacity to 27 % or another low value. Use the Brush tool and slightly draw the border of eyes - be careful not to draw in the white part of the eyes. The result can look like the following image but try not to overstate this adjustment.
We ended with adjusting the eyes after this step because they look as we wanted.
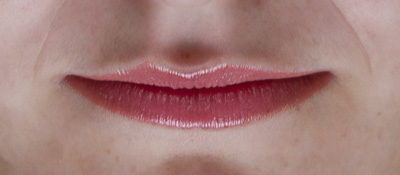
Step 6: Adjusting Lips
The next step is highlighting the color of lips to look more vivid - we will simulate usage of a lipstick. Create a new layer for this purpose, use the blend mode Overlay and set Opacity to 54 %. Then use the Brush tool, set color to RGB(145, 84, 91) and use a higher hardness. Draw the whole lips and be careful not to draw into the surrounding areas. This adjustment is quite subjective so the following image illustrates only one of possibilities how the result can look.
Step 7: Darkening the Surrounding of Face
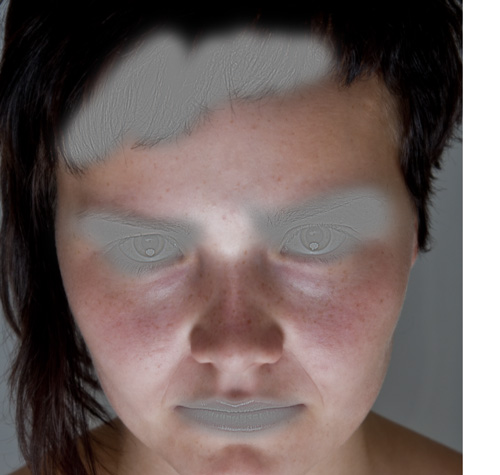
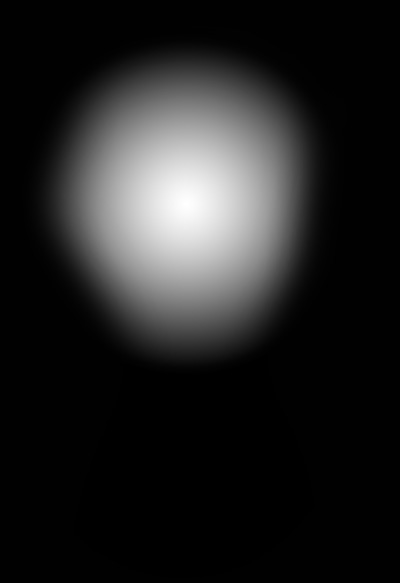
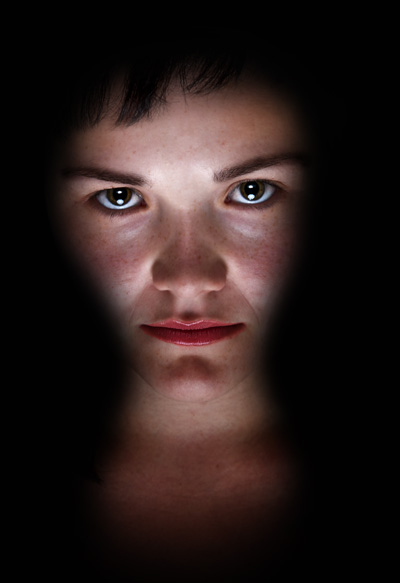
We have to darken the surrounding of the face to simulate the same effect as in the source photo. Create a new layer for this purpose, use the Brush tool and set lower hardness and larger radius. Draw the dark parts inside this new layer to get a similar result as in the following image:
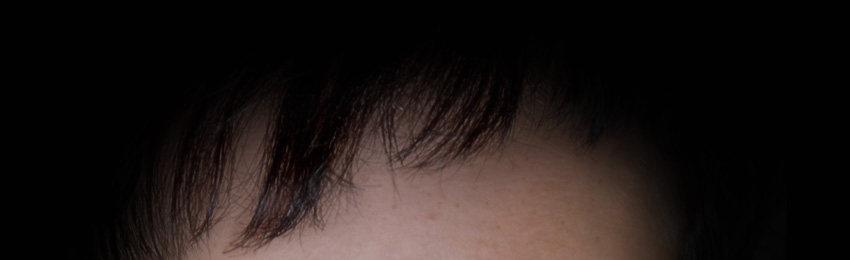
Step 8: Moving the Forehead
You can see from the previous image that our person has higher forehead than the actress in the source poster so we will try to fix this detail. You will need to Copy merged (SHIFT+CTRL+C) all layers into a new one. Then you can copy the upper part of forehead (the part is visible in the following image).
Duplicate this part inside a new layer and move the layer downwards to correspond with the source poster. It is clear that you cannot simply end after this movement because the borderline is visible.
You can fix this mistake by applying a mask and using the Brush tool with smaller hardness to clean the forehead.

We have definitely ended with retouching after this step; all you have to do now is adjusting colors, exposure and adding suitable texts.
Step 9: Adjusting Colors and Exposure
We will use adjustments layers for these adjustments - these layers are available above the list of layers, or from the menu Window > Adjustments.
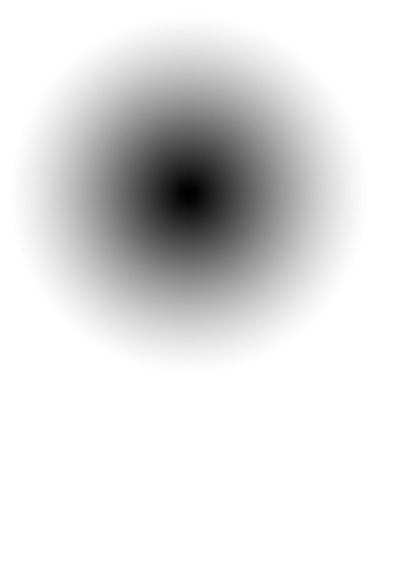
At first we will slightly lighten the area between the eyes and the nose so add the Exposure layer and set Exposure to +0,54, Offset to 0,0024 and Gamma correction to 1,00. You should also create a radial gradient inside the mask to be sure that this adjustment will be used only for the area between the eyes and the nose. You can see the gradient in the following image.
Then we will use the layer Levels to increase the contrast of face. Set values to 0 – 0,46 – 235. Apply the mask but this time we will apply this adjustment on the rest of the face except the area between the eyes and the nose - use an inverted gradient than in the previous example.
You can see that the face is too colorful so we can add another adjustment layer - Vibrance - and set value of Vibrance to -18 and Saturation to -23. Use the mask not to change vibrance of eyes where we hardly created shadows in the previous parts.

Then you can experiment with Channel mixing (R +100 %, G 0%, B 0%) where you should rather use a lower opacity (for example 42 %) of you can add a Photo filter with color RGB(245, 117, 0), set its Density to 25 % and preserve the Luminosity. In other words you should try to get as faithful copy of the source poster as you can.
Step 10: Adding Texts
There is nothing difficult in this step; you only have to find a suitable font in your computer or in the Internet. The font Square 721BT was used for the large light text SALT (size 190pt and bold), its Opacity was decreased to 15 % to look like in the source poster.
The remaining texts were written by the font DezenProRegular which might not be available in your computer so you can use any similar font. You can see that the spacing of characters was increased. Use this font to create the middle text SALT, bottom texts WHO IS SALT and SUMMER 2010 and the upper text with the name PAVLINA SEDLAROVA. Do not forget to center all texts horizontally.
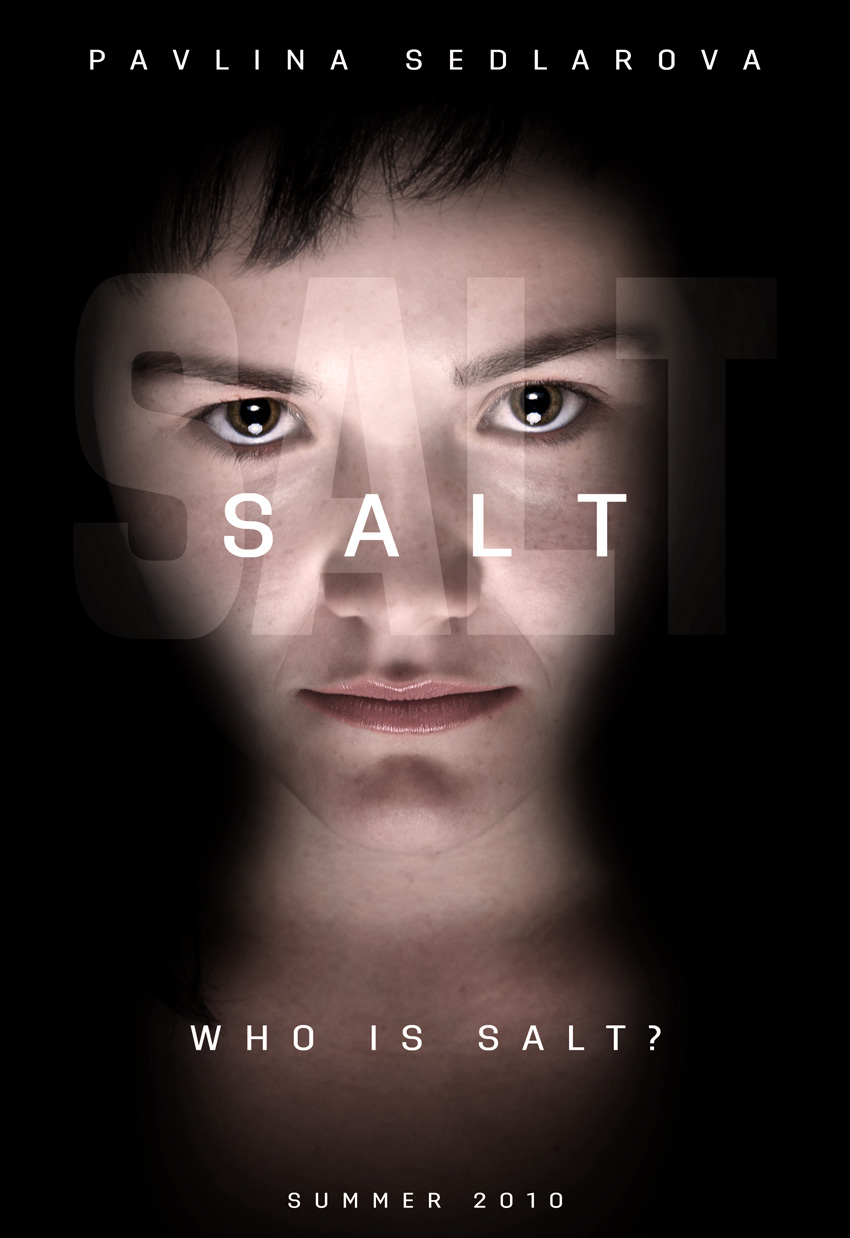
Our poster is finished after this step; you can experiment and try to get a better result of course. The result can be seen in the following image (resized) or you can download it in JPG format here (1,4 MiB).