
Clock Icon Creation I, II
 Content
of the lesson:
Content
of the lesson:
- Skin of the Icon
- Shape of the Icon
- The Inner Part
- Hour Indicators
- Minute Indicators
- Individual Work
- Setting Time
- Adding Numbers on the Face
- Glass Cover Effect
- Homework
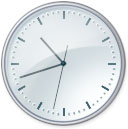
Step 1: Skin of the Icon
We are going to create an icon of clock similar to the icon available in operating systems like Windows Vista of Windows 7.
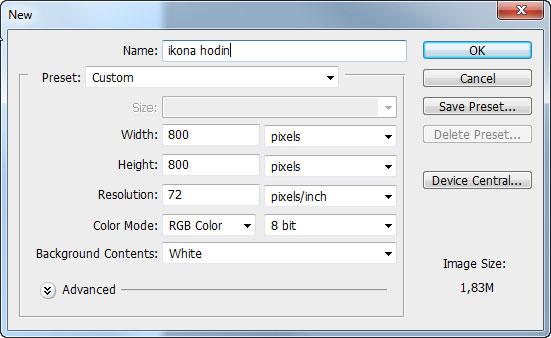
Create a new square document and set the size to 800 x 800 pixels.
Step 2: Shape of the Icon
Create a new layer and name it "shape of the clock". Using the Elliptical Marquee tool create a circle selection. To get a perfect circle hold the SHIFT button when creating the selection. As you can see in the following video, the best way to get such a circle selection is to hold the SHIFT button and drag the circle from the left top corner to the right bottom corner.
The next step is filling the selection using the Paint Bucket tool and centering the image.
- Choose the background layer and holding the CTRL key click on the "shape of the clock" layer. You will select the both layers using this way.
- Activate the Move tool
 and click on the icon for horizontal and vertical alignment (see the
following image). The circle will be centered after this step.
and click on the icon for horizontal and vertical alignment (see the
following image). The circle will be centered after this step.
The procedure is shown in the following video.
You can see a shaded circle around the clock and a stroke in the source image - we can realize this using the layer styles. Double click on the layer "shape of the clock" and set stroke to 2 pixels.

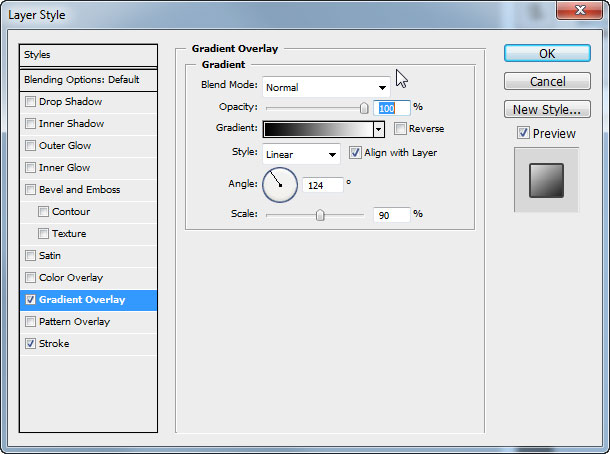
The second effect can be completed using the Gradient Overlay style (see the following image).
Step 3: The Inner Part
- At first duplicate the layer "shape of the clock" and rename the duplicated one to "shape inner".
- Reduce the new layer using the Transform tool (CTRL+T) and hold the ALT and SHIFT keys (ALT for symmetrical transformation, shift for proportional transformation). The inner part was created.
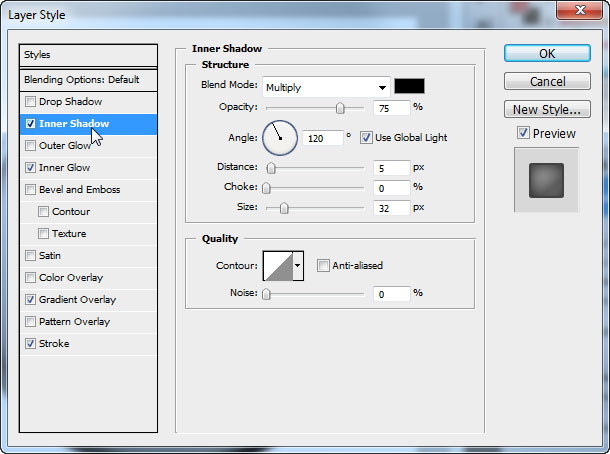
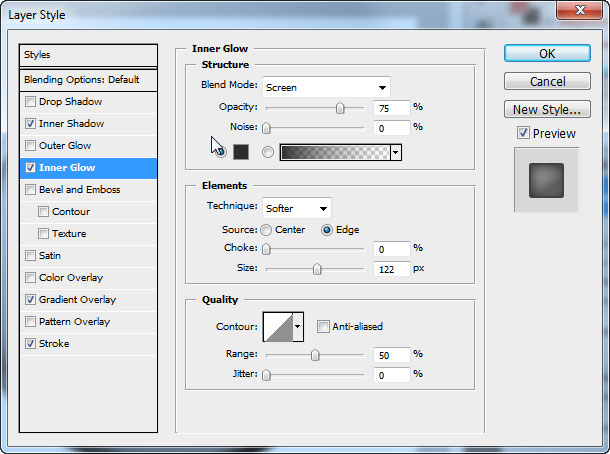
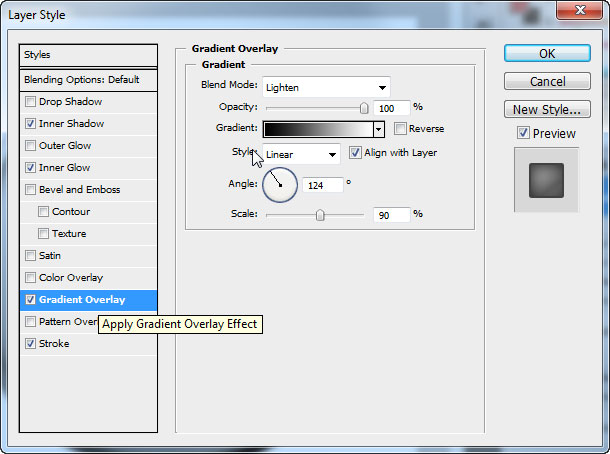
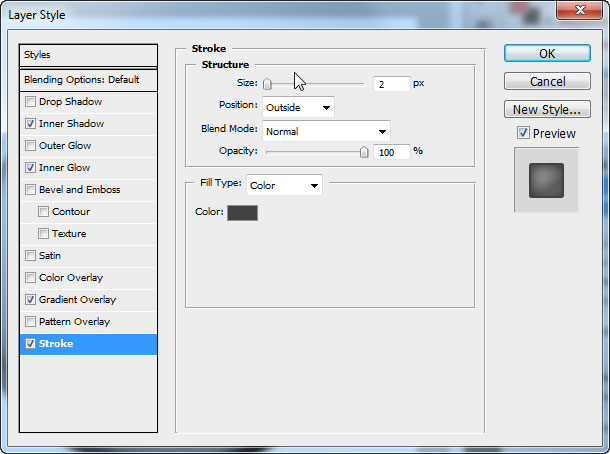
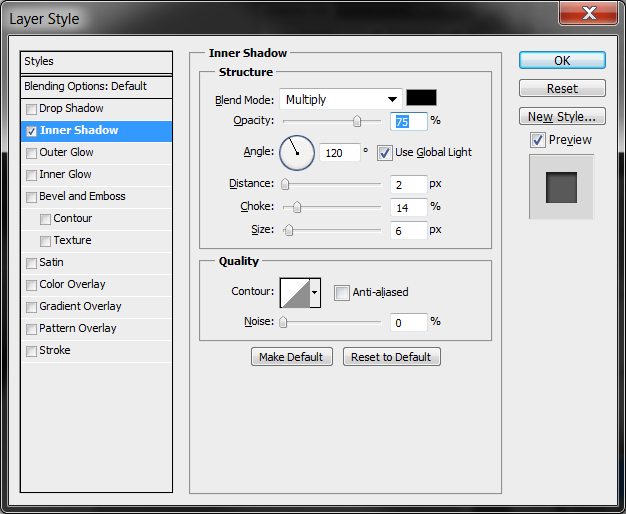
- To simulate the 3D effect of the border apply layer styles again. Experiment with the values of Inner Shadow, Inner Glow, Gradient Overlay and Stroke styles.
The whole procedure is illustrated in the following video.
The following images show the settings of all layer styles:
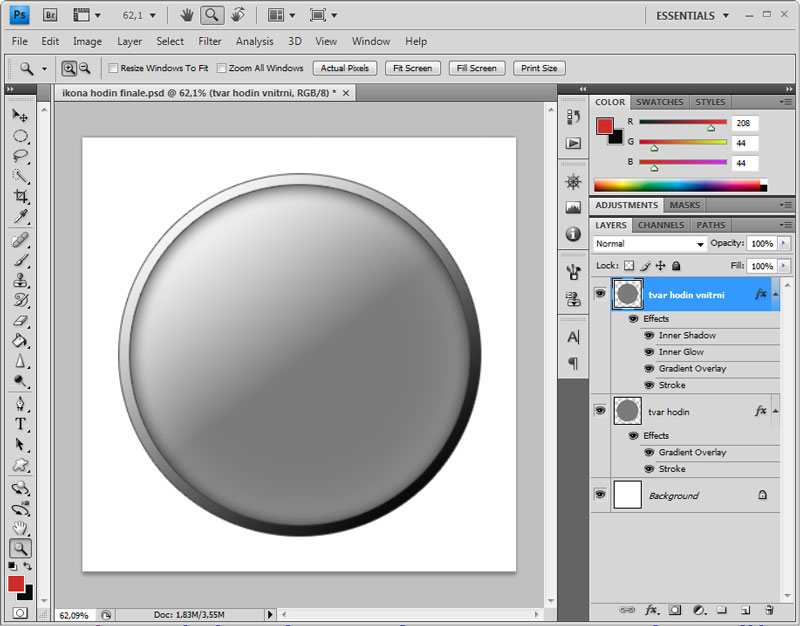
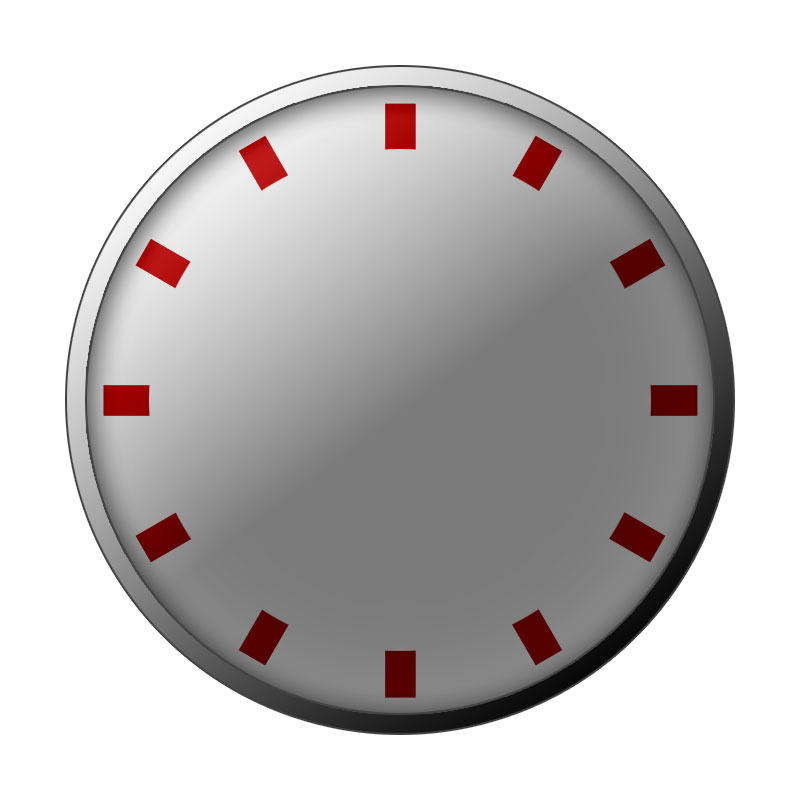
After finishing these steps our icon should look like the one in the following image.
Step 4: Hour Indicators
We are going to create the most complicated step now.
- Using the Rectangle tool create a rectangle which will represent the pointer for an hour.
- Duplicate the layer with the rectangle.
- Now we have to rotate the rectangle into the position of the next pointer. You should be accurate to have an accurate layout of pointers. You have to compute the rotation angle to create 12 pointers with the same distances. Divide 360 degrees by the number of pointers (12) and you will get the angle of 30 degrees.
- Transform (CTRL+T) the duplicated layer, set the angle to 30 and confirm. You will get two rectangles after this step.
- You could repeat the last two steps a few times again but Adobe Photoshop has a function for this - a function which repeats the last created transformation (the shortcut is CTRL+SHIFT+T). On the top of that you can let the transformed layer to be duplicated (shortcut CTRL+SHIFT+ALT+T). Repeat the command until you have all pointers in place.
- The last step is to select all layers with rectangles (using the CTRL button) and merge them to one layer (click on them using the right mouse button and select Merge Layers option).
The whole procedure is shown in the following video:
This part will create the correct pointers for hours which will all be the same.
- The first thing you should do is to center the "star" from the rectangles. Select the layer together with the background and center it using the same procedure as for the shape of the clock (using the horizontal and vertical align).
- Select the inner part of the clock (CTRL + click on the layer's icon). You should get a circle selection.
- In the Selection menu choose the Transform Selection option and reduce the selection (while holding SHIFT+ALT) as much as we want - this area of the star will be hidden.
- Switch to the Selection tool, click on the canvas and choose Select Inverse option. The selection will be inversed (every selected point will be deselected and vice versa).
- To hide the inner (not selected) part of the star you have to create a mask inside the star layer. Because the inner part is not selected it will be automatically hidden when creating the mask.
- Rename the created layer to "hour pointers".
The last modification in this step can be changing the blend mode of the layer to "Linear Burn". A more plastic appearance is gained.
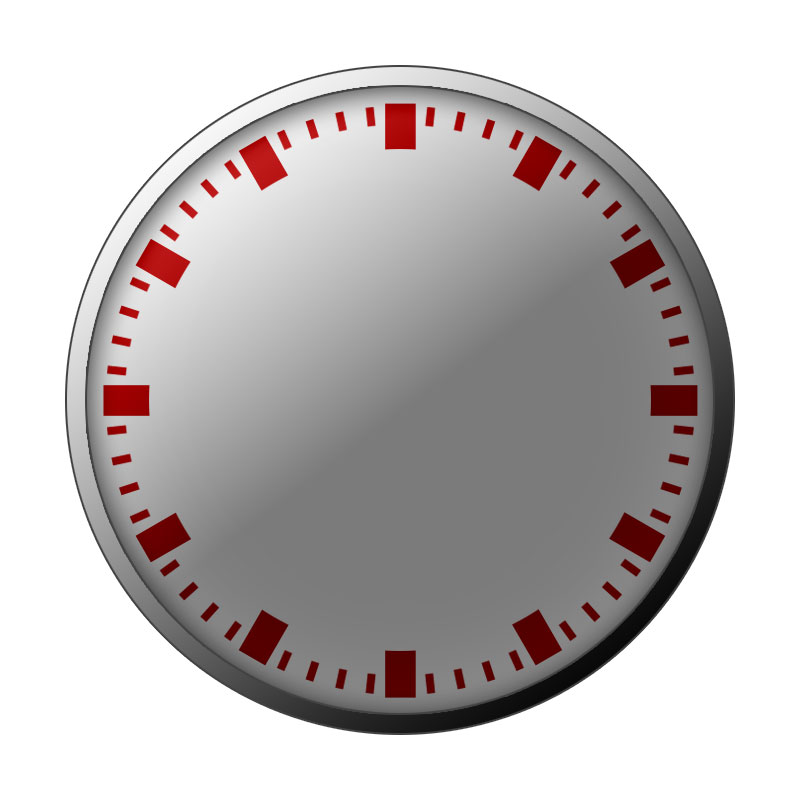
Step 5: Minute Indicators
This step is the same as the previous one - we are going to create pointers for minutes. One hour has 60 minutes so you have to divide 360 by 60 and you will get an angle of 6 degrees.
Set the blend mode to Linear Burn too.
Because of the blend mode you can see the minute pointers under the hour pointers. You can delete the minute pointers in these locations - the easiest solution is to select the area of hour pointers and delete this area using the DEL key in the layer containing the minute pointers. The procedure is shown in the following video.
After finishing this step our clock icon should look like the one in the following image:
Step 6: Individual Work
Create the middle point for attaching the hour, minute and second hand.
The point is a simple centered circle with gradient in the background to simulate a 3D effect. You can also add the Drop Shadow effect using a lower distance.
The middle point is completed and we are going to continue creating the hands, the hour hand at first. The easiest procedure is to create only a half and mirror it.
Before creating the hands you can add the guiding lines (horizontal and vertical) which will cross in the center of the clock. Then create a long rectangle, align it to the horizontal guiding line and using the Pen tool or the Rectangular Marquee tool cut the end (using the Pen you can define any shape, close it and then select the Make Selection option from the context menu). Align the hand not to go beyond the center circle on the other side.
Duplicate the layer, mirror it and move it to the other side of the guiding line. Merge both layers together.
Create the minute hand from the hour hand by duplicating it and transforming it to be longer. The second hand can be created using the same way but you should make it narrower (reduce the width).
The whole procedure is illustrated in the following video:
The second hand:
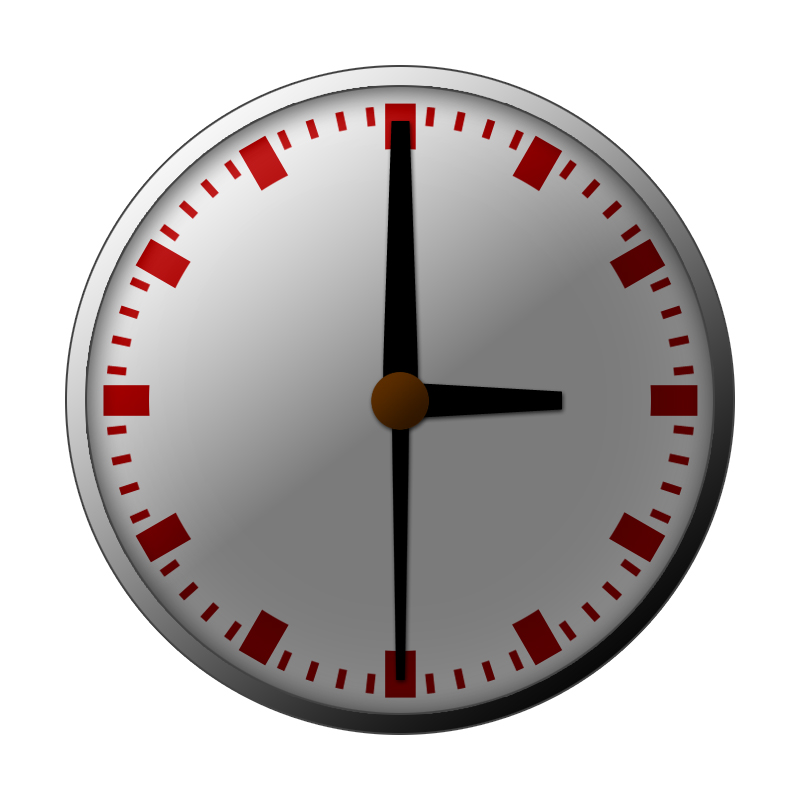
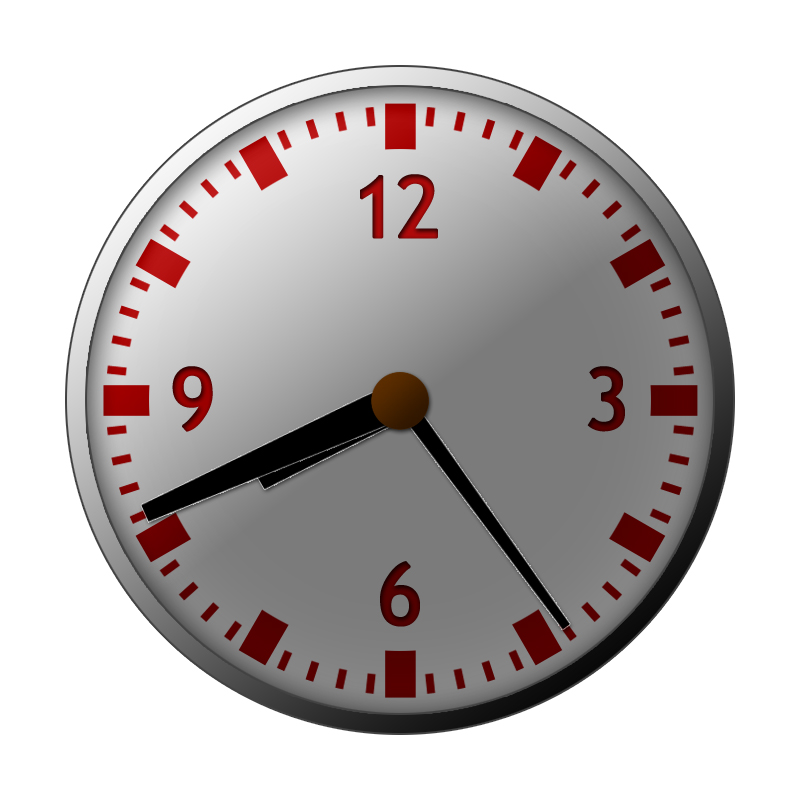
Step 7: Setting Time
Set 8.41 hours and 24 seconds as the active time.
The whole procedure is not difficult, you should move the pivot which can be done by moving the cross displayed in the center of any object when transforming it. If you move this cross to the center of the clock you will be able to rotate the hands like the real ones around the middle point.
You should compute that every minute and second represents 6 degrees. Adobe Photoshop cannot rotate more than 180 degrees positive/negative so you have to compute the rest to 360 and flip the sign if needed. Every hour represents 30 degrees.
At the end you can add a light border to the hands to be able to recognize them one from the other one.

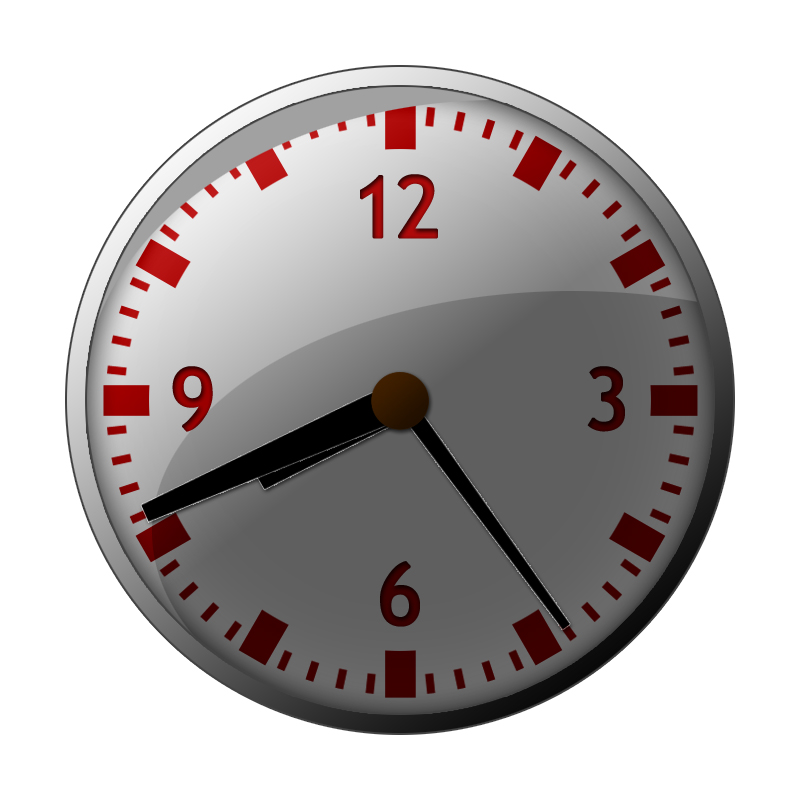
Step 8: Adding Numbers on the Face
Most of the clocks have numbers on the face, at least the main 4 numbers (3, 6, 9, 12). Create a text layer, center it horizontally and write "12" inside it. Take the color from the hour pointer above it.
Apply the Inner Shadow style on the layer and use to following settings:
Duplicate the layer three times and place the numbers to according hour pointers (align 6 and 12 vertically, 3 and 9 horizontally). Pay attention to keep the same distance from the pointers. You should take color from the nearest pointer to look realistic.
The whole result could look like the following one or you can reduce the size of the numbers as shown in the final image.
Step 9: Glass Cover Effect
The effect can be added using another layer and setting a suitable blend mode. Create a new layer and draw an ellipse inside. Use a grey color RGB(160, 160, 160).

Create a mask and hide the outside part of the ellipse (use one of the layers below to select the area).

Set the blend mode to Linear Burn and the Opacity around 30 %.
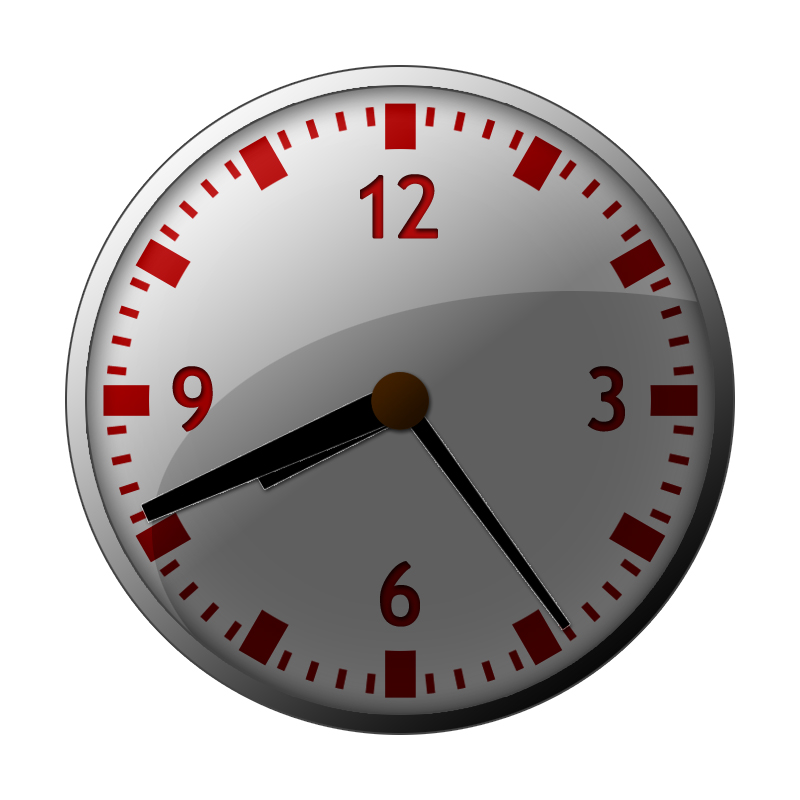
Using the same technique create the following shape - create an ellipse selection; inverse selection and using the mask create a shadow on the other side of the clock.
Set the blend mode to Linear Burn and the Opacity around 10 %. You can add another shadows, add layers with gradients and experiment to get the best possible result. You can also lower the Opacity value of the layers with ellipses to get a similar result as in the following image.

Step 10: Homework
Set 9.15 hours and 37 seconds as the time.
Additional Texts
Questions
- Is it possible to repeat the last used transformation in Adobe Photoshop? Can you name several examples where this function makes your work faster?
- Try to explain the way to rotate an object around another point than its center.