
Basics of Working with Photos - Color Corrections, Toning, Contrast, Crop Tool
 Content
of the lesson:
Content
of the lesson:
- Basics of Working with Photos
- Color Corrections
- Toning
- Contrast
- Crop Tool
Automatic Contrast
Open the photo hodinky.jpg in Adobe Photoshop. You can use two different ways.
- Choose the menu "File" and item "Open" and choose the request file.
- Drag the file to Adobe Photoshop window (click using the left mouse button on a file, for example inside the explorer of Windows, hold the mouse button and drag the file over the Photoshop window and then release the left button - this technique is being called "drag&drop").
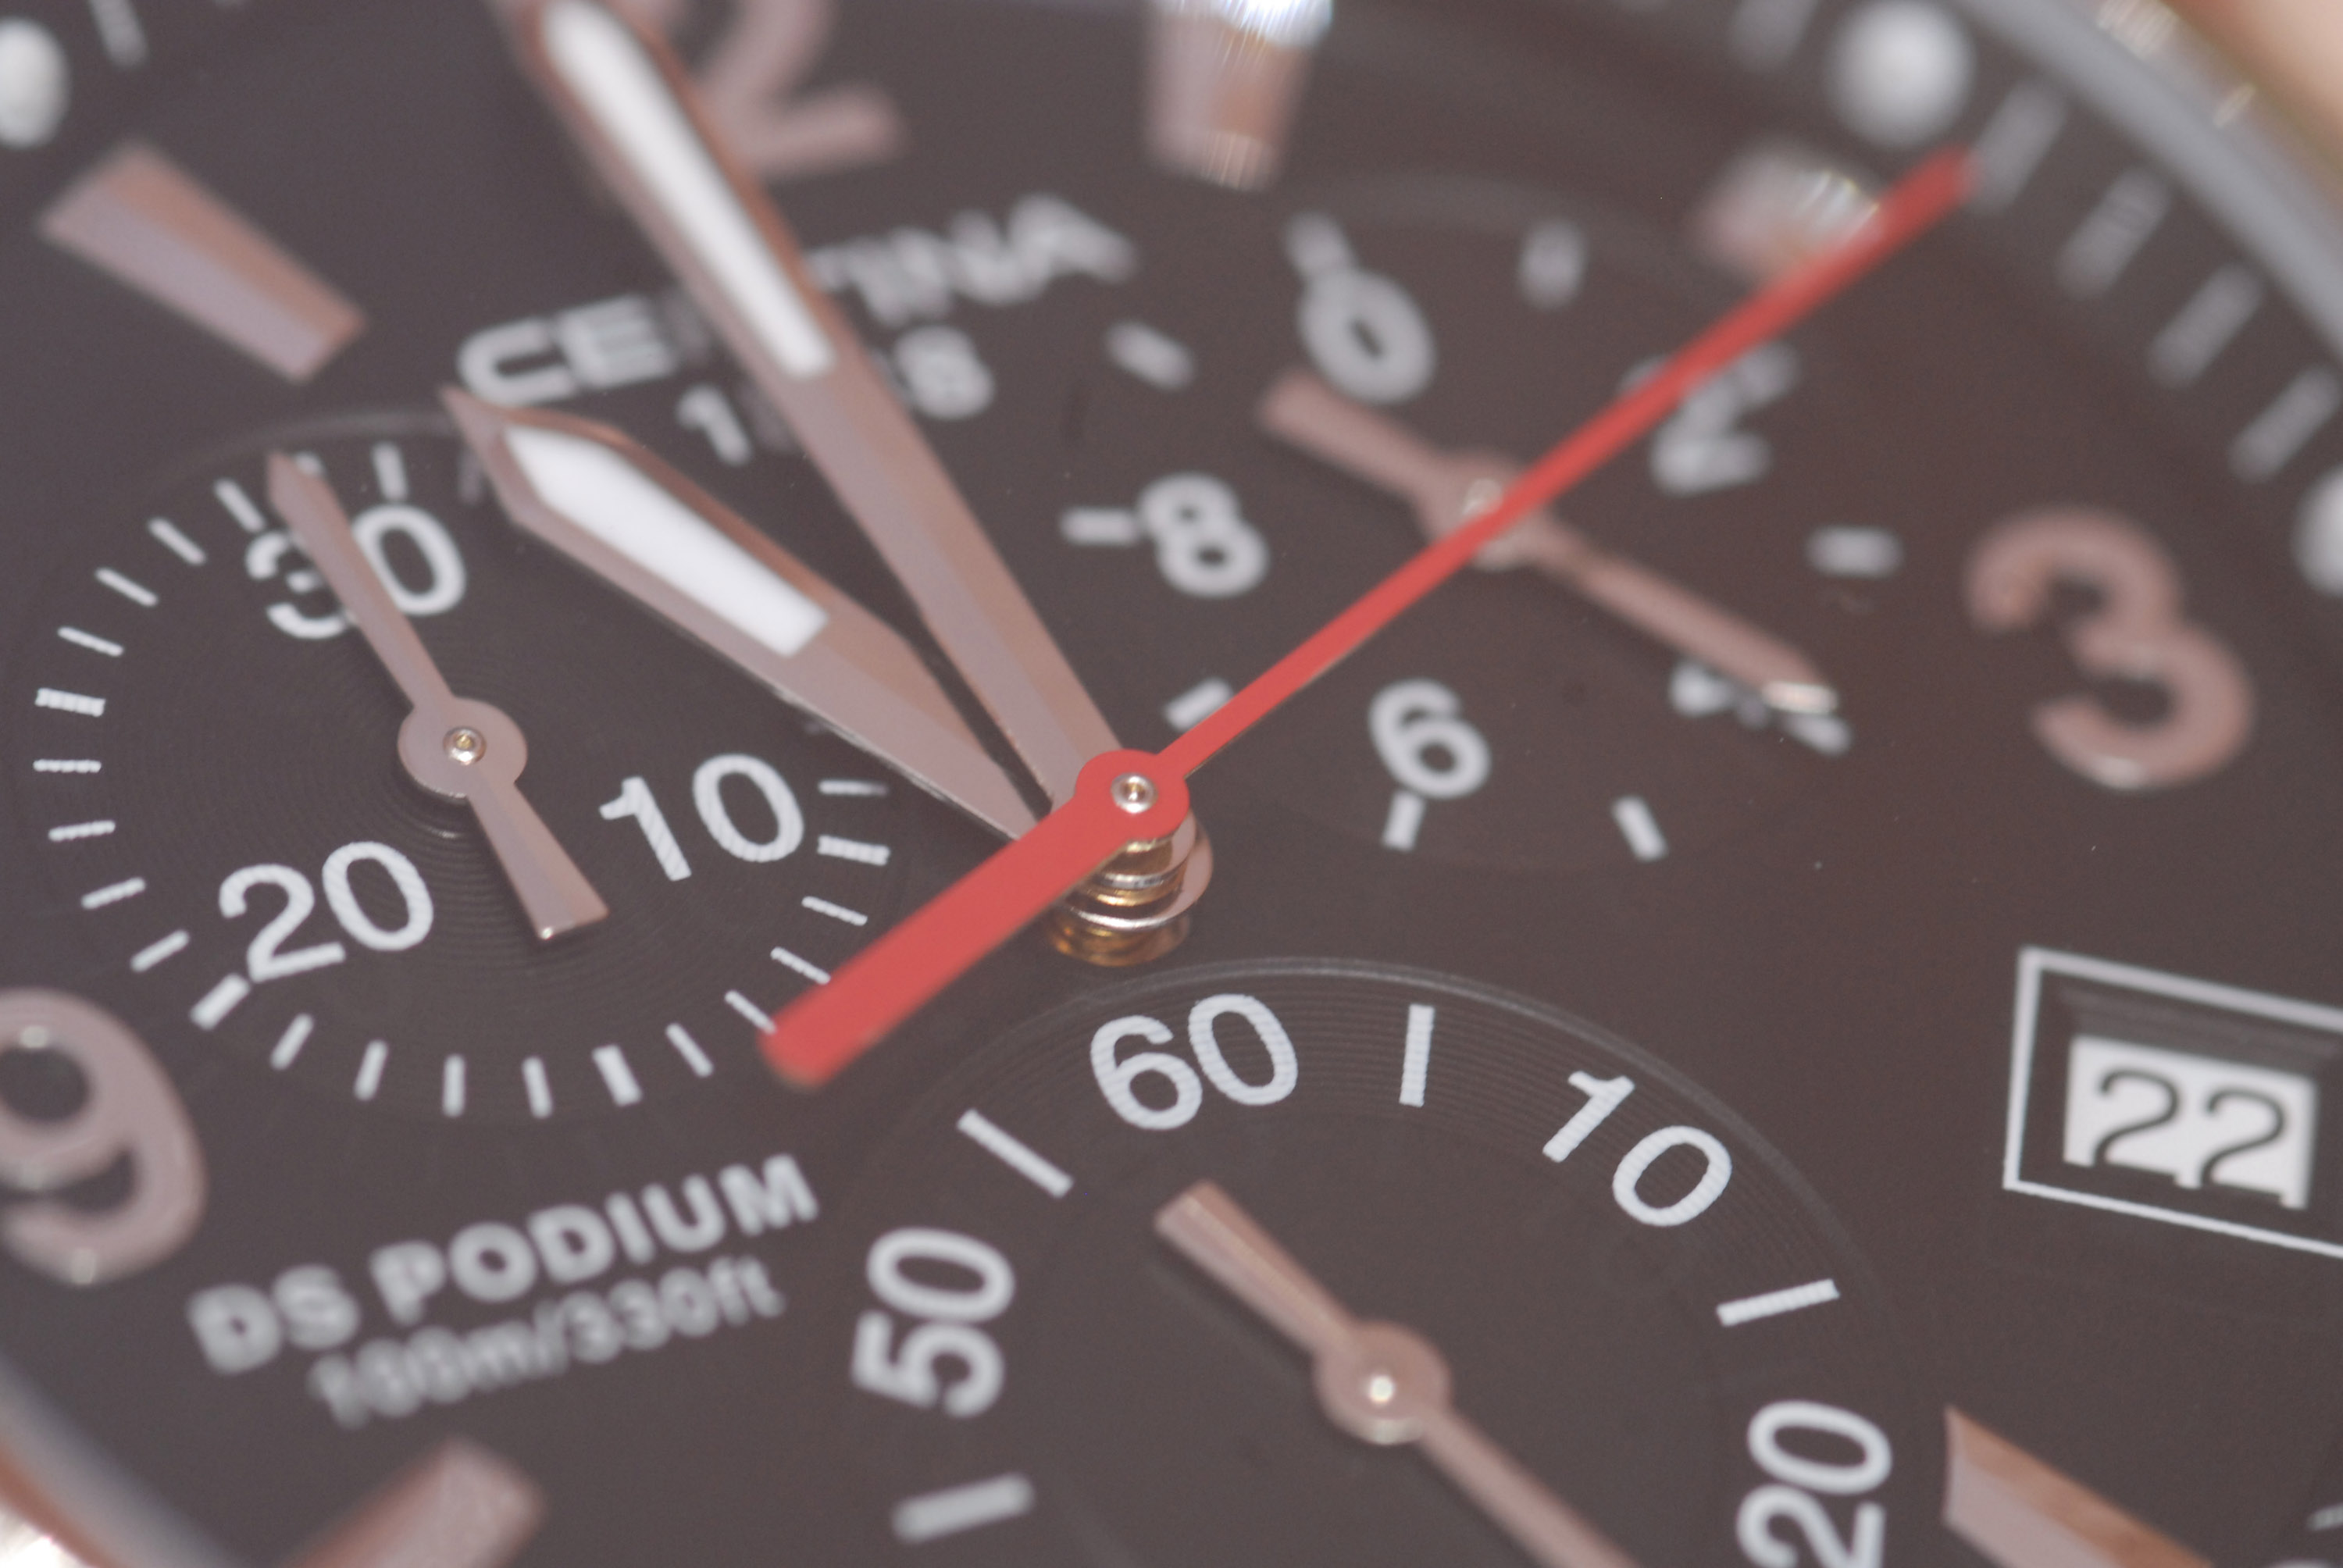
If you look at the photo you see that there is "something missing" - in real the watch reflects light so the photo misses contrast.
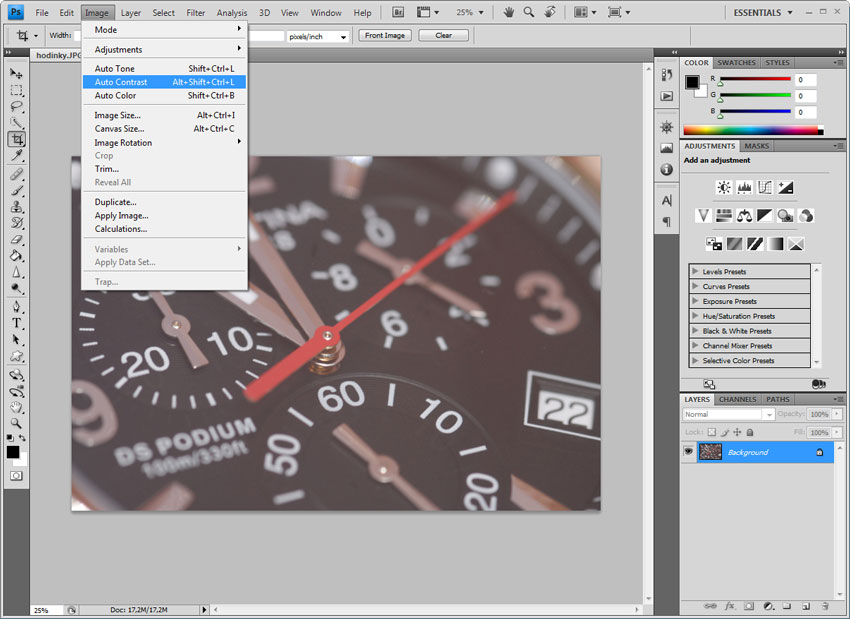
Think about where you could find a function for adjusting contrast in Photoshop. Try to open the menu "Image" (you want to work with the image, don't you?) and you can see the item Auto Contrast. We can try to use it. Photoshop will try to adjust the contrast automatically. You can see the result image below this text - it was so simple to dramatically improve our photo using only one click, wasn't it?
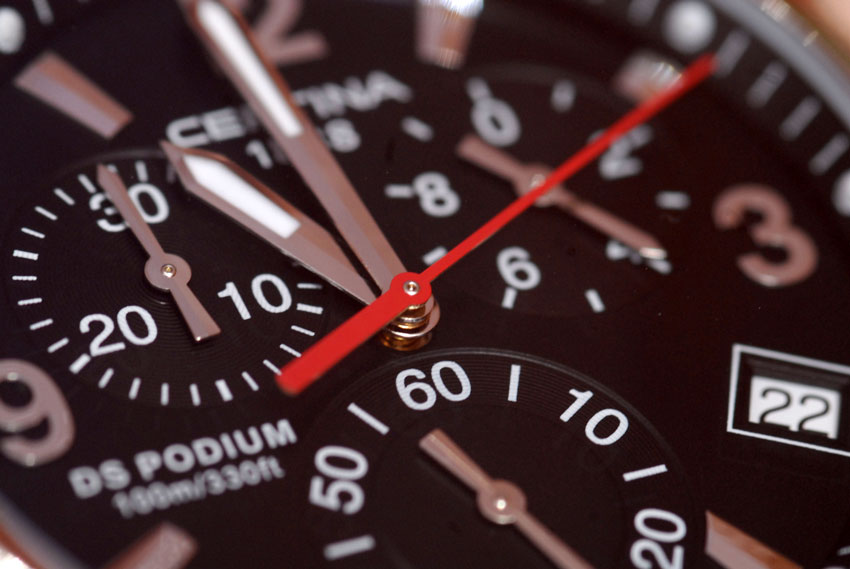
The function Auto Contrast often does not work as we want but it is one from many steps which should be tried when editing a photo in Photoshop for the first time.
Hue, Saturation, Coloring
You can also change hue or saturation of any photo or colorize it. We will use the tool from menu Window->Adjustments->Hue and Saturation".
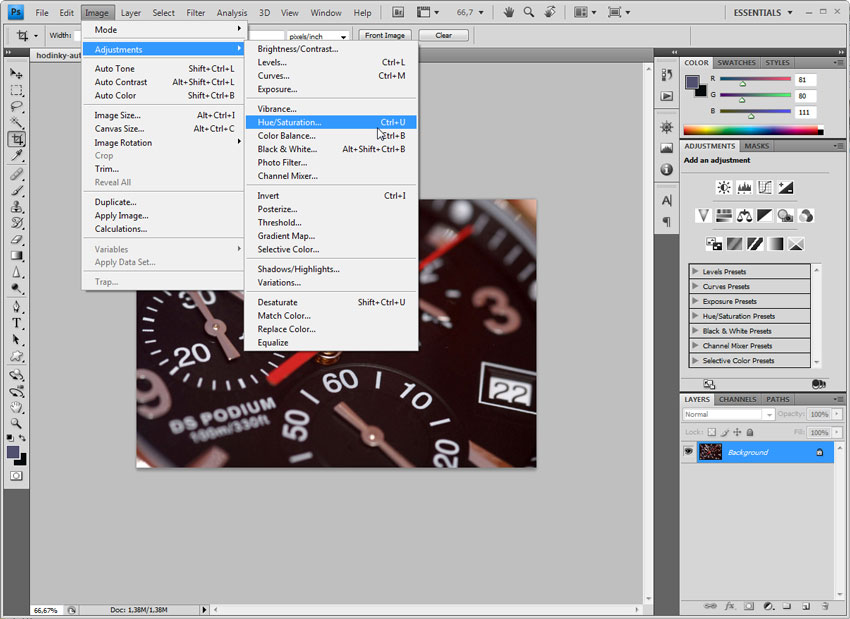
After activating it you will see the following window.
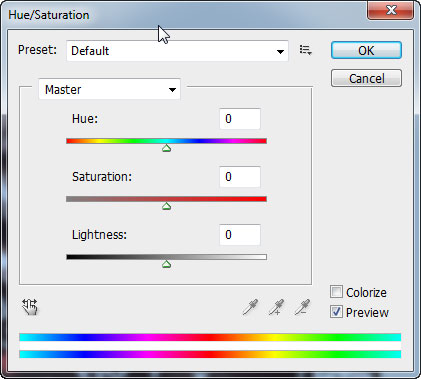
Take a look at the most important parts.
- Hue - using this slider you can change the hue of the photo.
- Saturation - using this slider you can change the saturation of the photo. What will happen in case that you set it to minimum?
- Lightness - using this slider you can change the lightness of the photo.
- Colorize - when you check this field you will colorize the photo.
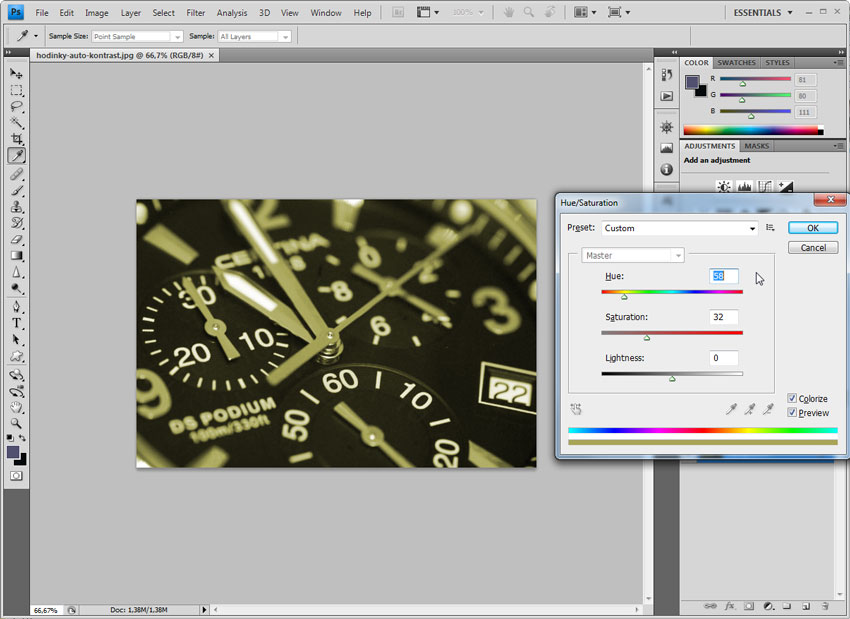
Try to experiment with this panel and observe the results. On of the possible results is illustrated in the image below.
Because of the fact that all adjustments are immediately applied, adjustment layers are rather used (you can return back to the previous photo). However, this technique is enough for introduction. Is it possible to make an adjustment and be still able to return to the previous photo?
Automatic Toning and the Crop Tool
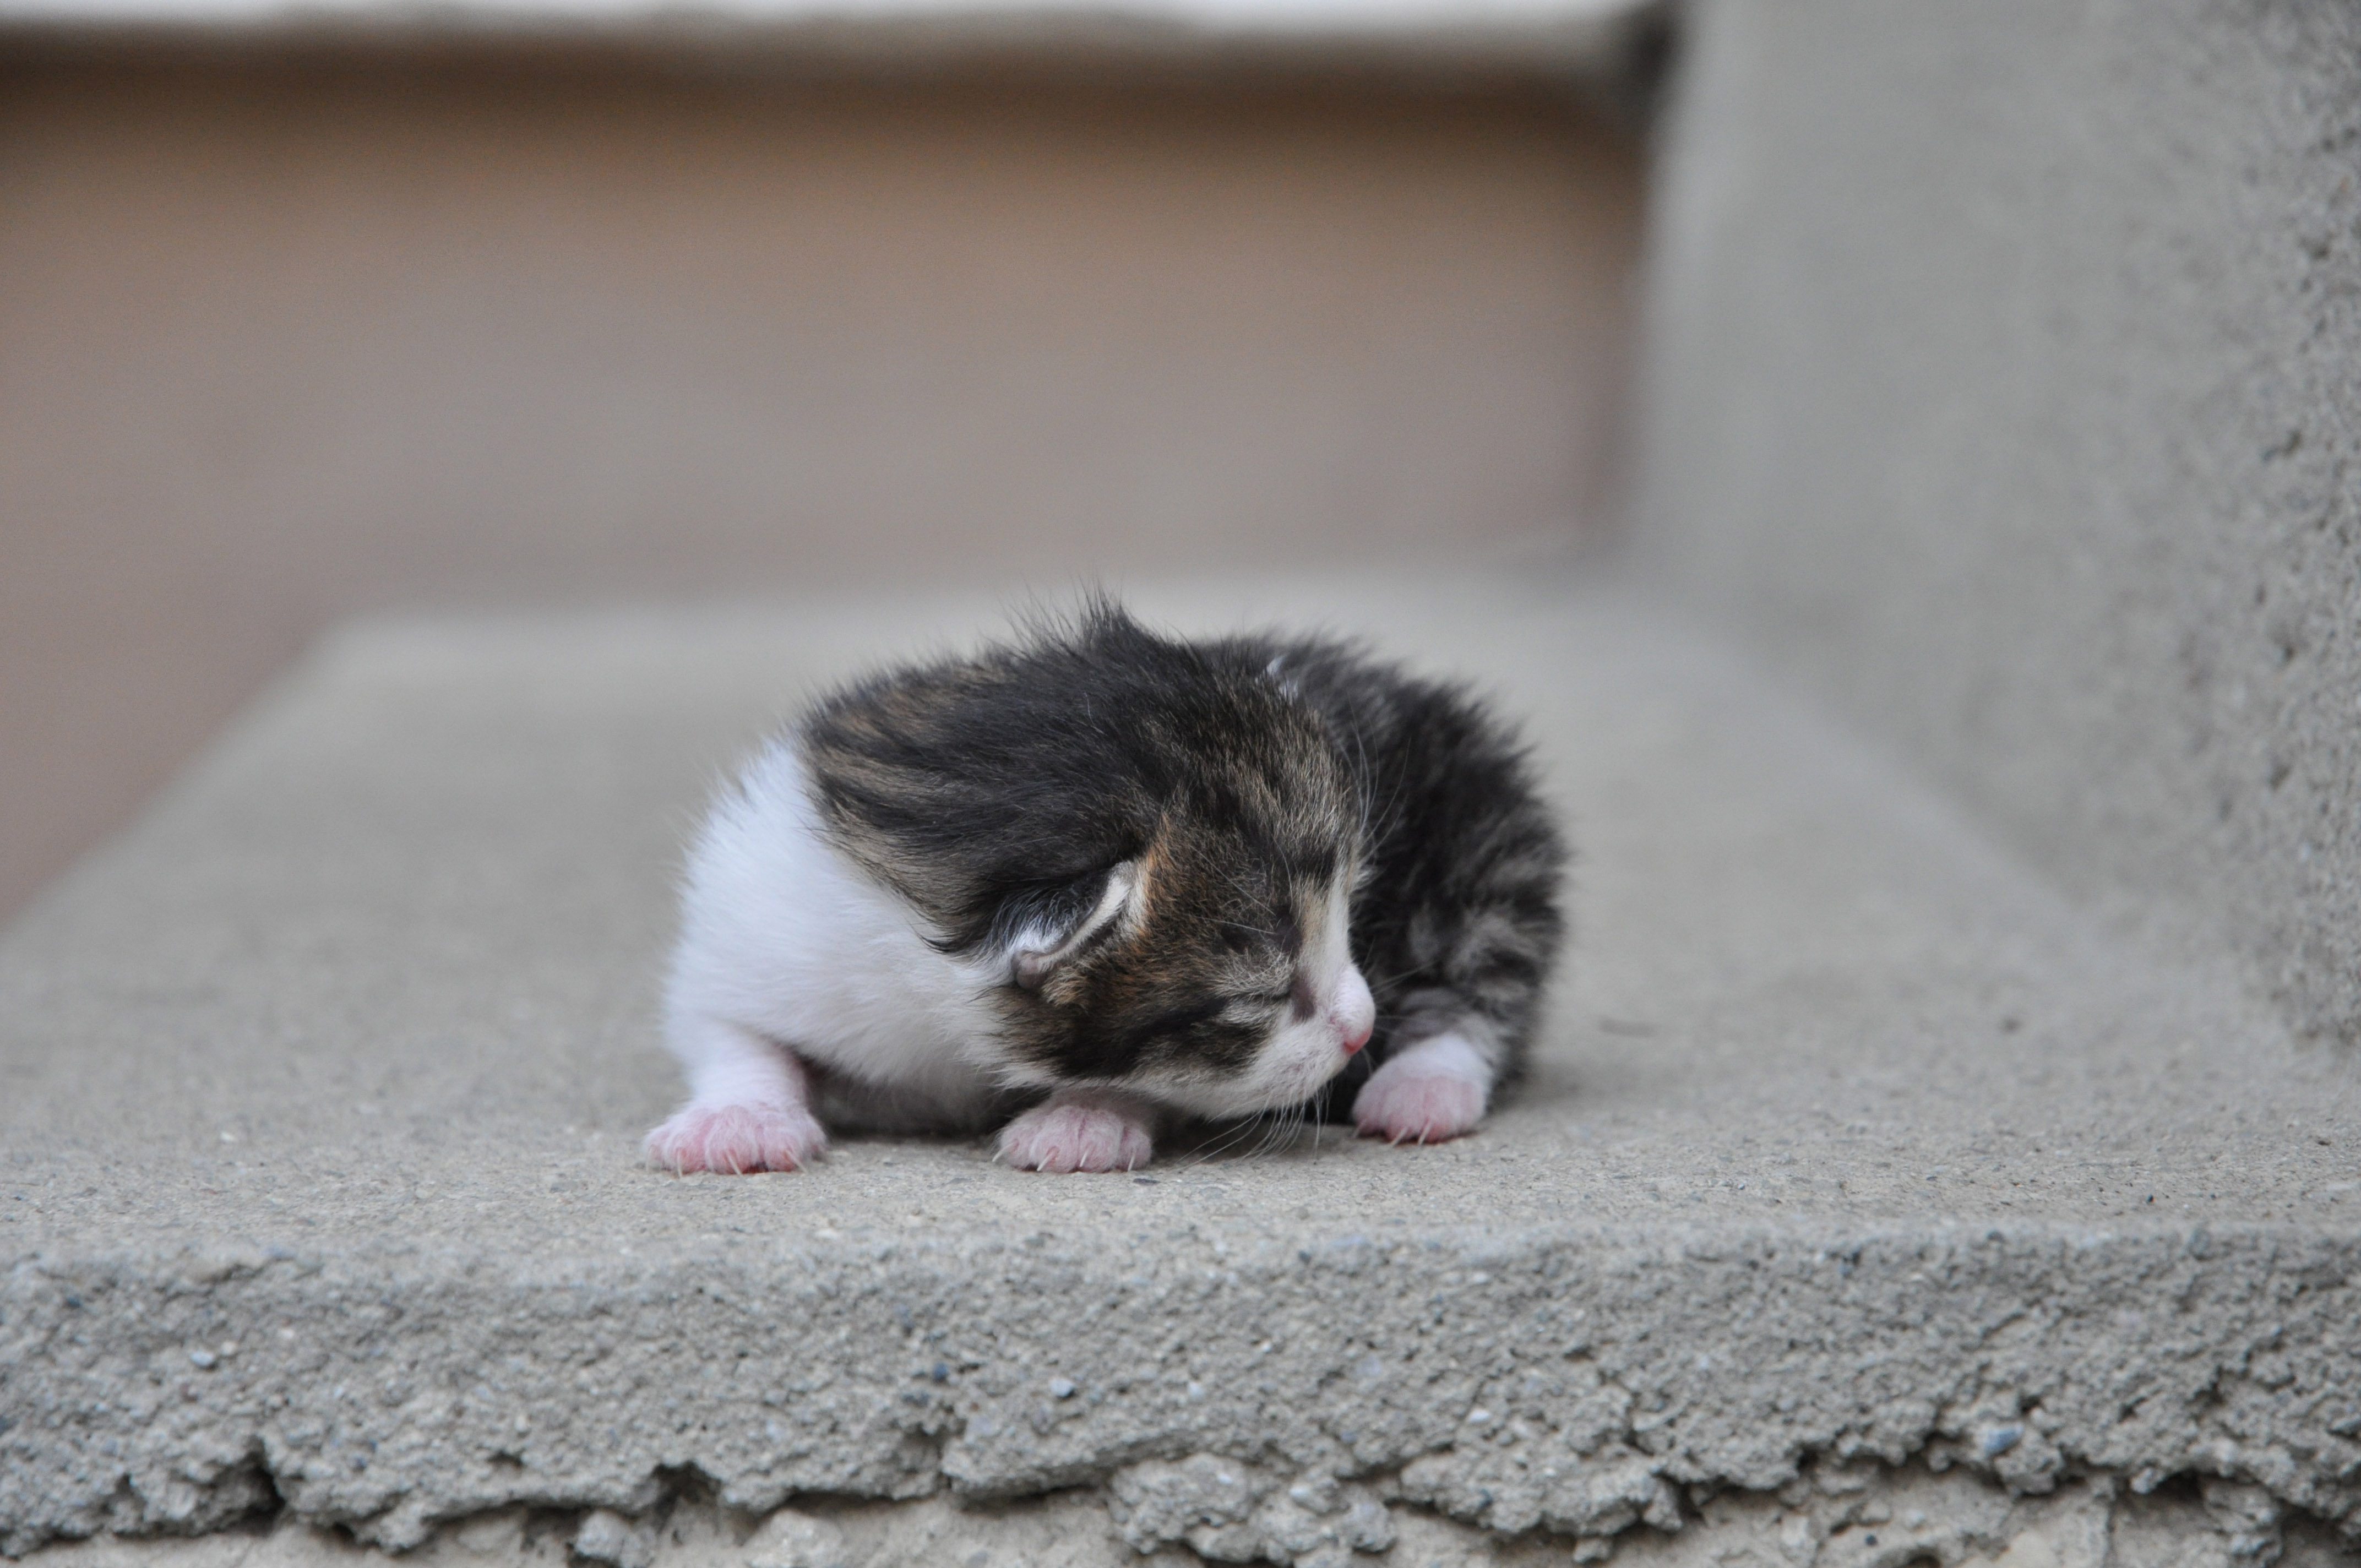
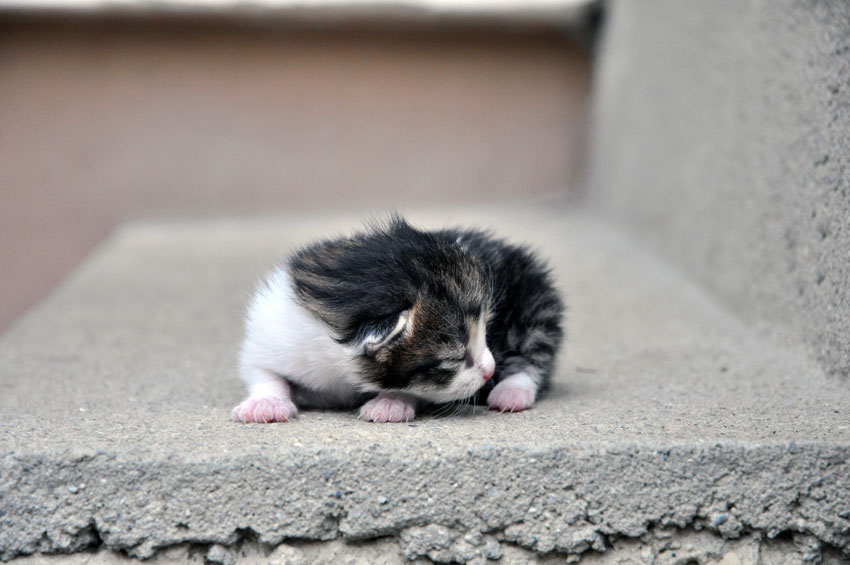
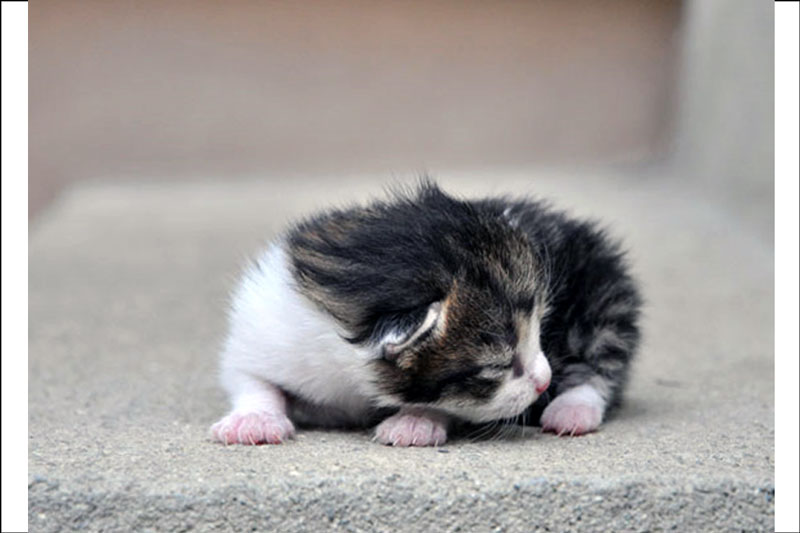
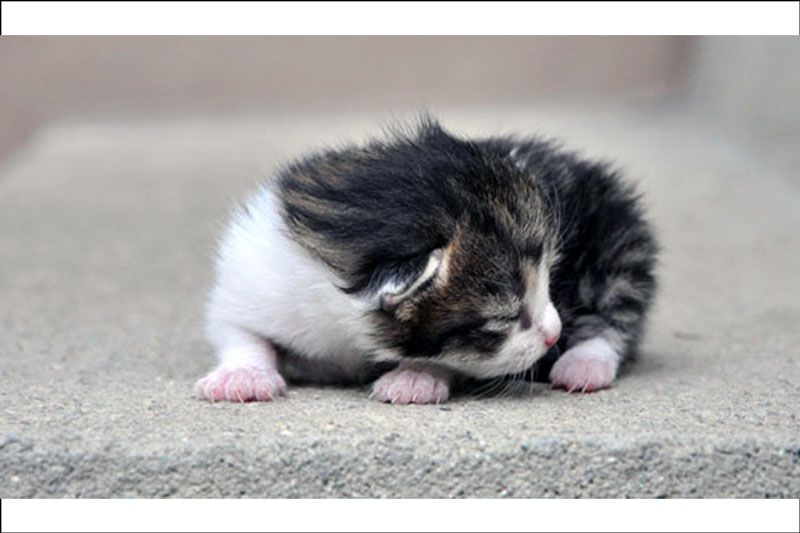
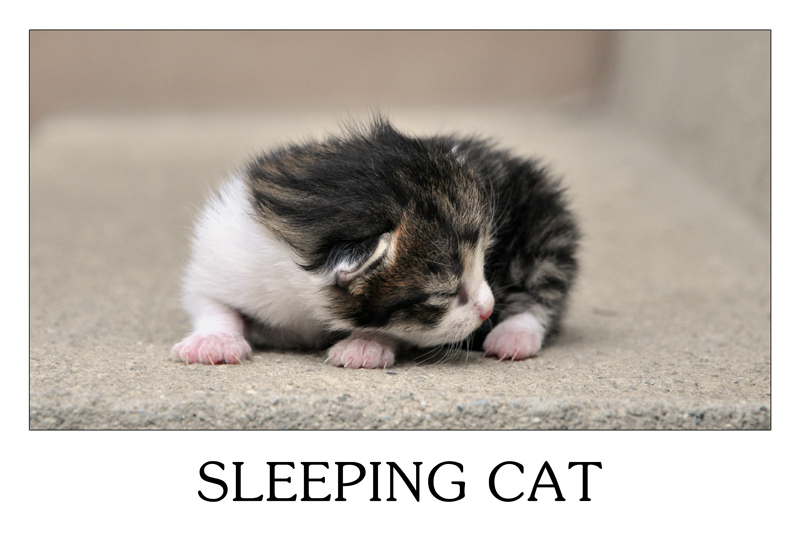
Open the photo kocka.jpg in Adobe Photoshop.
We will try to describe everything we do not like in the photo:
- contrast is missing in the photo
- colors might be more saturated
- photo contains parts which are unnecessary and disturbing (concrete step in the bottom part and also the strip in the background of the upper part)
- because of the stair the photo slightly "falls" to the left (from the right to the left is a slight downhill)
Step 1: Auto Contrast and Color
Try to improve the contrast and color part of the photo.

We can apply the function Auto Contrast as in the previous part.
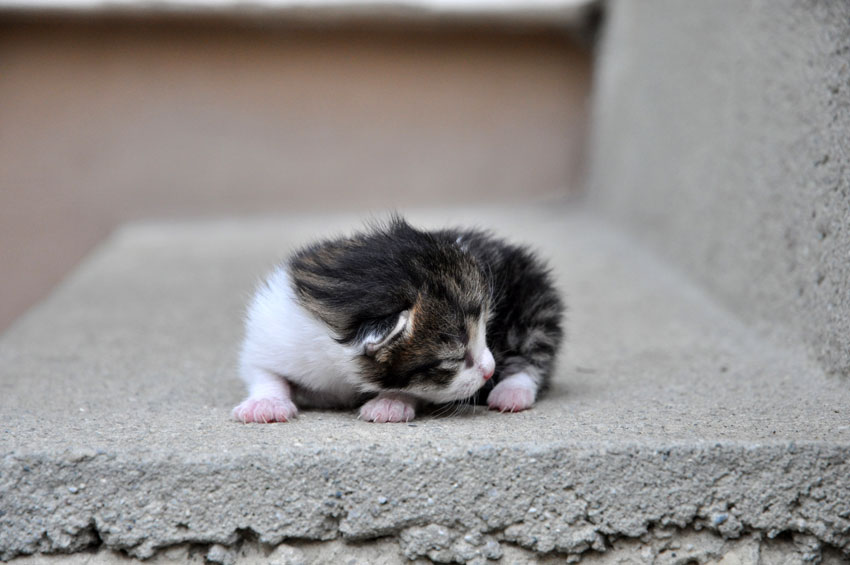
We can also try the function Auto Color (it is located in the same menu as Auto Contrast). This function tries to adjust colors of the photo. It is worth to try it, in case you do not like the result you can click the Back button inside the menu Edit and everything returns back before the adjustment was used.
Step 2: Removal of Disturbing Places in the Upper and Bottom Part
If we want to "cut" any border part of the photo we can use the Crop
tool ![]() (usually
the fifth icon inside the Tools panel).
(usually
the fifth icon inside the Tools panel).
Using this tool you can insert a rectangle (click on the first place inside image, then drag the mouse and release the button - you will define corner points of the crop rectangle). The created rectangle (cropping area) can be anyhow resized using its borders or you can move it by dragging it. Adjust the rectangle so the inner part contains the area of our photo which we like.
Once you are satisfied with the selection, double click inside the selected area (or press Enter key) and the cropping is applied. Realize that you have just cut everything around the defined rectangle. In case that you want to cancel the cropping process, you can press Esc and the cropping will not be applied.
In case you want to crop the image from one side a little bit, you can face a problem when the cropping rectangle will move too much. This is caused by the settings of Snapping in the Image menu. You can turn it off (not recommended - it is very useful) of you can temporarily disable it when holding Ctrl key.
The whole procedure is shown in the following video.
Now we might be satisfied but we have to make one more thing clear. Are we going to let our edited and cropped photo be printed in a photolab? In case that we are, we have to set a correct aspect ratio (the aspect ratio should be 3:2) Take a look at the result of not setting it properly.
In the first case the photo paper is wider than the photo and so called footers (white borders) will be printed at both sides of photo (the second variant is similar).
In case you want to print your photo in a photolab, the employees usually ask you whether you want to print photos with footers or without them. If you choose the option without footers, then the final photos are resized to occupy the whole area and the outer areas are cropped. You might lose important details of your photo.
At the end we have to explain how to keep the aspect ratio (we assume that the aspect ratio of source photo was 3:2).
The principle to crop the photo using the right aspect ratio is to select the whole photo using this tool at first. Then you can change the size of the rectangle by changing the position of the corners and holding Shift key. This procedure will keep the aspect ratio. Then you can move the rectangle around the photo of course.
Try to return back to the original photo using the Step Back command (Photoshop remembers 20 steps in default) before you made the cropping. Select the whole photo using the Crop tool and move for example the right upper corner while holding SHIFT. You will see that Photoshop does not allow you to change the aspect ratio while holding SHIFT.
You can see the cropping procedure while holding SHIFT in the following video. The video also contains check of the aspect ratio using an area of photo paper (a new document with aspect ratio 3:2) and inserting the cropped photo into it.
Step 3: Inserting Photo into a Border
The procedure how to add a light white border with text to improve the impression of the photo is described in the following part. The border has to keep the aspect radio 3:2 of course to be able to print the photo on a standard photo paper. The procedure is shown in the following video, single steps are written below it.
- We can use the document with a cat which was created by cropping the original photo.
- Create a new document of size 3000x2000 pixels (aspect ratio 3:2) and fill the background with white color (set white color as the foreground color and press Alt+Backspace). Copy the cat (in case you used only one layer, you can select all - Ctrl+A and copy - Ctrl+C, but if you used more layers, you have to select all and use the command from menu Edit > Copy Merged) and insert it into the new document.
- Then we should resize the photo to get white borders. Then choose the upper part of the photo (Rectangular selection tool) and delete it using the Delete key.
- Select all (Ctrl+A) and choose the command Layer > Align to selection > Horizontal centers from the menu which will place the photo in the horizontal center of the document. Then you can move the photo upwards (hold Shift to keep the horizontal position) to create a place for text.
- Add a text and use a suitable font (we used Southern in the video). Adjust its size and also the type of font.
- Finally we will add the Stroke effect - double click on the layer with the photo which will open a new window with layer styles. Check the bookmark Stroke and set the opacity around 80 %. You will get a nice border around the photo.
The final document can look like the following one:
Quick Summary of the Procedure Using another Photo
The whole procedure will be summarized using a photo of boots when we will try to make the necessary adjustments in a short time and produce the final document. You will need this photo: boty.jpg.
The source photo of boots:
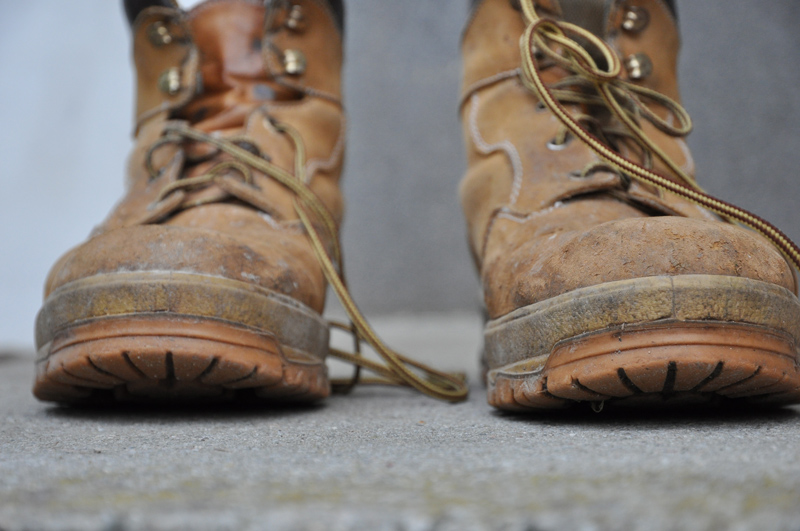
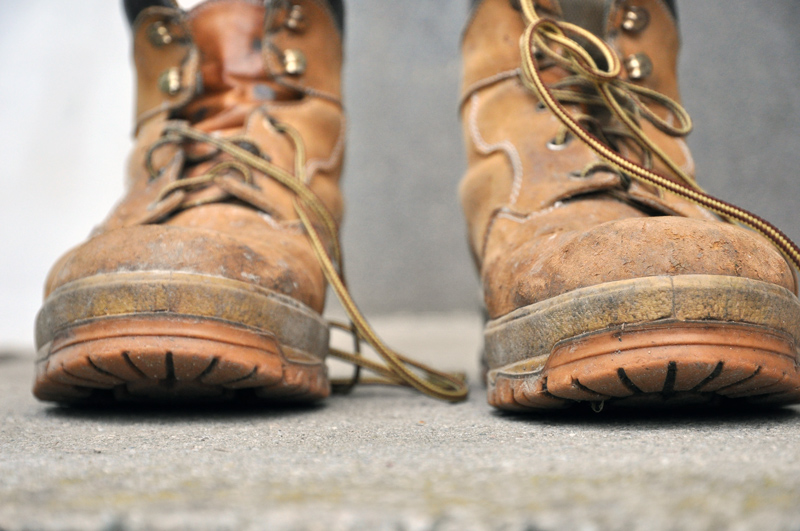
You can see that it is necessary to use the Auto Contrast and Auto Color tools because the photo is quite faded. Apply those tools and the result should be better:
The next step is creating a new document with a suitable size (ideally a little bit larger than the photo). We can use dimension 4200x2800 pixels for example which has aspect ratio 3:2. Insert the photo and resize it properly (Ctrl+T and hold Shift to keep the aspect ratio of the photo). Then you can select the unnecessary upper and bottom parts of the photo using the Rectangular selection tool and delete them using the Delete key.
After aligning the image to the horizontal center (select all by Ctrl+A and choose from the menu "Layer > Align layer to selection > Horizontal centers) our document should look like the following image (we kept free space for the text in the bottom):

Then we add a suitable text using an exotic font, because we want the document to look interestingly. Font Symbols and text "Seven Miles Boots" were used in the sample. Do not forget to align the text to the center (select the bottom black rectangle using the Rectangular selection tool, select the layer with the text and use the command for horizontal and vertical alignment from the menu).
Finally we can add a thin white border around the photo using the layer styles (double click on the layer and use the bookmark Stroke).

Practical Task
Is it possible to check whether the aspect ratio of the opened photo in Photoshop is really 3:2?
Homework
Take any of your photos and try to adjust the contrast and color using automatic corrections, then crop it and check whether the aspect ratio is correct. Bring the original and also the adjusted photo to the next lesson.
Additional Texts
Questions
- Is it possible to adjust contrast, color and other attributes of a photo inside Adobe Photoshop?
- Describe working with the Crop Tool.
- Characterize the problematic of cropping digital photos and illustrate it on examples.