
Practical Work with Camera, Keying Techniques
 Content
of the lesson:
Content
of the lesson:
- Keying - Explanation
- Keying - Samples
- Keying - Individual Work
Keying - Explanation
Keying (chromakeying, greenscreen, bluescreen) - this technique is nowadays very commonly used when creating or postprocessing a film or a scene in film studios. It allows us to combine two different images (frames, clips, videosequences) into one - then we can see only the parts we need from each scene.
This can be done by placing one image over the another one and removing a particular color from the topmost one - the image below will then be visible. The best colors are the green and blue color because they can be easily separated. To be able to use this method, the first image (the one above) has to contain that continuous color. A special composition has to be created for this purpose.
Using this technique the film makers are able to put objects or people into an environment which is not accessible in the real life or is too dangerous. This technique is used especially along with 3D animations. When talking about TV studios, there are special virtual studios where the moderator and his guests are placed (that means non-existent fictive environment, for example the weather forecast - the moderator stands before a green background and the maps are drawn additionally in a computer).
When using this technique the lighting of the whole scene is essential and has a great impact on the quality of object separations.
Masking
Masking can be used in situations when we cannot use keying. There are scenes where green or blue background simply cannot be used to separate an object. In that case we have to create a mask which borders the object. Thanks to this we separate it similarly as we did while keying but this method requires much more work. Realize that the object is probably moving in the scene so you have to adjust the mask for every frame. However, there are programs which can simplify your life.
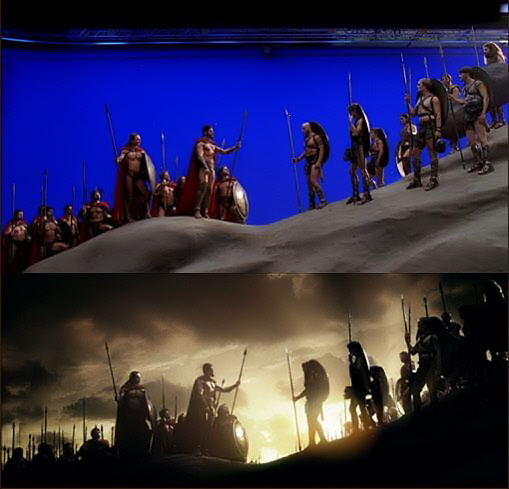
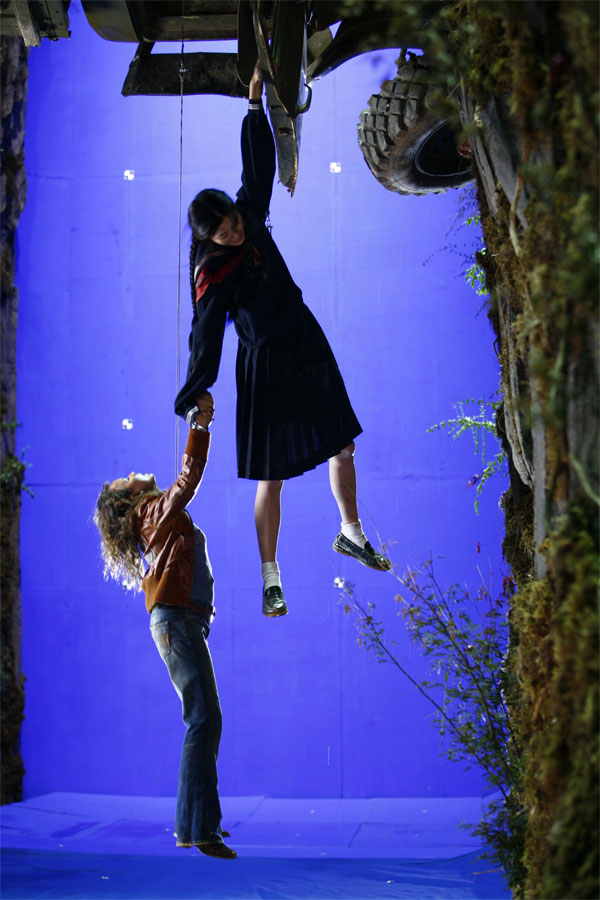
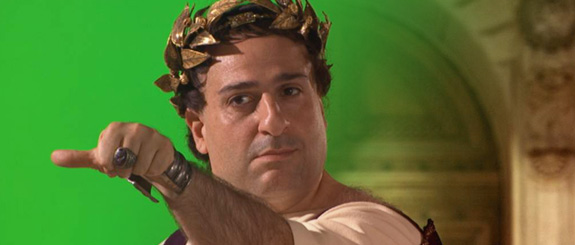
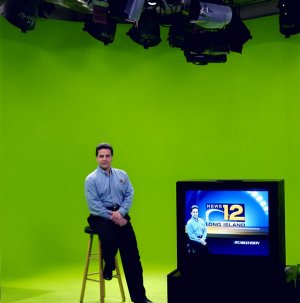
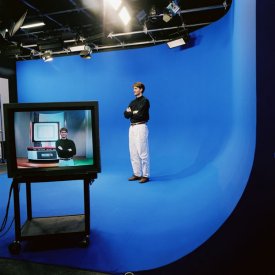
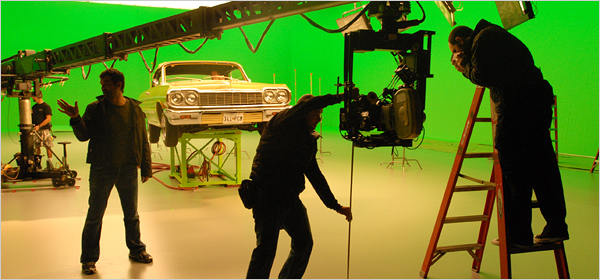
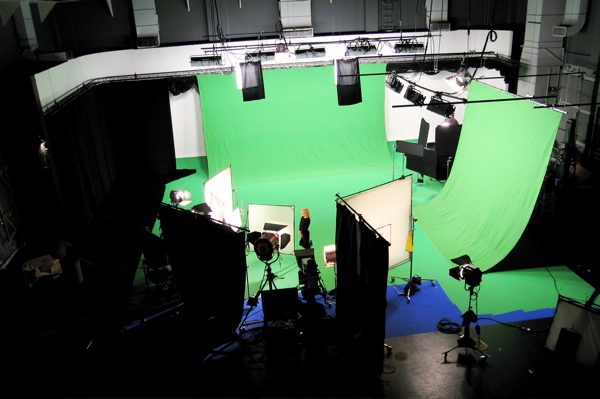
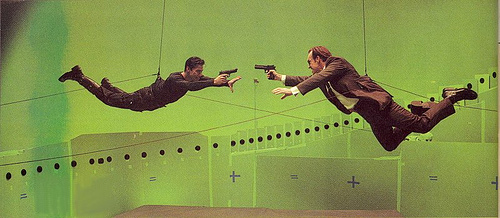
Keying - Samples
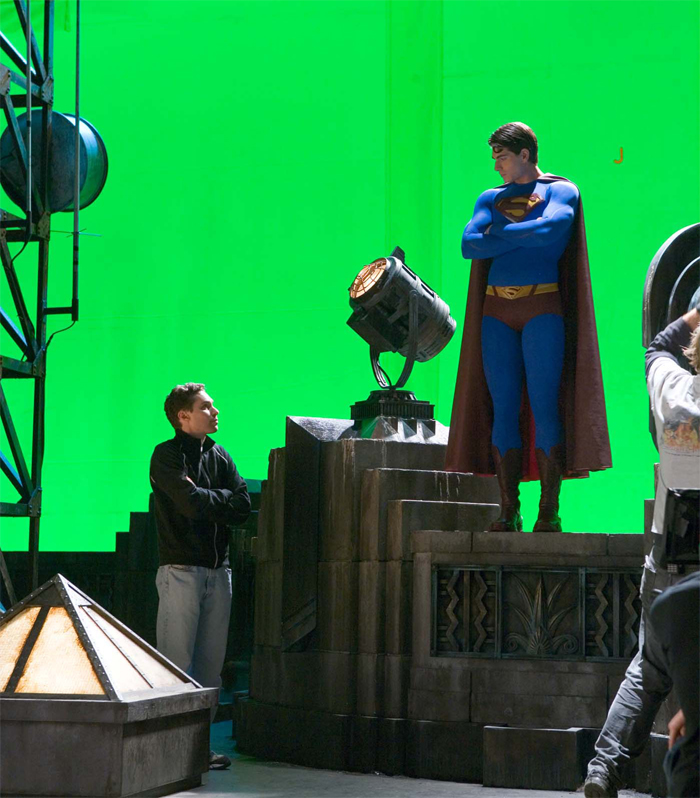
Keying in a film
source: www.artebox.cz
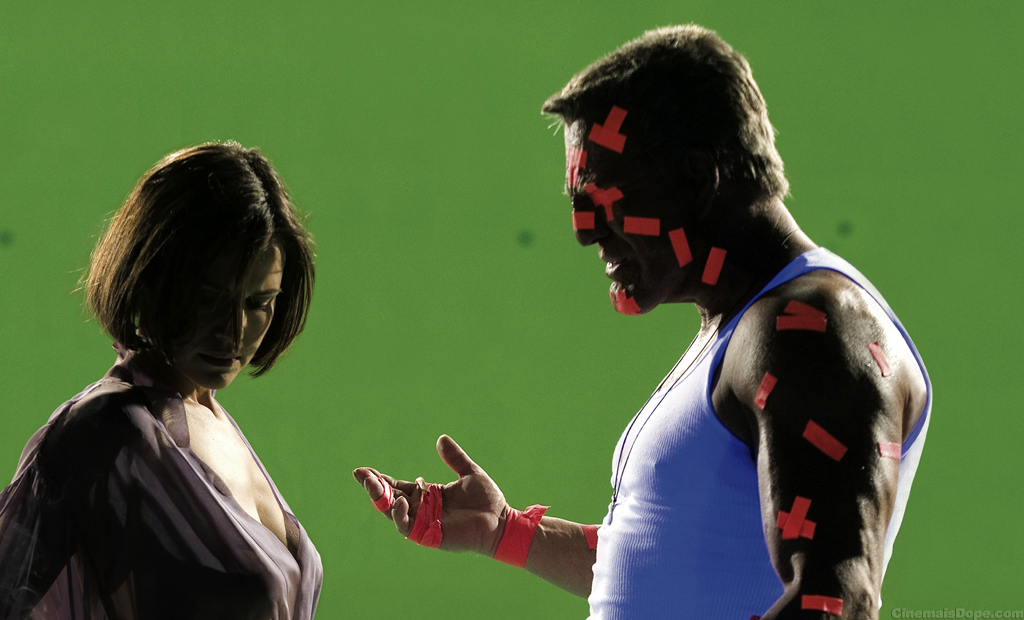
Keying in a film
source: www.artebox.cz
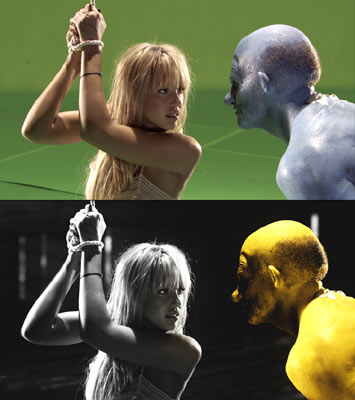
Keying in a film
source: www.promostudio.cz
Keying in a film
source: www.videomaker.com
Keying - Individual Work
Task
Download the source video klicovani-premiere.wmv and try the keying technique. You can choose what to place instead of the green background after applying the keying effect. Try also to adjust the scene so that the inserted image will be moving along with the movement of the camera.
Illustration - before applying the effect
Illustration - after applying the effect
Procedure
To get the required result you have to apply a keying effect on the source video with the green background. These effects are available in the panel "Effects -> Video Effects -> Keying". Try different effects with different settings and try to find the most effective one. Place the video with the green background into the second track. Then you have to place the scene which will be visible after applying the keying effect into the first track. Use the keyframes to handle the movement of camera. You can also use keyframes for the parameters of keying effects - for example different lighting conditions might require different values for parameters.
Additional Texts
Questions
- What is a keying and how can it be used?
- Why is the masking method used?
- Which color is commonly used for keying and why?