
Colorization and renovation of black-and-white photo I
 In this lesson:
- Default photo
- Crop scanned picture
- Colorize our photo
Photo colorization - process
We'll try to modify and colorize old black-and-white photo in this lesson. This type of engagement is often found in graphics studies when people need to repair or colorize their old photo. People usually don't have negative and photos are in poor condition (fading, folding, bending, tearing, scratching, etc.).
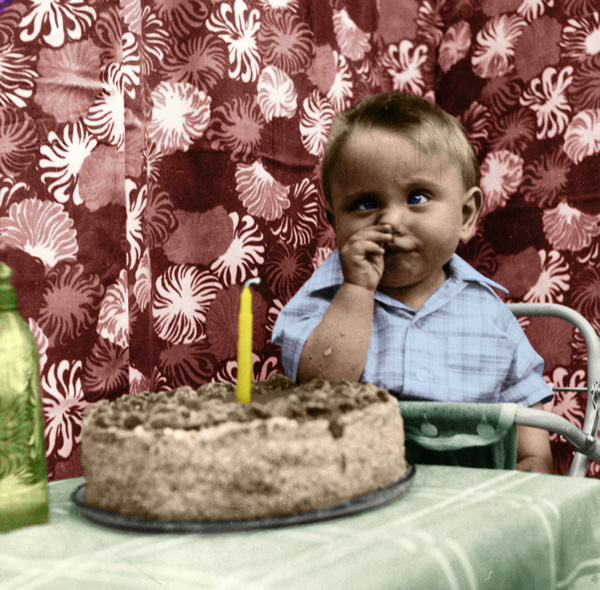
Example of colorized picture you can see below.

Default photo
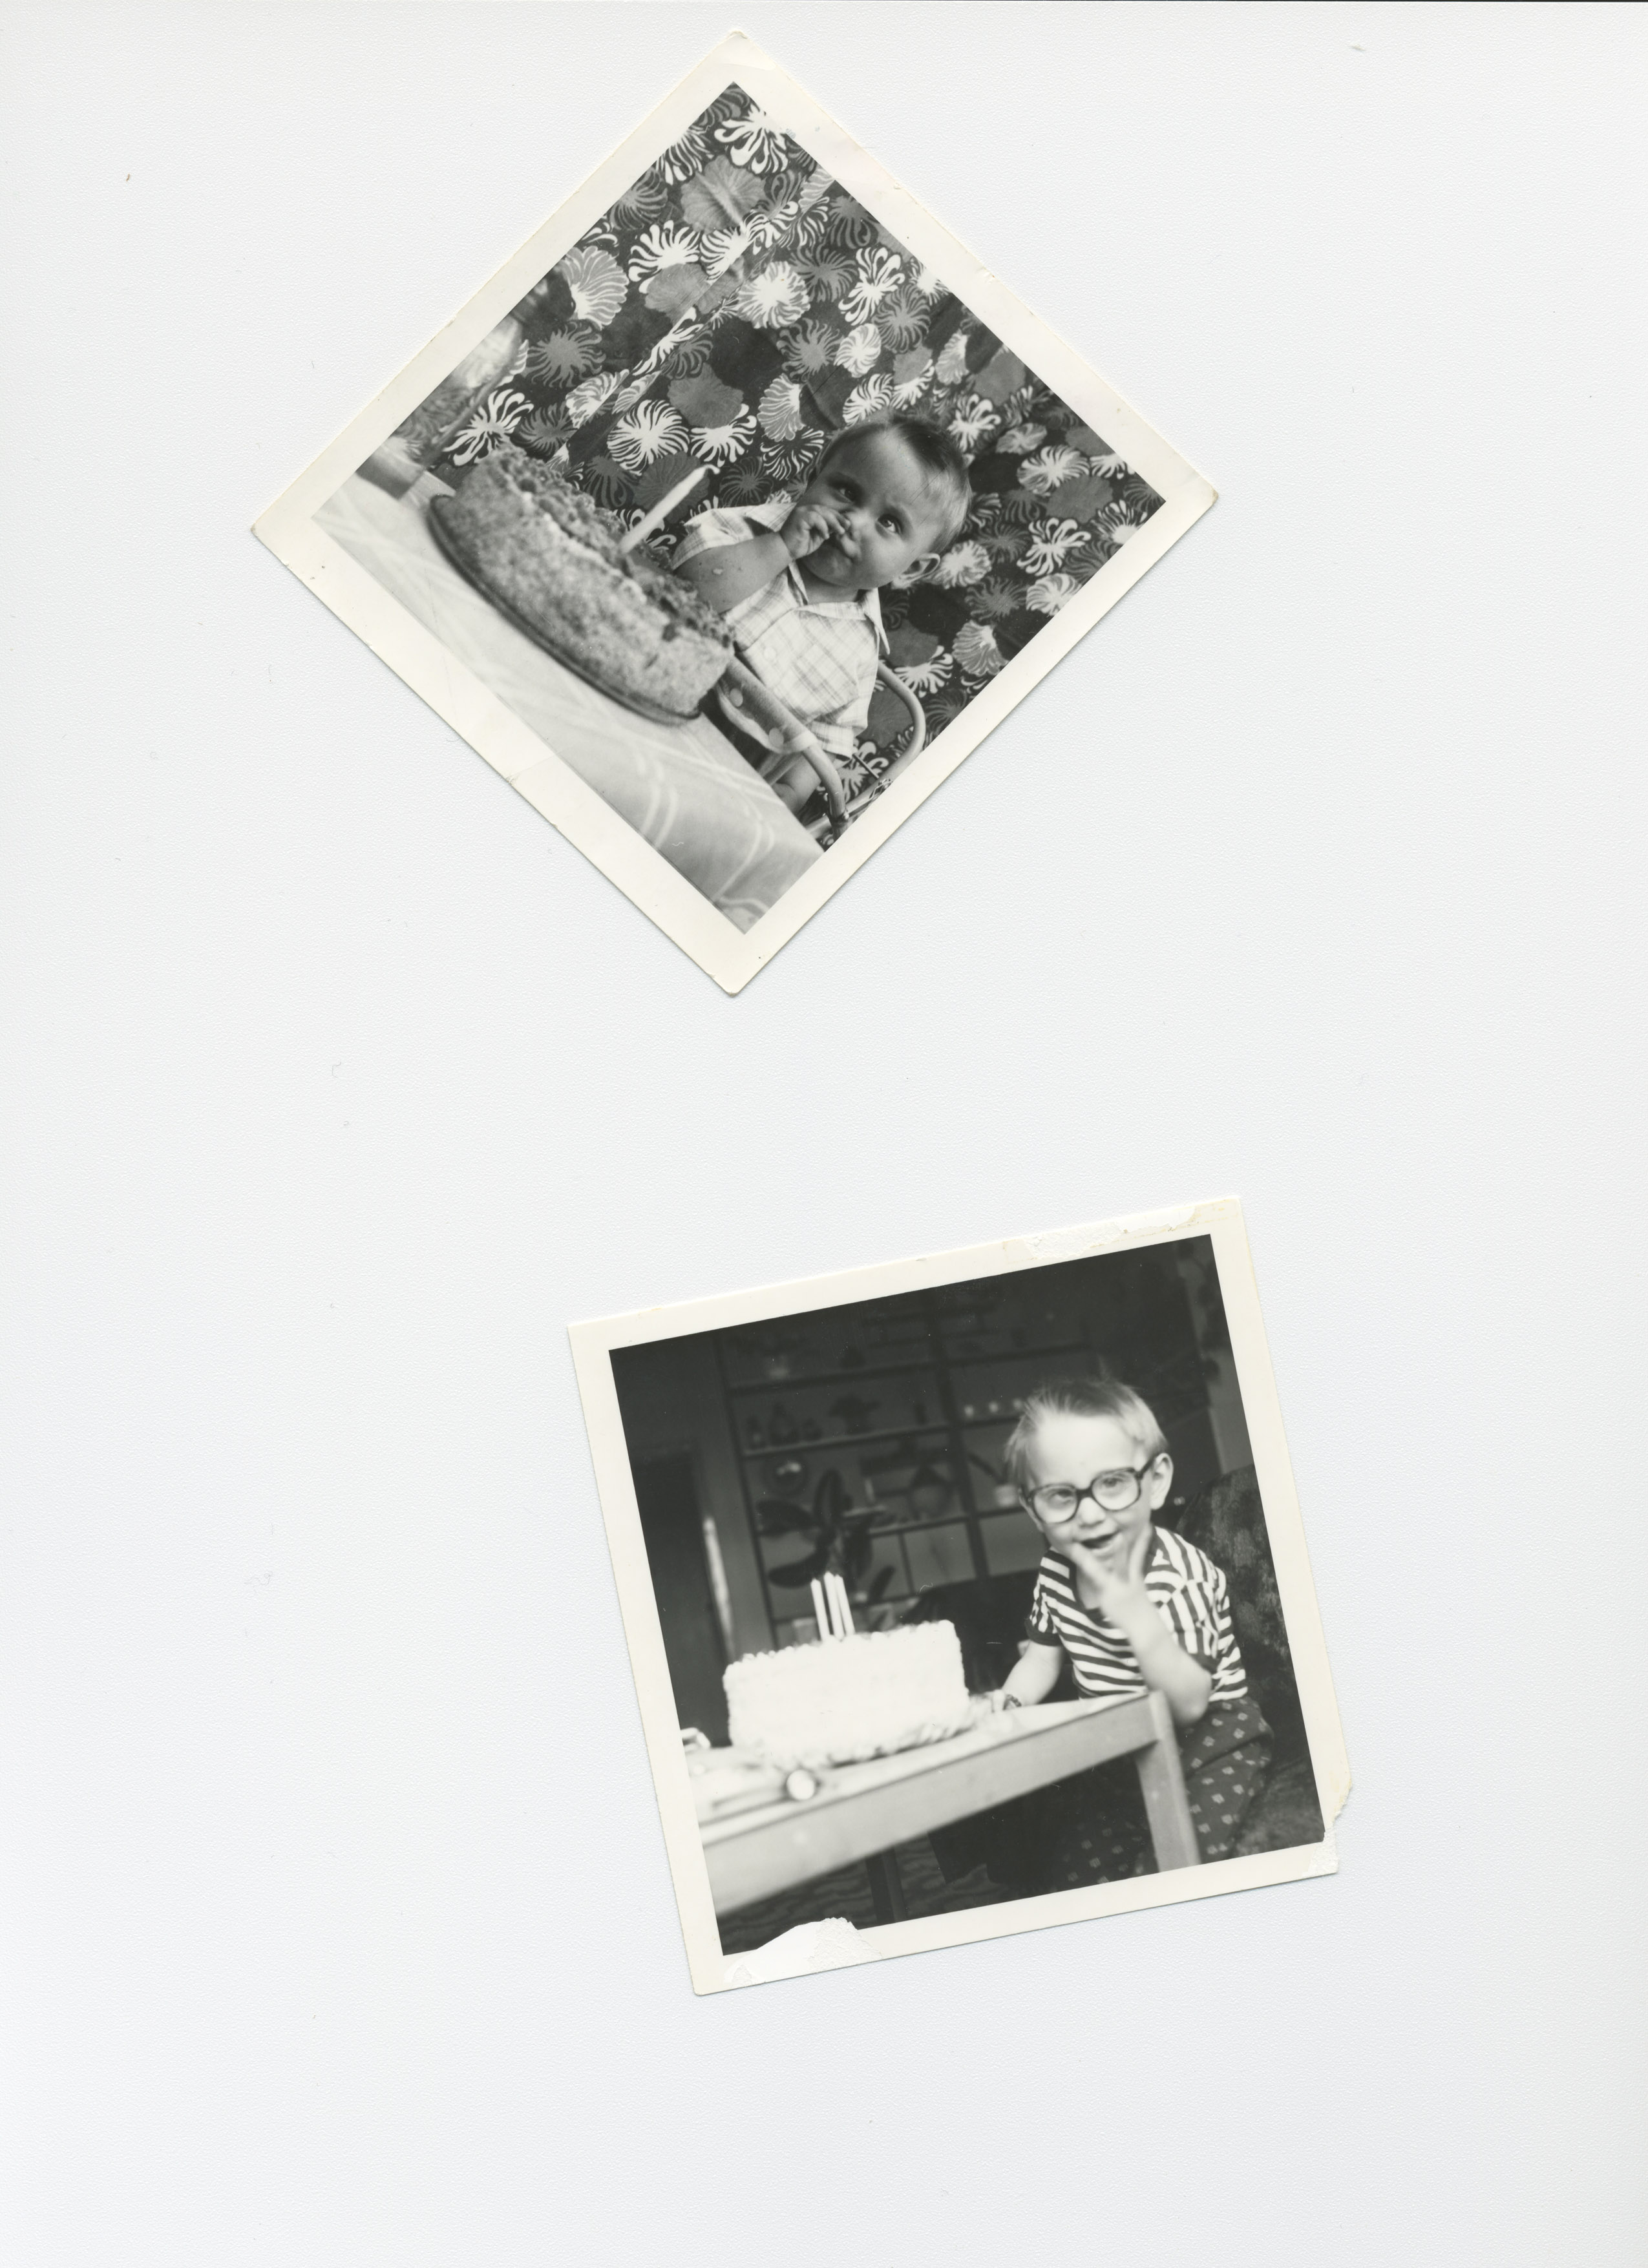
We have picture (scan) of two slovenly placed photos below.
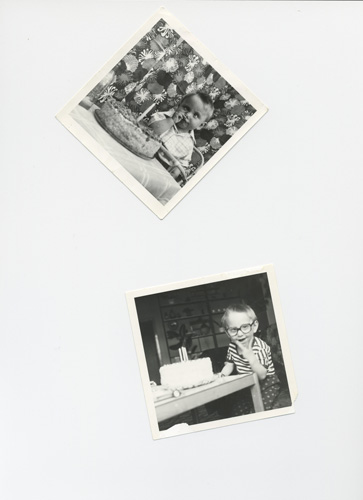
Save this photo happy-times-i.jpg in full resolution and open in Photoshop.
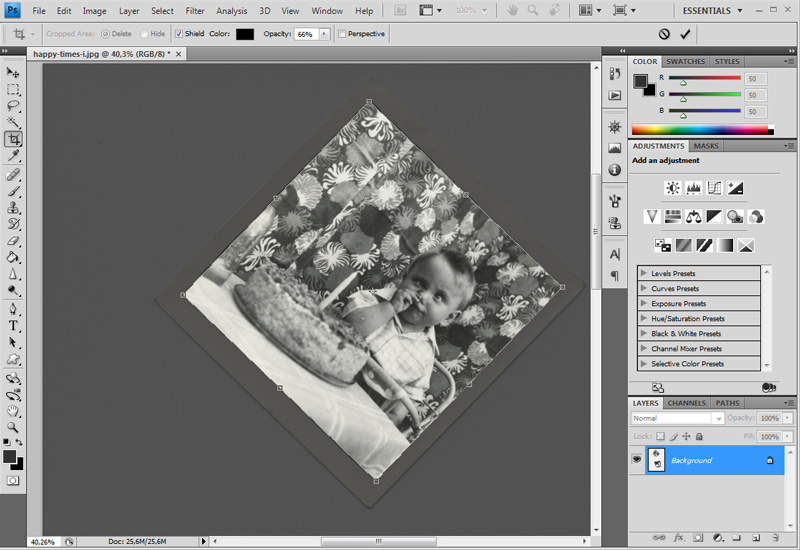
Step 1
Crop the first photo from scanned picture. Use Crop Tool to make this selection. Our photo is turned so we have to define selection as rectangle and turn it to required position (it has to be only photo without edges). How can we do it?
- We can make rectangle using Crop Tool and turn it (move cursor to corner of rectangle - cursor has to change to curved arrow) and modify the size of rectangle to required size (final adjustment is in the picture below). We can modify opacity of unselected part in Crop Tool opition (there is 66% opacity).
Step 2
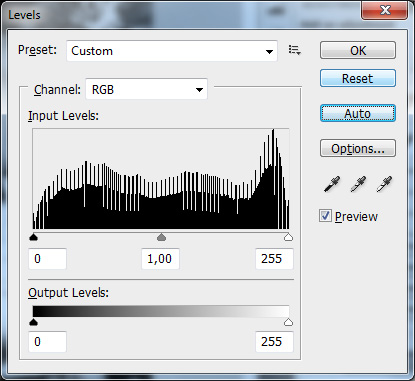
We get rectangular section after using Crop Tool which includes our photo. The picture is black-and-white photo but it lacks real black and white color. We can use Levels Tool in order to verify this fact. You can see that there aren't dark and light places (graph begins in about one-sixth of its width on the left side and doesn't finish on the right).
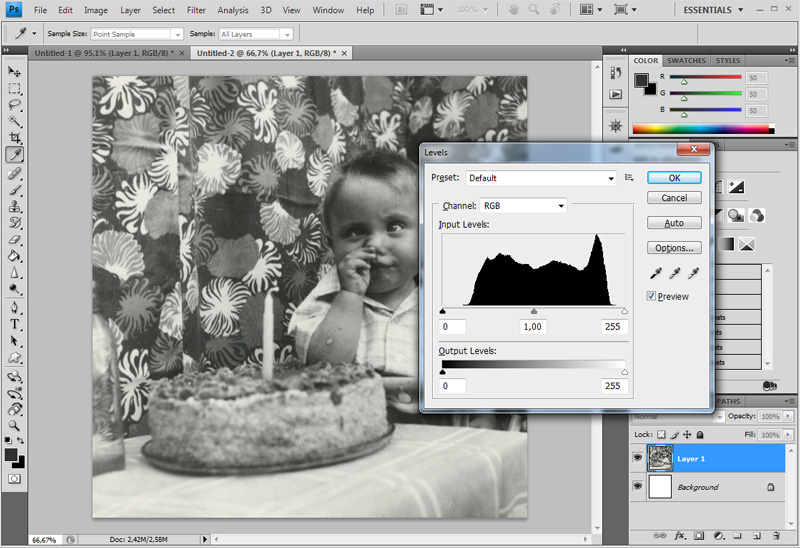
We can improve this situation by dragging left slider (drak tones) to the right and right slider to the left (light tones). We can also drag middle slider to the left (middle tones). Everything depends on our personal preferences.
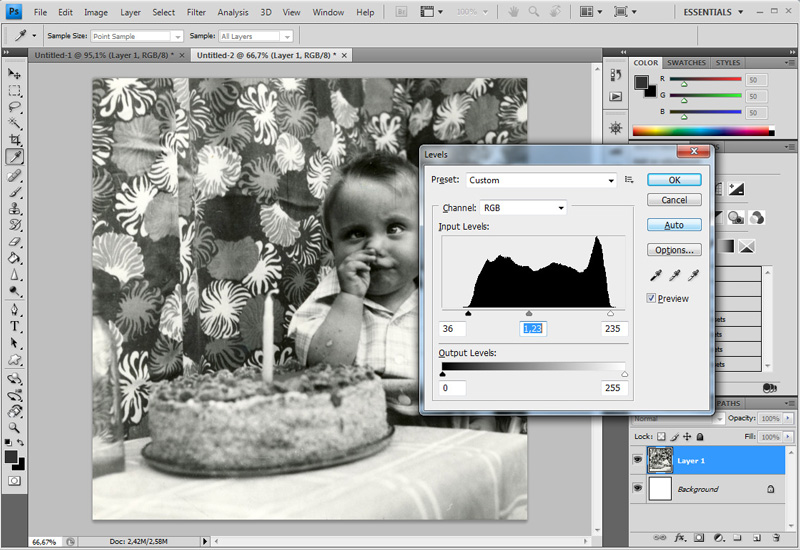
Let's see how will work "auto" button in Levels options. Photoshop tries to solve this problem "on its own way". It couldn't make us satisfied. But it's better to use this method because it's right sometimes. What can we do when "auto balance" doesn't give acceptable results? Instead of pressing "cancel" and re-open the histogram window just press ALT and instead of "cancel" button there will be "reset" button which returns histogram to its original settings.
We use "auto balance" in our case and modify "middle tones" (drag slider to the left).

Step 3
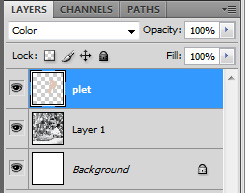
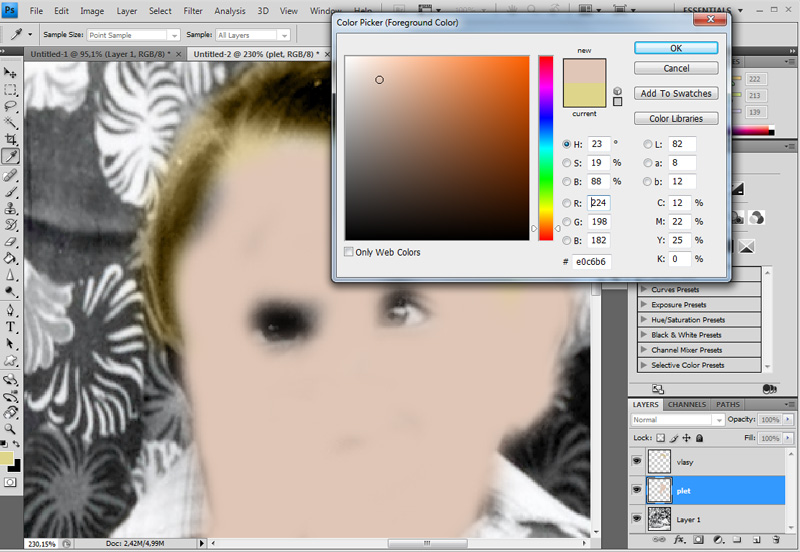
We will colorize our photo now. This process can be easily described as creating new layers for every color. Draw every necessary part to layers using Brush Tool. We have to concentrate on ideal colorization and fill every part precisely. Color should not to surpass (corect it using Eraser Tool). Set Layer Blending to "color" in the end.
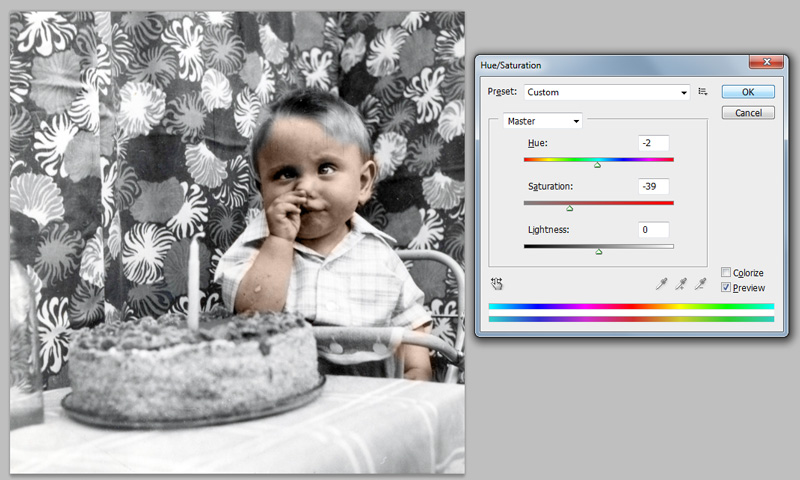
If happens that selected color is not acceptable you can just select this layer and use Hue/Saturation Tool (CTRL+U) and change this color.
The layer for skin and hair is in the picture below. It's necessary to colorize other part of skin but we have selected color for hair. How we can do it? For example, we can use these steps:
- Return Layer Blending of "plet" layer to normal and use Eyedropper tool to select color of the skin.
- Other possibility is to insert hexa code of color (#) to layer's title and insert it to Color Picker Tool (to box with #).
Colorize whole picture using this process. Quality depends on our precision. You can see result in the picture below.
Further reading
Questions
- What is the principle of colorization of black and white photos?
- How could you colorize photo using Layer Mask?