
Product Leaflet with Reflection
 Content of the lesson:
- Basic Photo Editing
- Removal of Dirt Places on the Screen
- Hiding the Background with a Mask
- Inserting a Content on the Screen
- The Mirror Effect
- The iMac Logo and Text
Basic Photo Editing
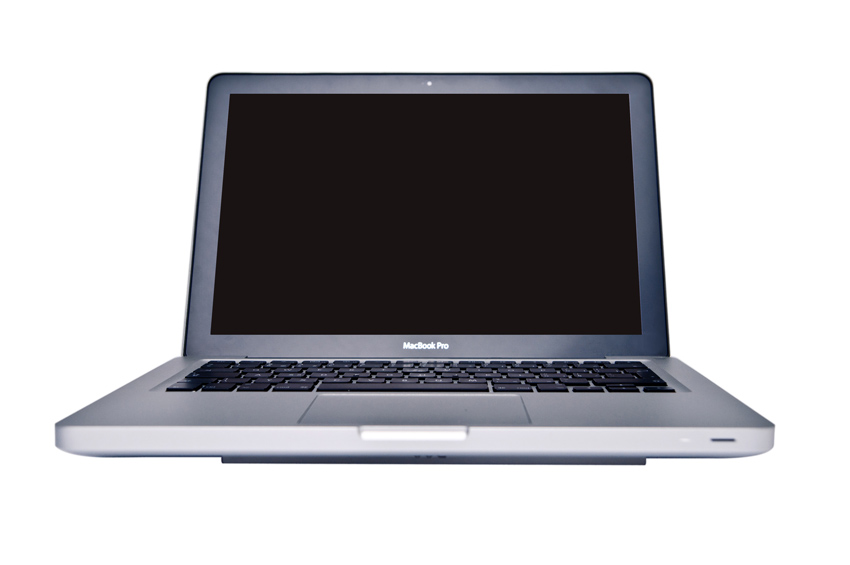
Download the source image for this lesson, the logo file is available later in this lesson.
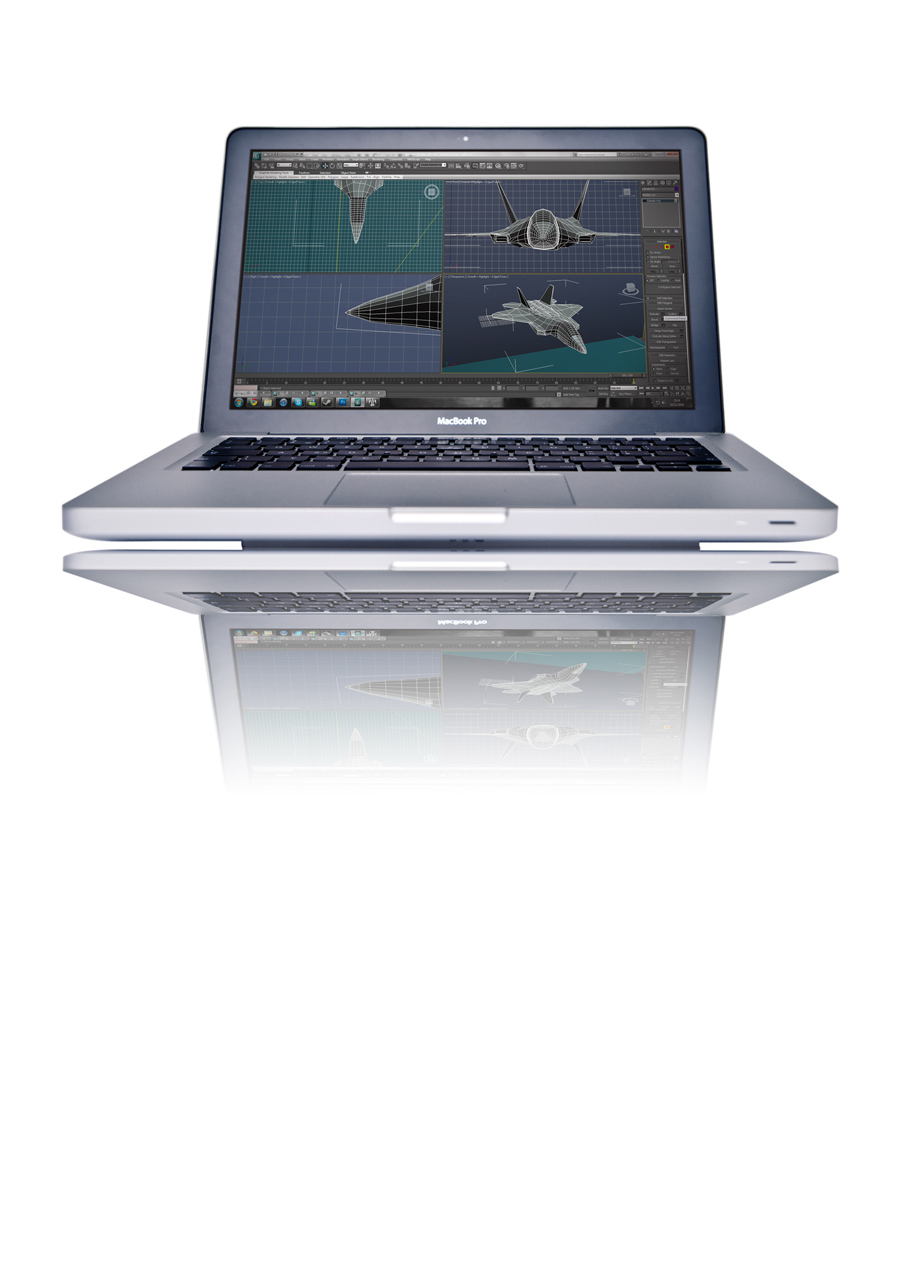
The first thing which has to be repaired is the tilt of the notebook which was accidentally created when taking the photo - the camera was not in a perfect position. For better orientation you can add several guiding lines to the horizontal edges (the edges of display, keyboard, bottom parts of the notebook).
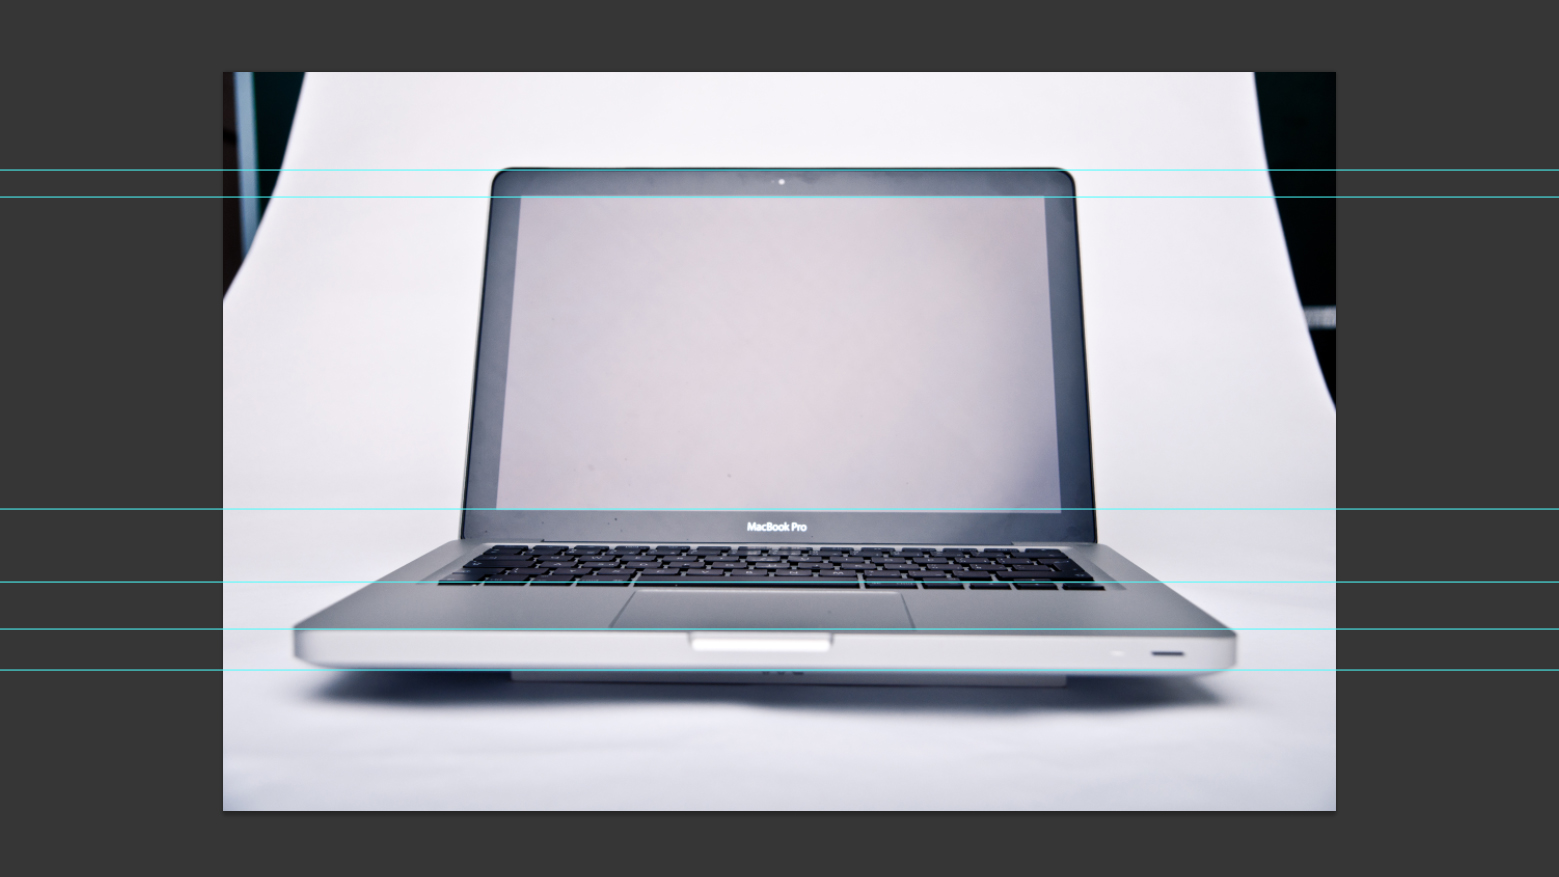
You should ideally use one of the Transformation tools - the Skew tool. This tool allows us to place every vertex of the object to any place and then it tries to compute the final appearance. Watch the guiding lines and try to correct the photo.
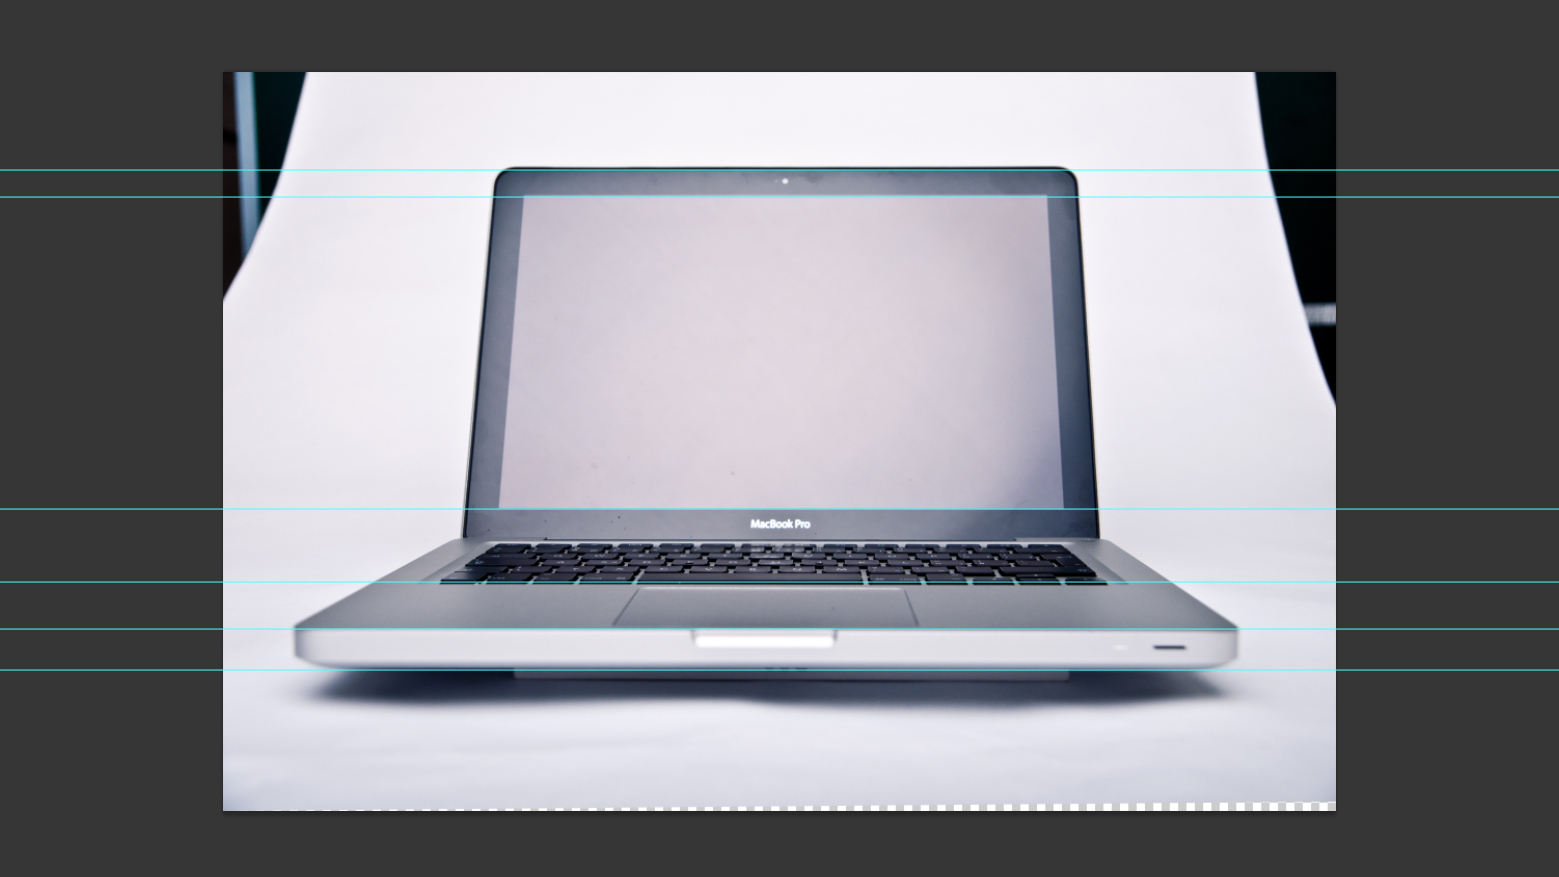
The next step is cropping (you cannot let it interfere with the notebook but you can crop the background).
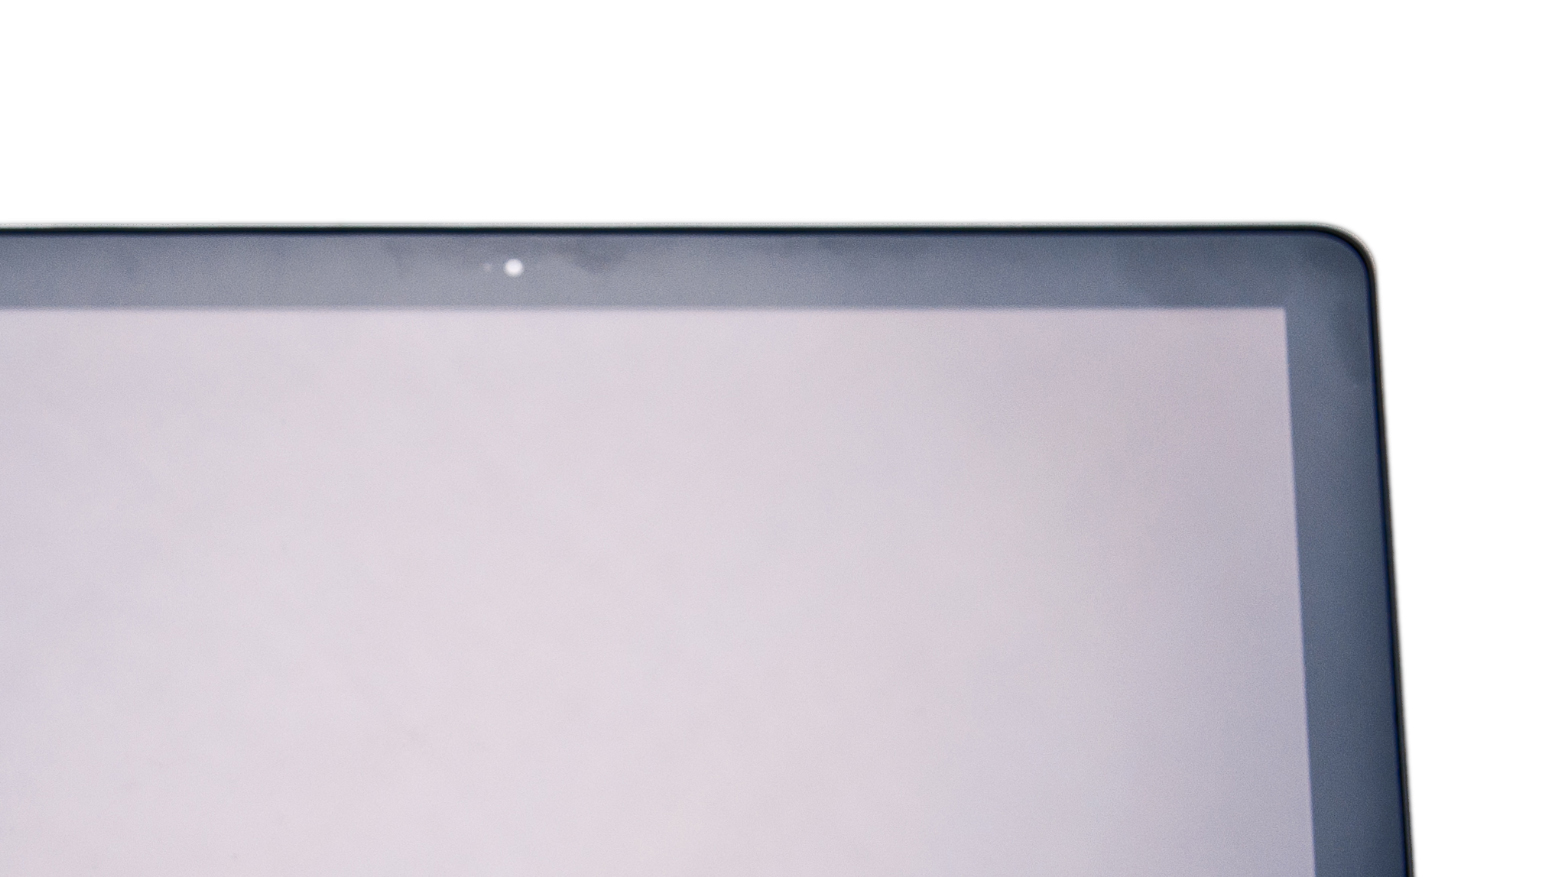
Removal of Dirt Places on the Screen
The photographed notebook does not look as a new one at all - there are dirt particles on the screen, fingerprints and another mess. To wipe out the particles you can use the Spot Healing Brush Tool where you should set a smaller size and then only click on every particle you see.
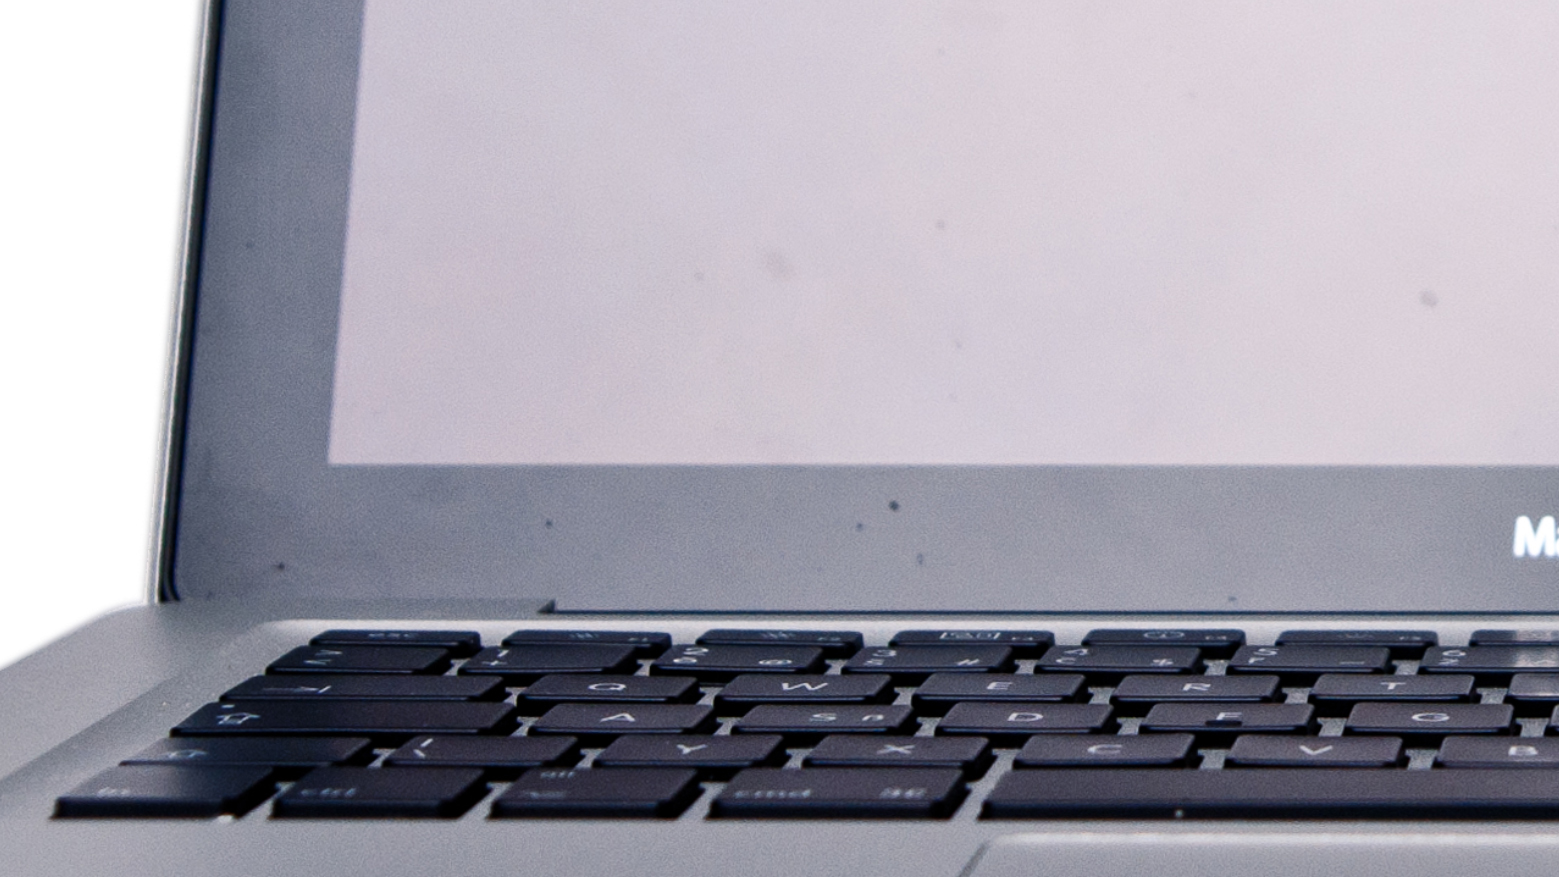
This tool operates smartly, it takes color from the surrounding area and wipes out the differences in the place you have clicked to remove the dirt.
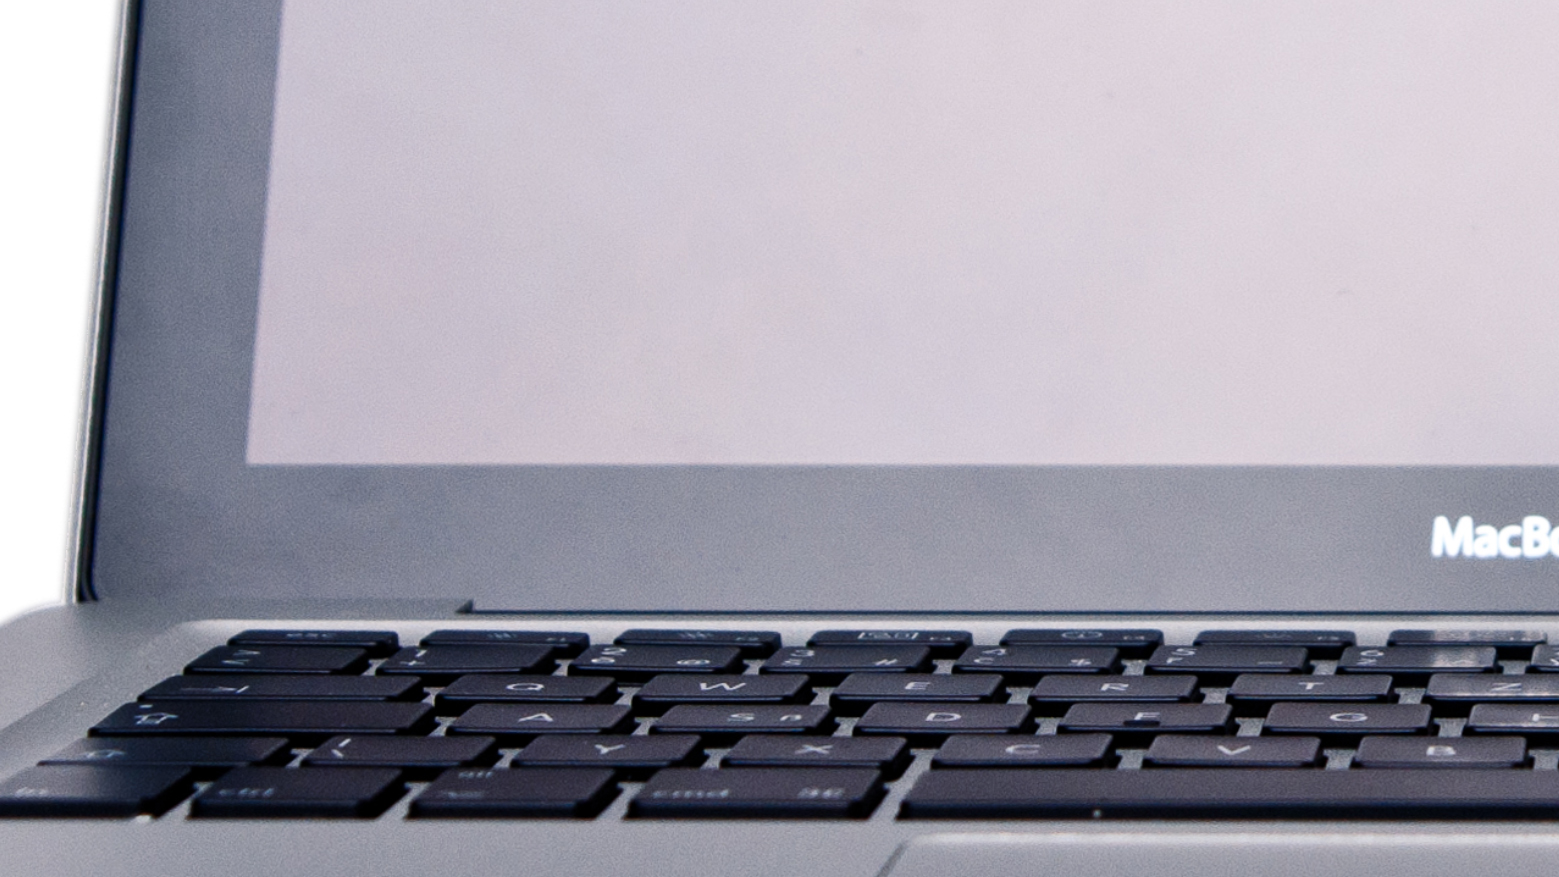
For deleting fingerprints we can use the Clone Stamp Tool. Set a suitable size, rather lower hardness and a low opacity (around 25 %) to make small changes. It is better to click more times than to damage the photo.
The Clone Stamp Tool copies the color and saturation from a selected place so it can successfully delete any fingerprints and streaks. You have to zoom in and out and change the size and you have to work slowly to get the best result.

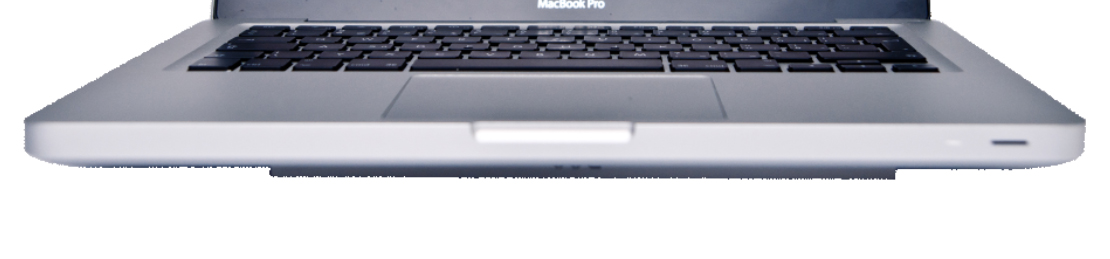
Hiding the Background with a Mask
We have two possibilities how to solve this problem, the results will be the same but the second one is much faster in case we can work with the Pen tool.
At first create a mask inside the layer with notebook and assure that the active color is set to black.
Magic Wand and Brush
Activate the Magic Wand tool, set the Tolerance around 25 and check Contiguous to avoid selecting pixels inside the notebook. Using the Magic Wand tool you can select the whole upper half and fill it using the black color into the mask (Alt+Backspace).
The best tool for masking the lower half is the Brush because the shadow disallows us to use the Magic Wand tool for this area (the result would not be good).
There is no problem to select any area using the Rectangle Selection tool and fill it using black color into the mask of course - you can speed up your work using this option.
Pen
Another option is to activate the Pen tool and try to define the area using it. The procedure is shown in the following video. The Pen has one advantage - you can quickly create rounded corners which is exactly what we need.
Working with the Pen tool is easy, after single click a vertex is added, after clicking and dragging you can add curvature which can be regulated until you release the button. You can press Ctrl+Z in any moment to return to previous step. You can also add or remove vertexes after closing the curve using the next tools in the Pen group.
You should not forget that the curve created with the Pen has to begin and end in one point if you want to make a selection from it. Then you can select the Make Selection option from the context menu and use this area to fill the mask.
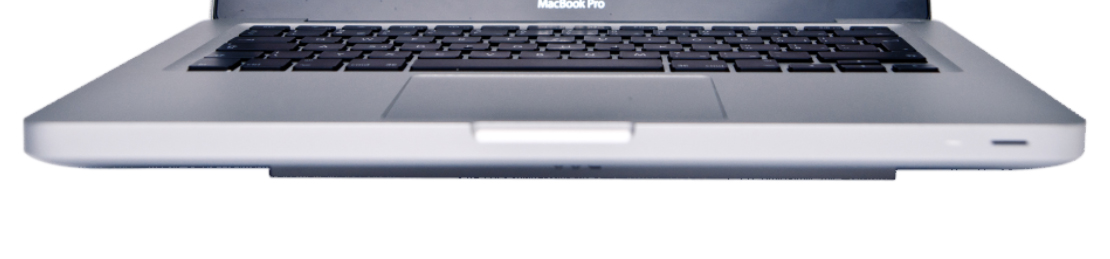
Completing the mask
In case you decided to use the Pen tool you can see the problem in the bottom part of the image - the border is serrate and it will not be better even after zooming out.
This problem can be solved very quickly, duplicate the layer and select the Gaussian Blur filter from the menu to be applied on the background layer (select the value to 3 pixels). You can even duplicate the blurred layer if you want to. The border was softened as we wanted.
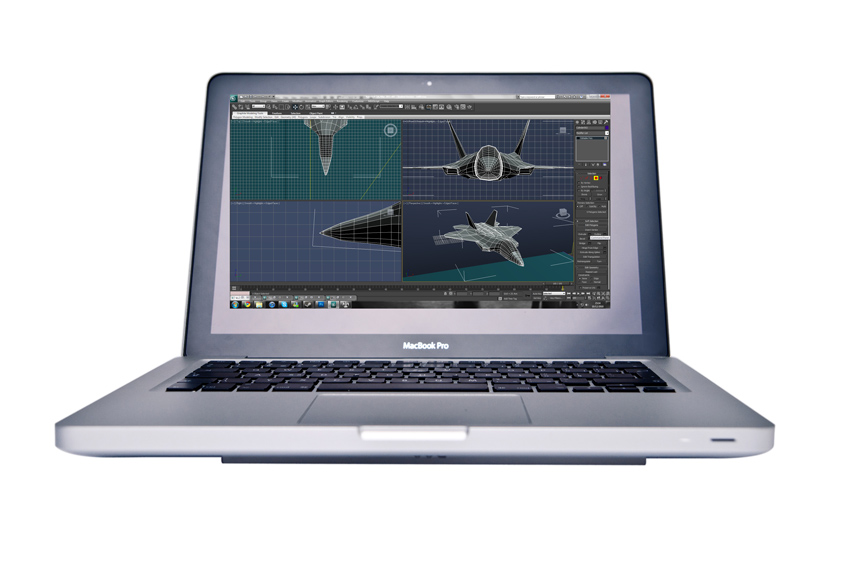
Inserting a Content on the Screen
The next step is adding an image on the display and editing it to look like a real screen. We can print our screen using the PrintScreen key and insert it into the scene (Ctrl+V).
We are going to use the Skew tool again and place every vertex to the right place. Reduce the layer size to 99 % and duplicate it. Select the content of the background layer (hold the Ctrl key and click on the icon) and fill it with black color.
Enlarge the black layer to 101 or 102 % to cover the whole area of the display - we will simulate a recessed display.
The last thing to do with the black layer is adding the Outer Glow style, the parameters are visible in the following image:
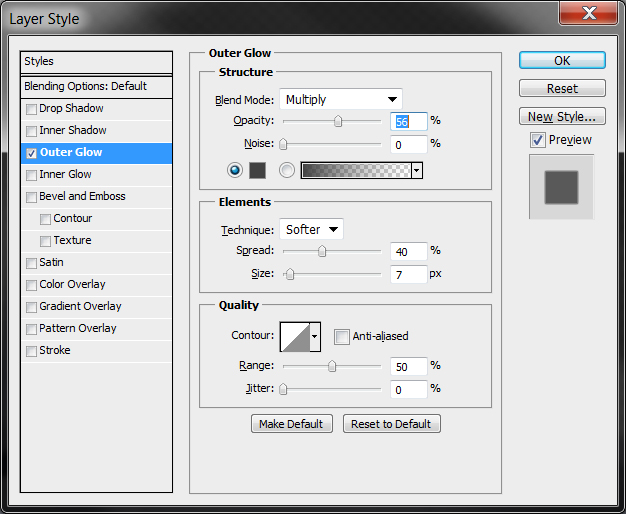
We have created a 3D effect for the display.
Now we can experiment with the result to look as realistic as it is possible. You can use 3 steps (only one of them or combine them).
- Adding a Gradient to simulate mirroring the light and darkening the corners. The center of the radial Gradient should be placed a little bit above the center of the display. The best blending mode is Darken but you will have to decrease the Opacity to 30 %.
- Adding the Lighting effect from the Filter > Render menu where we set the Soft Omni Light and change the parameters not to make it too strong. The blending mode should be set to Lighten with Opacity around 40 %.
- The last option is simple - darkening the corners
because the source photo is darker in the corners than in
the center. We should use the Brush tool with a bigger size (around
500), lower Hardness and lower Opacity (around 10 %) to make small
changes.
We can make the darkening into a new layer, move it to the top and decrease the Opacity.
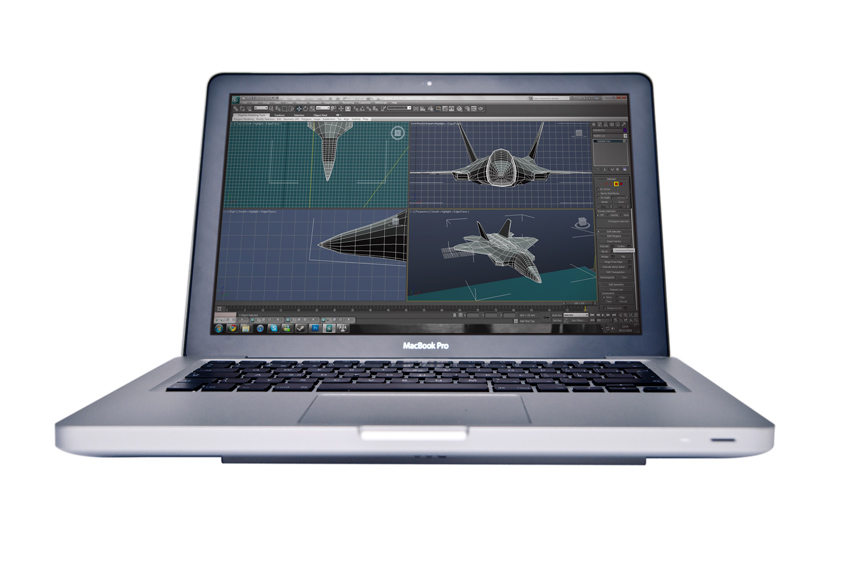
The whole result can look like the following image:
The Mirror Effect
Open a new document and set its dimensions as A5 (this preset is available into International papers group). Select everything (Ctrl+A) in the notebook document (in case you added a background you should make it invisible) and Copy Merged (Shift+Ctrl+C).
Insert the merged image into the A5 document, center it horizontally (select everything by Ctrl+A and select Layers > Align to Selection > Horizontal Centers). Then move the notebook in the upper half (while having the Shift button pressed to change only the vertical position).
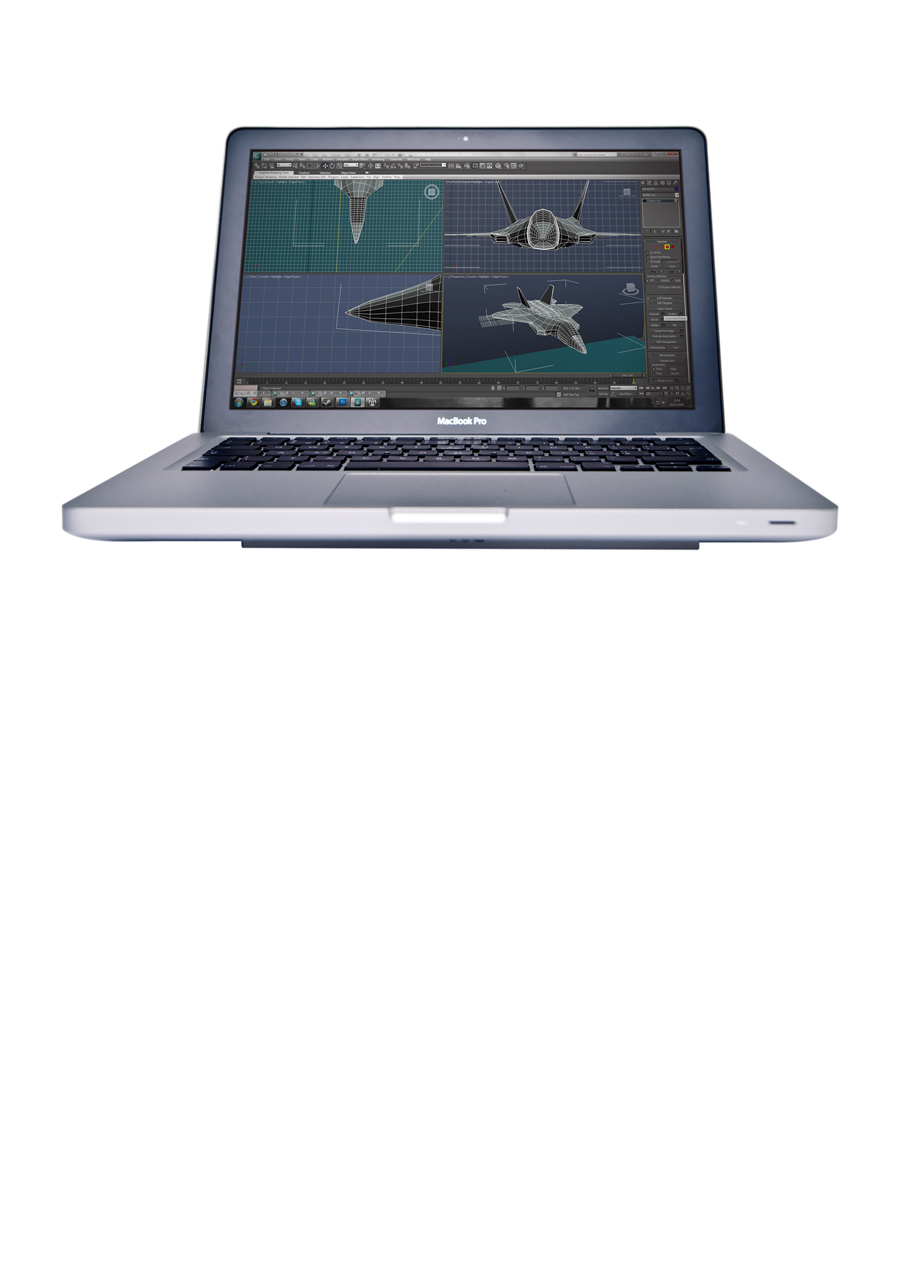
The mirror effect is very easy - duplicate the layer, apply the Transformation and set the height to -100 %. After confirming the layer will be flipped vertically. Then you can apply the Transformation again and set the height to 60 - 70 % to make the mirror effect more realistic. Then you should move the mirrored layer to touch the original layer from the bottom.
Add a mask inside the mirrored layer and create a gradient inside it (experiment with the position to make the effect as realistic as you can).
Note: it is possible that you will not be able to stick the layers together because of their rotation - do not worry and rotate the mirrored layer as you need to complete the effect.
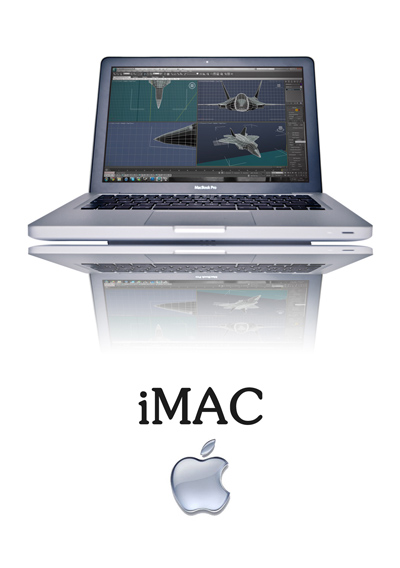
The iMac Logo and Text
The last thing to add is the iMac Logo and Text. The logo can be downloaded here.
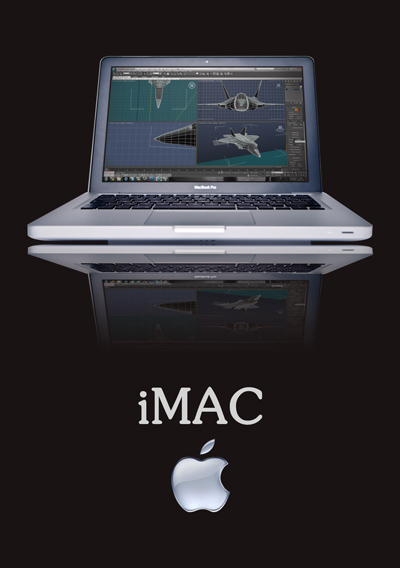
Use a suitable font for the text (for example Calibri) and center it using the Align Layer to Selection tool. The leaflet is complete. When creating the second variant with a black background you should also add a mask to the iMac Logo layer (you can use the Pen tool again to make it smooth).
Additional Texts
Questions and Exercises
- Try to create an advertisement for another product (mobile phone, car, watch, ...) using the same technique. You should use masking.