
Photo retouch and photo tinting I
 In this lesson:
- Default photo and its valuation
- Skin smoothing
- Sharpening using highpass tool
- Color tone using filter
- Background substitution
- Making eyes lighter
- Frame and description
- Color tone modification using layer modification
Default photo and its valuation
In this lesson we try to edit and tint simple family photo. This photo is not precise but we present filter combination end effect on it in order to change it radically. We use simple post-processing (or post production) of this photo.
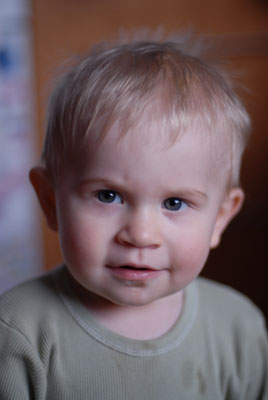
This photography mates-postprocessing-original.jpg save to your computer in full resolution. Open it in Adobe Photoshop.
Step 1
Duplicate original layer (right-clik at layer with photo and select Duplicate Layer). Named this layer as "photo original" (double-clik at this layer).
You can see that this photo has not good quality - the light is interesting but it's not sharp and boy in the picture has dirty chin and T-shirt.
Step 2
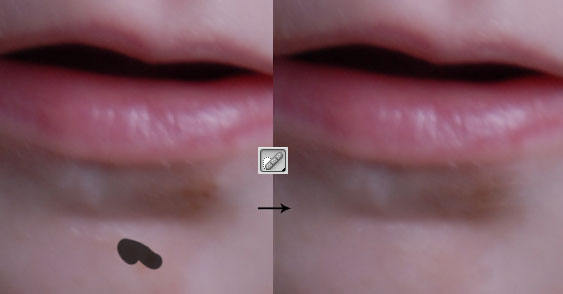
Use Spot Healing Brush Tool to retouch boy's chin, alternatively other problematic spots on boy's face.
Step 3
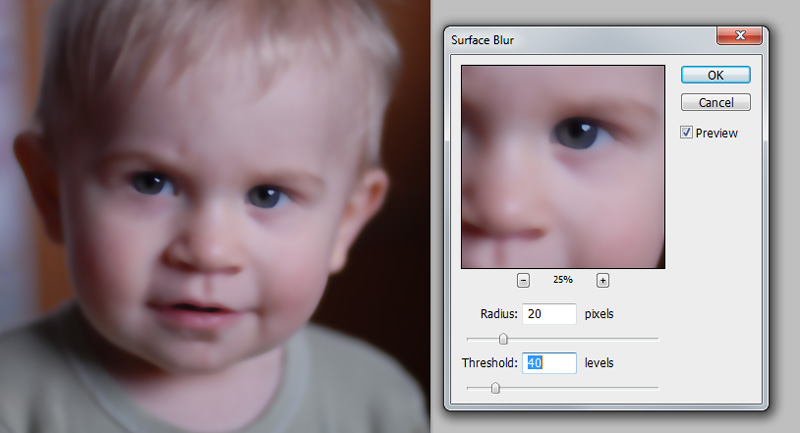
Duplicate modified layer and name it as "photo original smooth". Choose menu Filter > Blur > Surface Blur. Use suitable values (you can repeat this step anytime to achieve better results) to smooth (blur) skin.
Step 4
Create Layer Mask at layer with blurred face, choose black color and draw eyes and mouth. Portrait will be blurred but eyes and mouth remain sharp (you can use partially transparent brush to mouth to soften the sharpness but eyes have to be maximally sharp).

Step 5
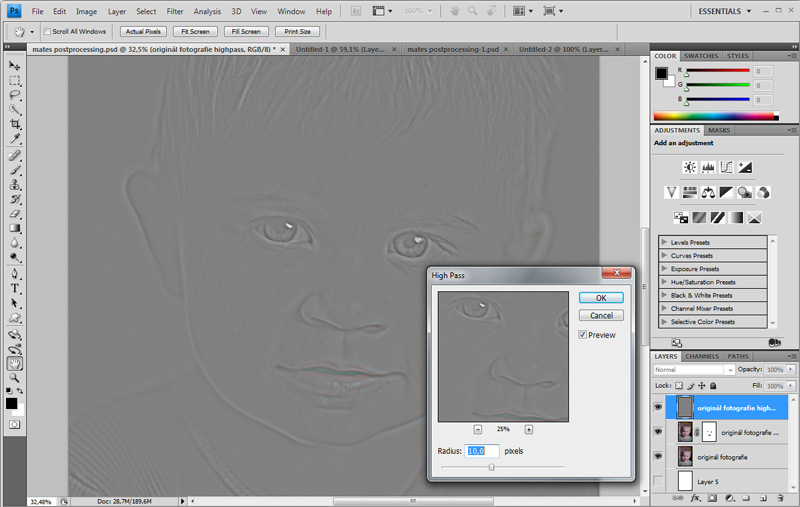
Duplicate layer named "photo original" and call it "photo original highpass" and move it above "photo original smooth" layer. Choose menu Filter > Other > High Pass and choose appropriate settings. We want to have sharp outlines of photo. Press OK if you're ready. You can repeat this step anytime to achieve better results.
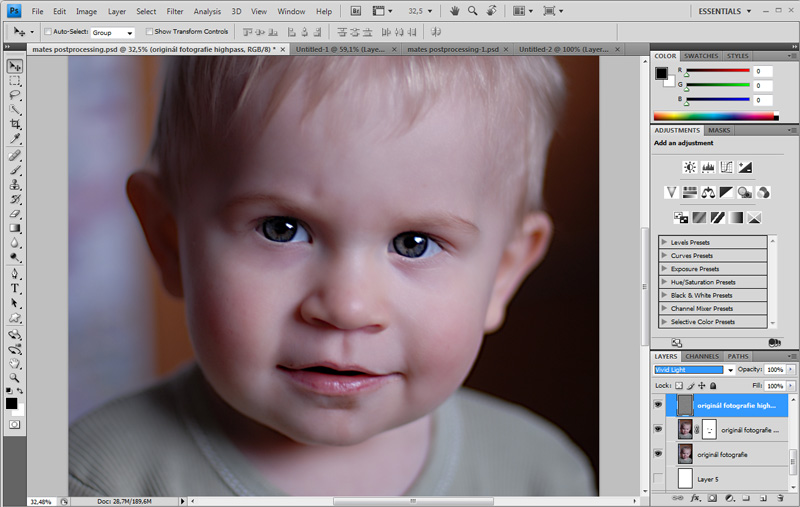
Step 6
Note that using "High Pass" filter we got raised the most important parts of boy's face. Try to experiment with Blending mode to achieve result as you can see in the picture below (we need to have highlighted proportion of face).
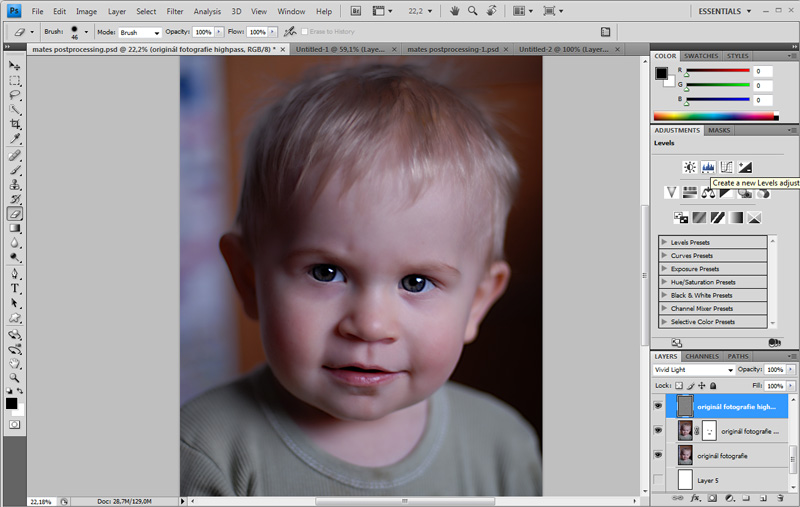
Step 7
We make "Layer Adjustment" in this step. It's layer where we choose some adjustments and this layer will influence only layers below. Choose Create a new Levels adjust at "Layer Adjustment menu". Advantages lies in the fact that we can cancel or edit this setting anytime and this change doesn't affect any layer. You can experiment to achieve the best results. It's possible to create more layers and make them visible/invisible and choose the best option (you can combine more layers).
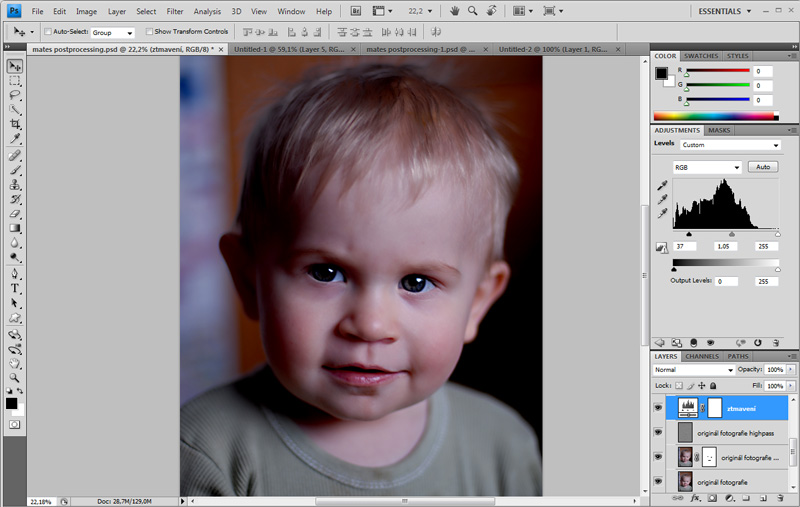
Step 8
We would like to make our photo darken using "Layer Adjustment" menu (as you can see in the picutre below).
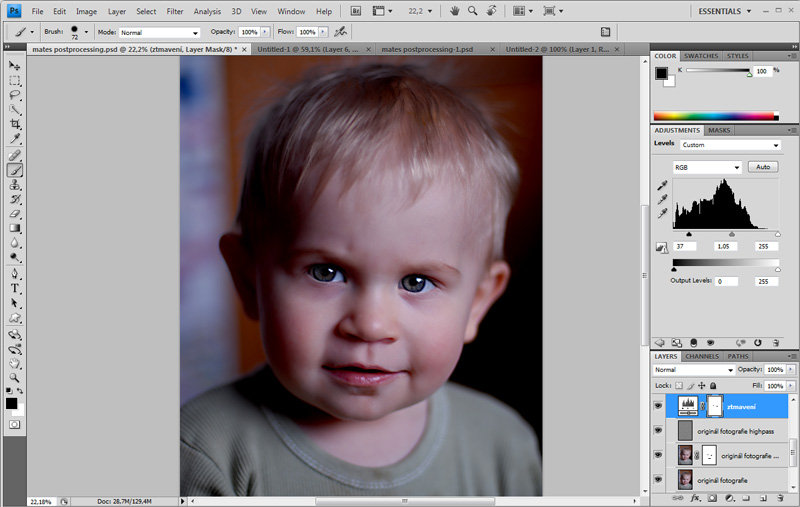
Step 9
You can see, that this adjustment make eyes too dark (they have to be more light and vital). Use Layer Mask to delete parts which you don't want to have dark. Fill these parts with black color (at Layer Mask).
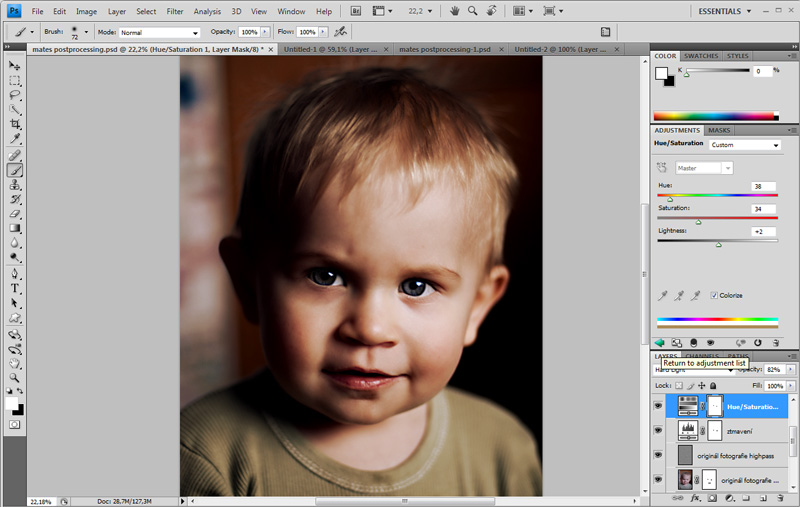
Step 10
Next adjustment will be changing photo's shade. Use "Layer Adjustment" again (select Hue/Saturation). Use convenient settings and use "Layer Mask" in order to keep eyes without changes. You can also try to use different Layer Blending settings and Opacity (we use Hard Light and 80 % opacity)..
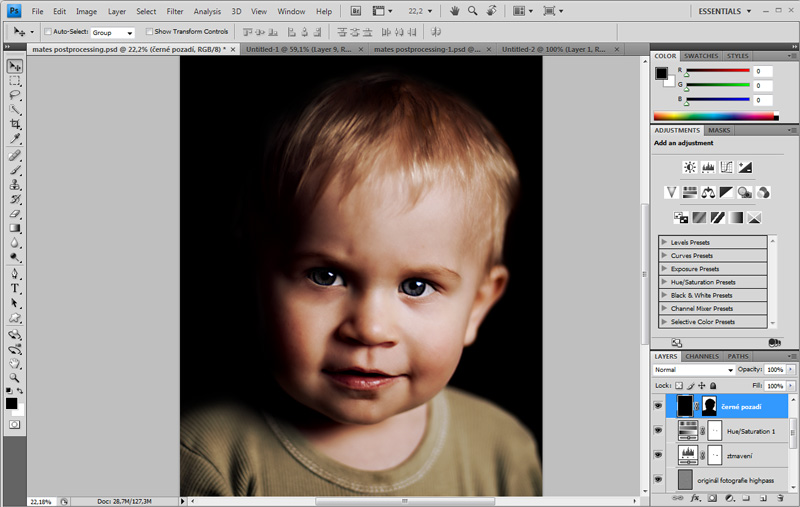
Step 11
Next-to-last step is to hide background. Create new layer and fill it with black color. Create Layer Mask and use black color to fill everything what you want to see (all except background in our case). You can use Marquee Tools or just Brush Tool.
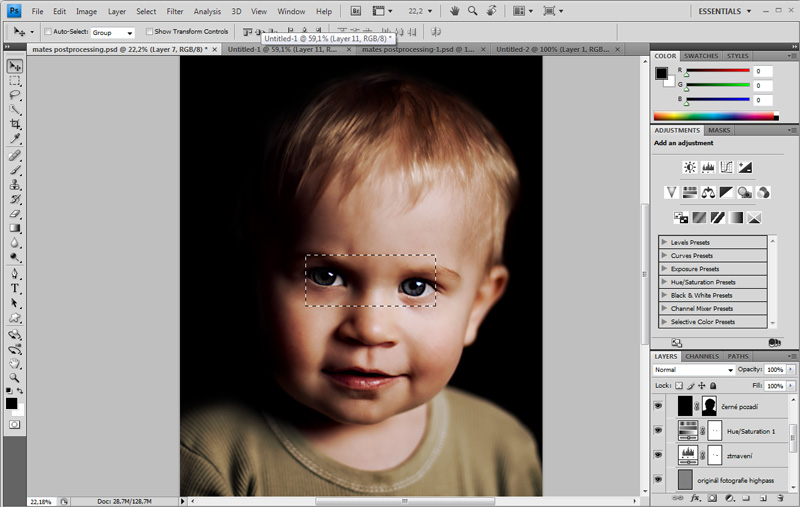
Step 12
Last thing which is used in portraits' postprocessing is to add vividness to eyes. One option is to define rectangular selection and copy eyes using CTRL+SHIFT+C shortcut. Insert it back to photo and we get new layer including only eyes.
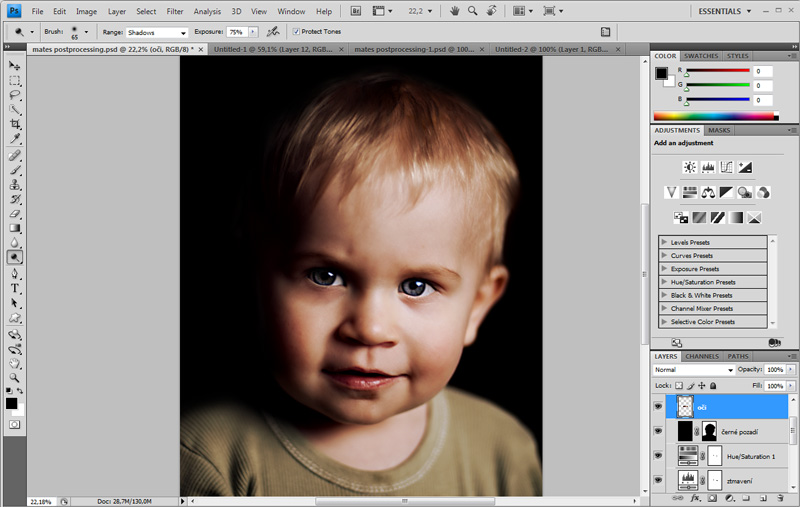
If you don't want to edit your picture you can just use Dodge Tool. Use Shadow Range, brush size and opacity at tool's options. Fill eyes using this tool carefully. If you want to edit your picture later is better to create Layer Mask and select just eyes.
Step 13
Last step is to make some retouchs using Clone Stamp Tool (on chain) and Patch Tool (on t-shirt). You can also add simple frame and title of photo. These steps are final and we get ready photo.
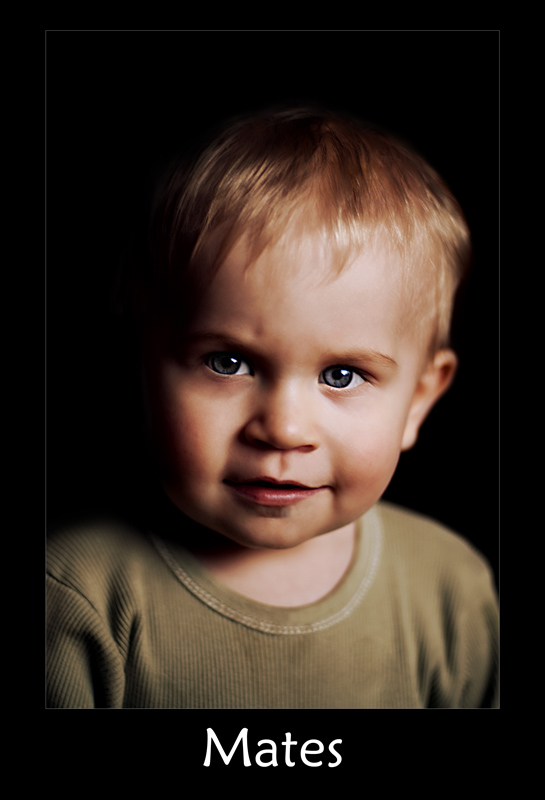
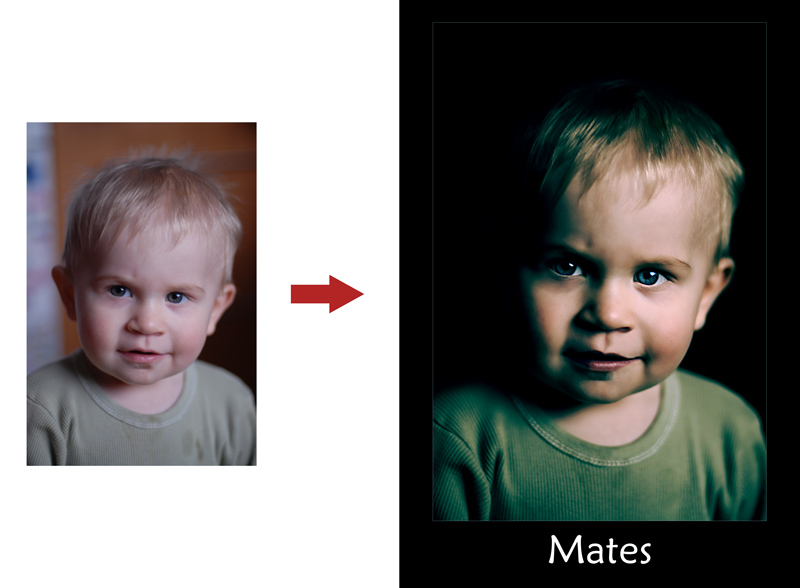
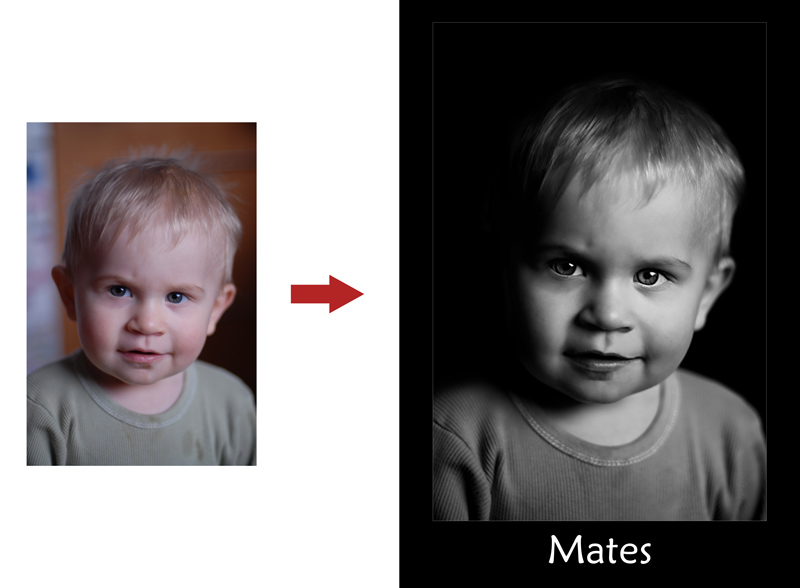
Practical task
Finish editing this photo (retouchs and frame) and create other two versions using other color variations (using Layer Adjustment). You can see two edited picture below (other color balance or black-and-white photo). Original photo is added for comparsion.
Homework
Take other photo (similar portrait) and use same process on it.
Further reading
- http://www.stanislavpetera.net/fashion/?lang=cs Stanislav Petera's website. He is using postproduction on professional level.
Questions
- How you could use High Pass filter?
- How would you characterize the possibilities of using Layer Adjustment?
- Find some website focused on post-production.