
Layer Styles and Text Effects
 Content
of the lesson:
Content
of the lesson:
- Text from Cheese Effect
- Radioactive Text Effect
- Golden Text Effect
- Text as Image Effect
We are going to try several examples of text effects using the layer styles as stroke, shadow, glow and other. You can experiment with the values as you wish and try to get a better result. It is also possible to find a shorter and better combination of settings which results in the same effect.
The examples marked as easy will not take more than 10 minutes, the harder ones will take more time, but you should try them all to be able to work with the layer styles and filters.
Text from Cheese Effect
Difficulty: easy
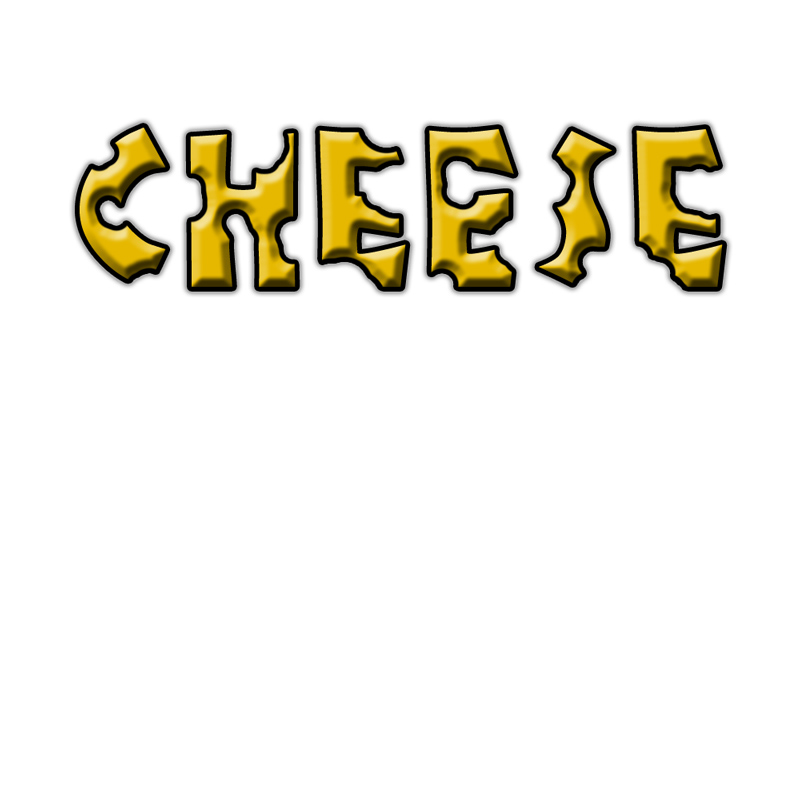
Create a new square document (for example 1000 x 1000 pixels). Write the text "CHEESE" using the NewFoundland font somewhere in the middle, and set a suitable yellow color - for example RGB(255, 206, 11). You can center the text horizontally and move it to the upper half.
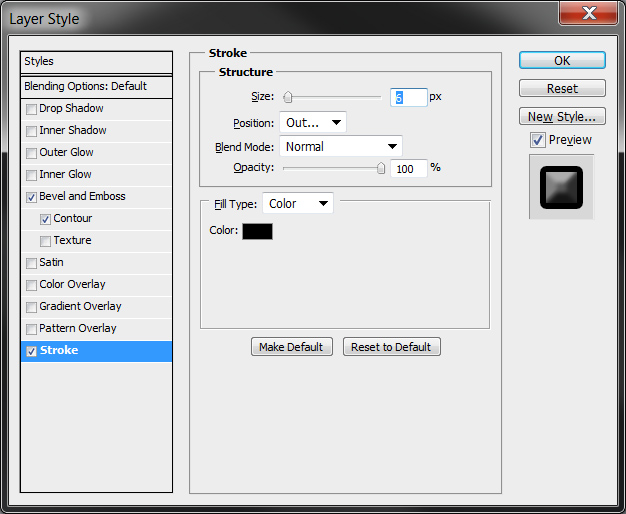
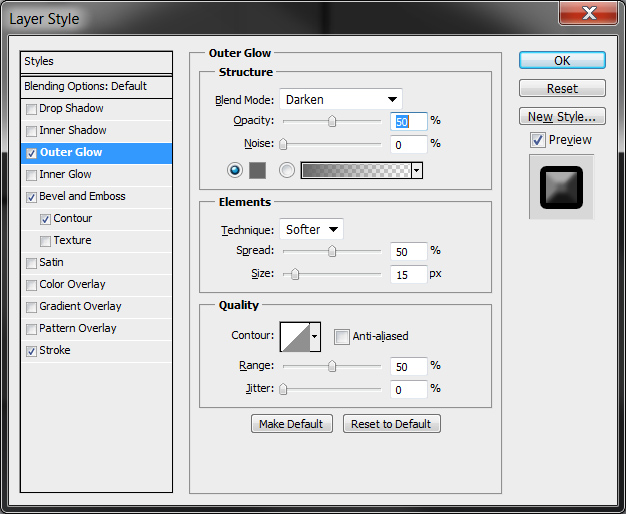
Apply a 3D effect to the layer with the text to make it look like the text was created from a cheese. The values are available in the following images so you can copy them.
Bevel and Emboss:

Stroke:
Outer Glow:
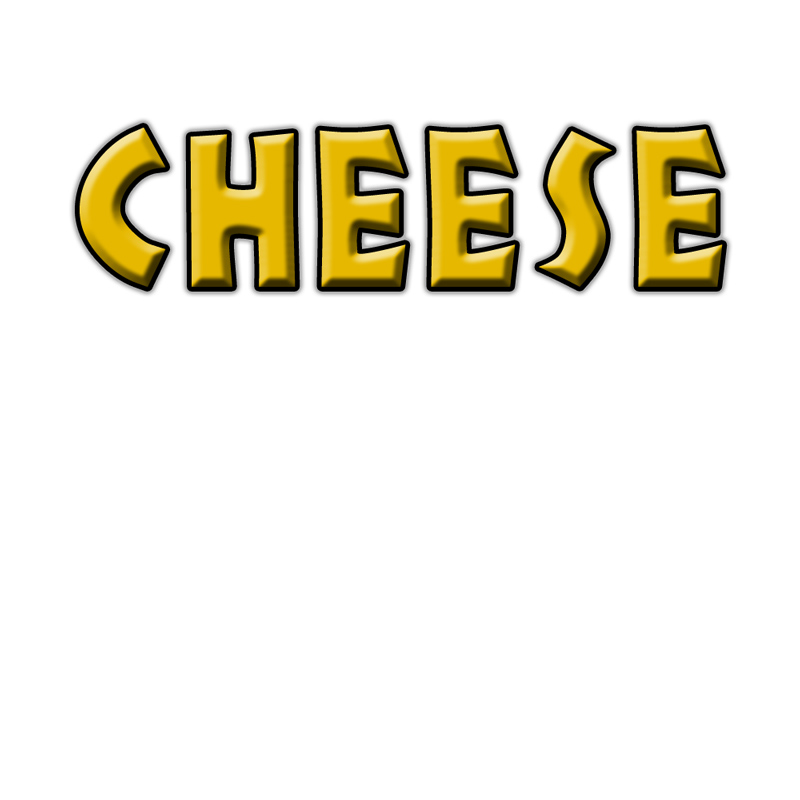
The final effect can look like the following text:
Now duplicate the text layer, hide the lower one and let the upper one be rasterized. After this operation we get a layer which does not contain vector graphics anymore (it cannot be enlarged without losing quality) but we can work with the layer like with an image - we can add a mask for example.
Add a mask and try to simulate bites from a mouse using a brush with high hardness. It is a good idea to change the brush size because the result will look better and more realistic. You could note that the layer styles are applied after the mask so we do not have to reapply the styles. In case we did not use layer styles, we would have to reapply our technique after every change of the layer.
The number of bites and their size are arbitrary.
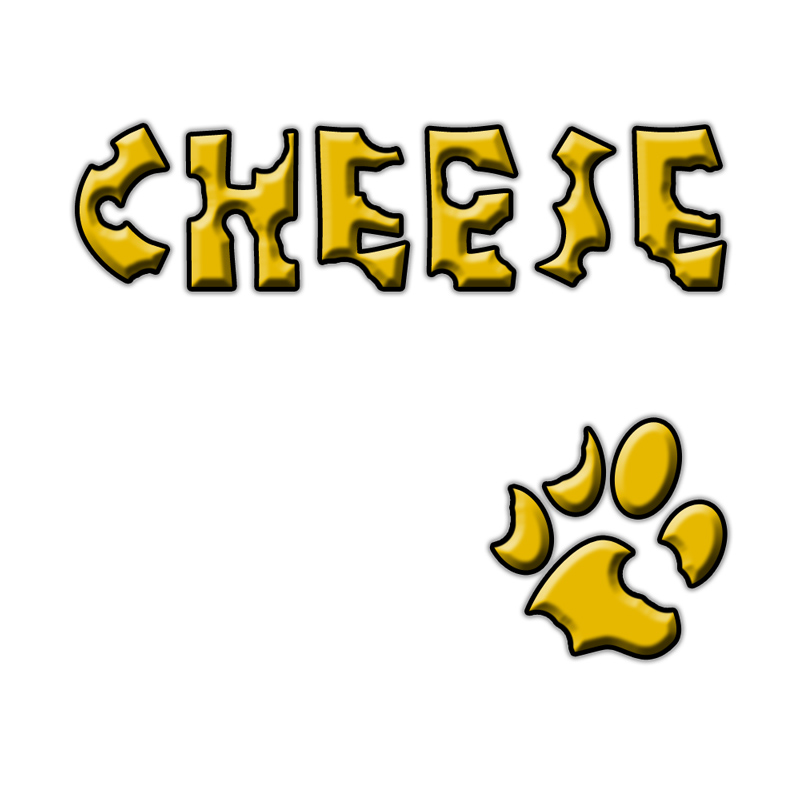
Finally select the Shape Tool and choose a paw from the offer of shapes. Create a paw in the bottom right corner and use the same color as for the text. Do not forget to rasterize the layer.
Then click using the right mouse button on the layer with rasterized text, select the Copy Layer Style option, then click on the layer with rasterized paw and select the Paste Layer Style option. Using this technique we do not have to copy all layer styles and values. You can also apply a mask and simulate more bites from a mouse.
The final effect can look like the following image but do not worry to experiment and try to get better results.
Radioactive Text Effect
Difficulty: normal
Next we are going to create a text emitting radioactive waves. This procedure is completely different from the cheese effect because we are going to use filters and color changes.
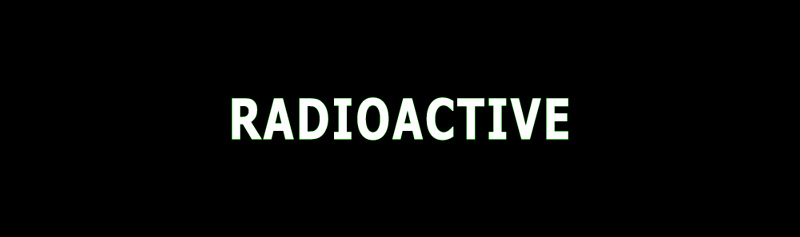
Create a new document 1000 x 250 pixels and write a title "RADIOACTIVE" using the Tahoma font (bold) and size of 50. In case you change the values you should consider that this effect needs enough space around the text (at least half of the width/height in that direction).
It was found experimentally that using a square document and placing the text in the upper half will make the waves more significant so consider using other dimensions if you want.
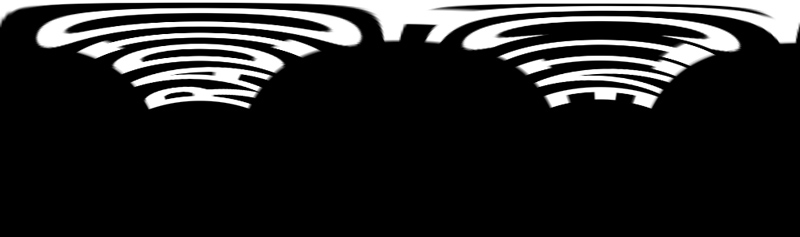
Duplicate the text layer and let it be rasterized (you should hide the original layer). Choose Filter > Distort > Polar Coordinates from menu, set the mode as Polar to Rectangular and confirm. Do not be afraid of the result because it will be frightening (in case we used other dimensions for our document, it is possible that the result will not be the same). This effect is commonly used to simulate the effect of written text in a cylinder and can be used to create cylindrical anamorphosis (an artistic style which was popular in 18th century).
Apply the next filter from the menu Filter > Stylize > Wind which tries to simulate scattering the content of the layer by wind. Choose the mode Wind and first choose From the Right and then From the Left (apply the filter twice - once for each direction, the order is not important).
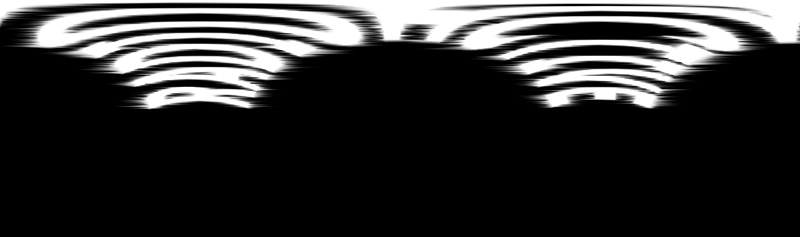
Use again the filter Filters > Distort > Polar Coordinates to return image coordinates to its original state (use the setting of Rectangular to Polar) and confirm. You can see that the waves were created behind the text.
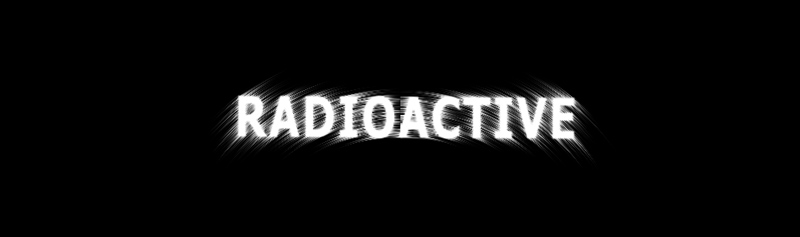
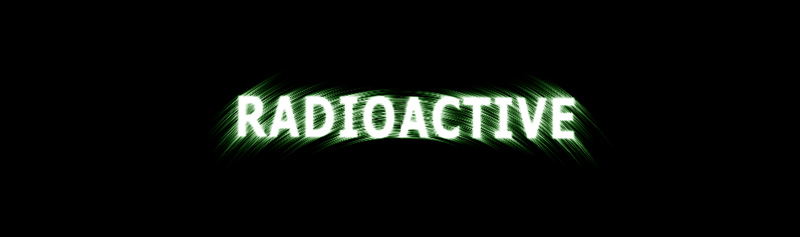
The last thing which is missing is to change the color of the background to green to make a bigger impression. Use the Color Balance adjustment layer and move the second bar to value +100. The whole effect is complete.
In case that we use settings which are not ideal for this effect, a problem can occur in the middle of the text after applying the Polar Coordinates effect to return coordinates back to normal (visible in the previous image). The text looks like it was cut in the middle so you should use the Clone Stamp Tool to correct it. The final effect is visible in the following image.
Golden Text Effect
Difficulty: hard
The following procedure is more difficult compared to the previous effects because you will have to set the gradients by hand and experiment with settings to get a fine result. The best solution is to let the browser window opened together with Adobe Photoshop to be able to copy settings from the lesson to your project.
Start with creating a new document 1000 x 1000 pixels and adding a layer style Gradient Overlay on the first layer. Set the radial style and a suitable brown color to the center (the color can be changed after double clicking on the stopper below the gradient). You can also change the Scale.
Add a text, use a suitable font, for example Adobe Caslon Pro, and edit the parameters to look well and be large enough. You do not have to deal with the color because it will be set via the layer styles.
To make the text more interesting, you can use the V letter instead of A letter and flip it horizontally and vertically. You should merge all text layers to be able to create layer styles for the text.
Start adding effects for the layer with the text, at first the Gradient Overlay effect. The settings are visible in the following image, we have to change the colors inside the gradient - the gradient is visible in the image below the first one. You do not have to copy the color exactly, try to get a fine result.

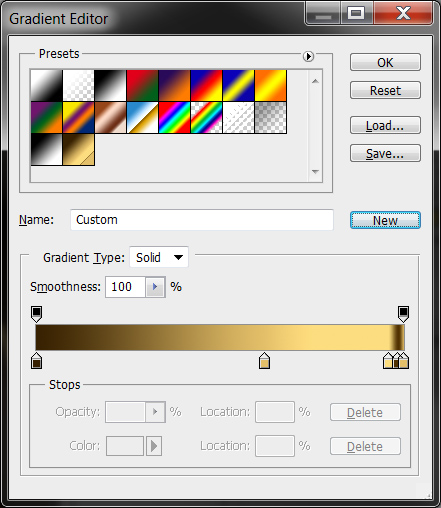
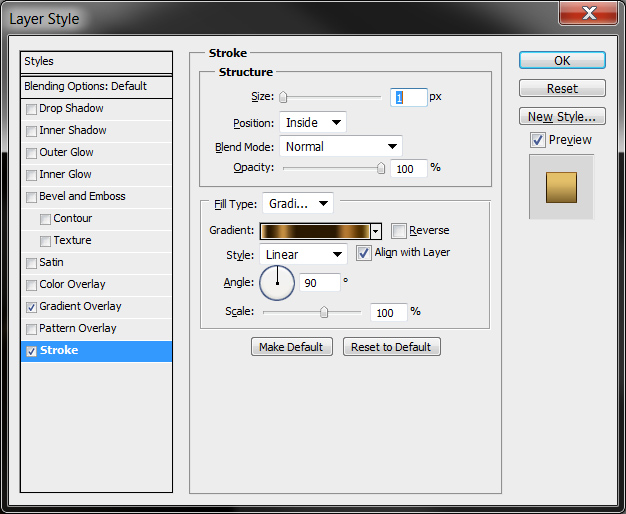
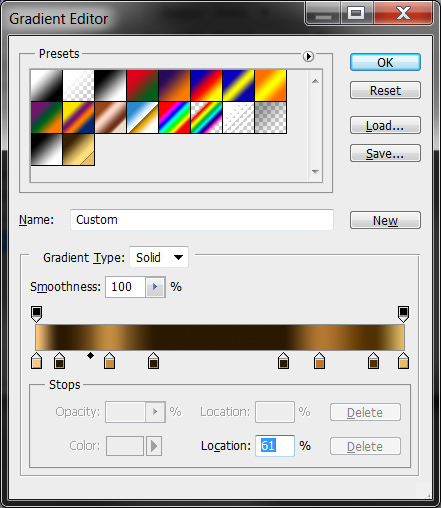
The next step is adding a Stroke. You also have to edit the gradient and experiment with the values (you can change the values also at the end when you will see the final effect). The gradient is very complicated but it simulates the border of the golden text successfully.
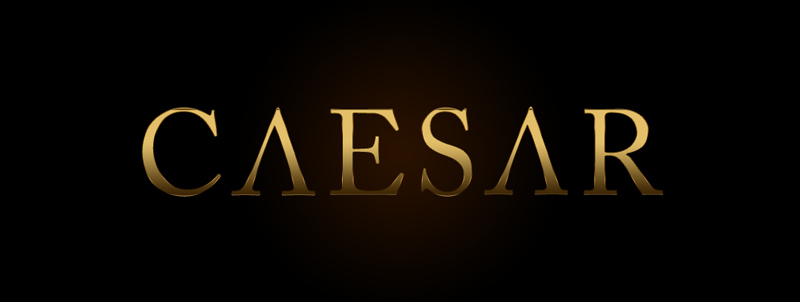
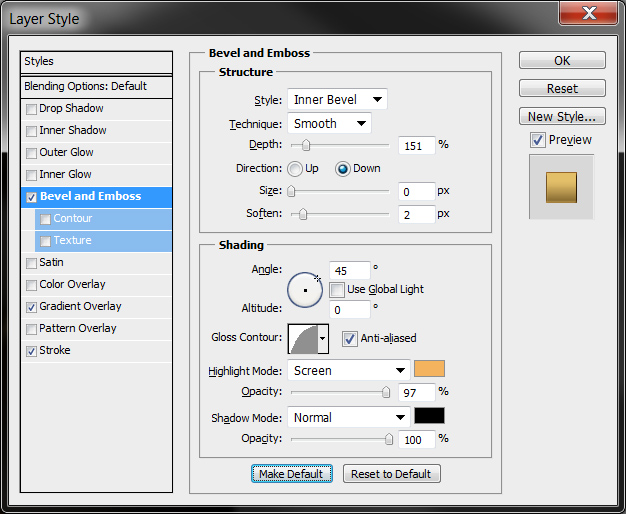
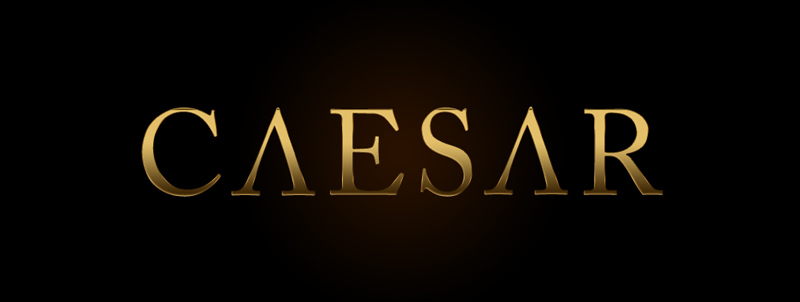
Then we want to have a plastic 3D text so add Bevel and Emboss style. The settings are available in the following images. We can see that after adding this style the complicated gradients inside the Stroke and the Gradient Overlay styles are nicely visible.
The last step is adding a Drop Shadow style to make a larger impression, but do not overstate the values-
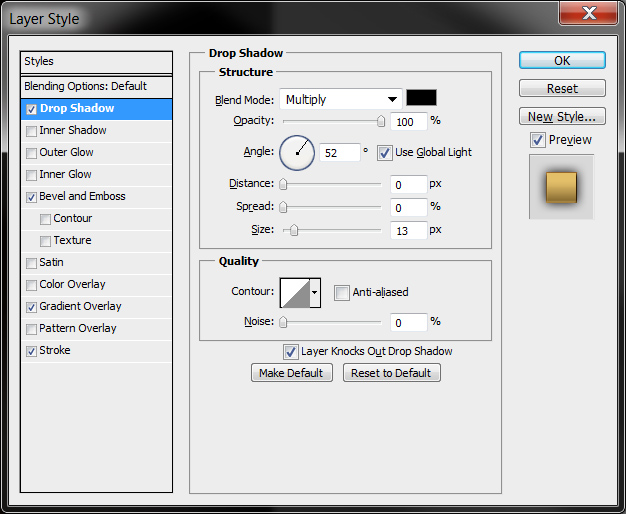
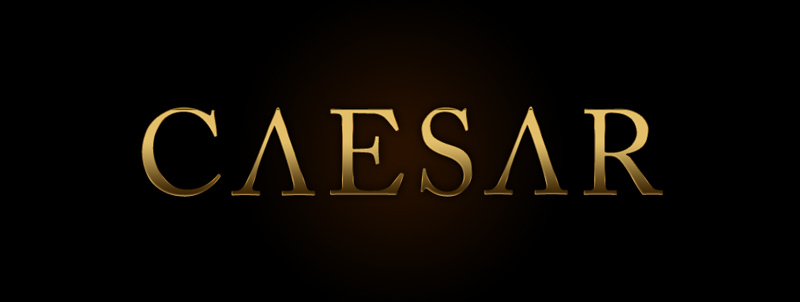
As you have read, do not worry to experiment with the values; choose different colors or gradient types because it is possible to find an easier way to achieve the same or even a better result.
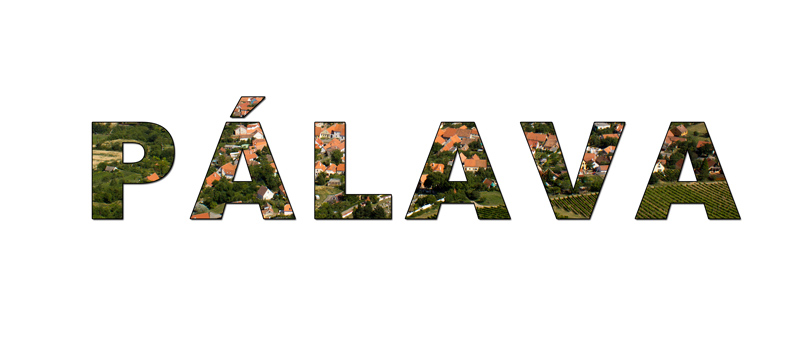
Text as Image Effect
Difficulty: easy
The last effect is very simple, open any photo in the Adobe Photoshop (you can use any photo from the database on the network drive), create a text inside a new layer, hold Ctrl key and click on the icon of the layer with text. The text area will be selected, then add a mask on the layer with the image. Because there was selected area while creating the mask, Adobe Photoshop automatically fills the mask. The whole procedure is complete.
The only problem is to choose a suitable part of the image which will grasp the meaning of the text. We can also add layer styles to the final layer as Stroke or Drop Shadow to make the effect more beautiful.


Additional Texts
Questions and Exercises
- Try to create 2 more text effects; one should be created using the layer styles and one using the filters. You can get inspiration from the links and tutorials.