
Creating CD cover
 In this lesson:
- Lesson description and default files
- Inserting photo and modifying workspace
- Background creation - Magic Wand Tool
- Face modification - Layer Mask and Layer Blending Tool
- Titles - Layer Mask and order of layers
- Colored splashes - new brushes
- Size modification
Lesson description and default files
In this lesson, we focuse on creating more difficult CD cover. We can use mode of CD cover and default photo. We'll modify this photo in order to make it similar to original cover.
Default photo and original CD cover


Save this picture to your computermadonna_vstupnifoto.jpg a madonna_celebration.jpg.
Document
One of the most important information is cover's dimension. We can use rule to measure real cover or use www.google.czand find cover's dimension. We found that front side measures 121 mm×121 mm. We make our document smaller in the end of this lesson, we'll work with original size of the photo.
Inserting photo and modifying workspace
We start to modify default photo. Open Photoshop and choose File->Open (or drag photo to Photoshop).
We need to open original cover (Madonna Celebration). We'll use tool which allows us to open more files in one window. Find this icon in top menu ![]() and choose
and choose ![]() Side by side.
Side by side.
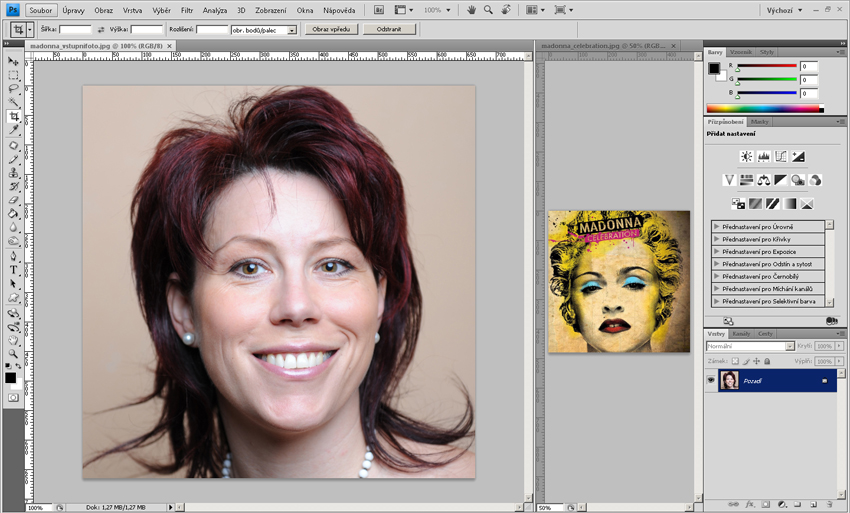
We can see both of picture now and it'll be easily to work with them. We can change position of the middle strip. We need to see only preview of the original photo so make default photo bigger and make preview smaller using CTRL and - (or use Zoom Tool). It's better to see all documents you work with.
Photo editing
We'll modify our default picture.
Step 1 - layer duplication
To keep default photo, right-click on layer named Pozadí and choose Layer from background. Duplicate this layer (right-clik to this layer and choose Duplicate layer. Hide original layer (Vrstva 0) si skryjeme (click to icon of the eye next to layer preview). Rename Vrstva 0 kopie to oblicej.
Step 2 - polotónový vzorek
You can see that original photo is composed only from small dots. Use filter Color Halftone. What is important when you use this filter?
- Choose right layer (oblicej).
- Set foreground and background color. We need to have white color as background and black color as foreground. Press D key or click on the icon of actual color settings
 to set default color (black and white).
- Select Filter->Pixelate->Halftone pattern.
- Try to set different values. We set Size 2, Contrast 32) a Pattern Type: Dot. Press OK to save this settings.
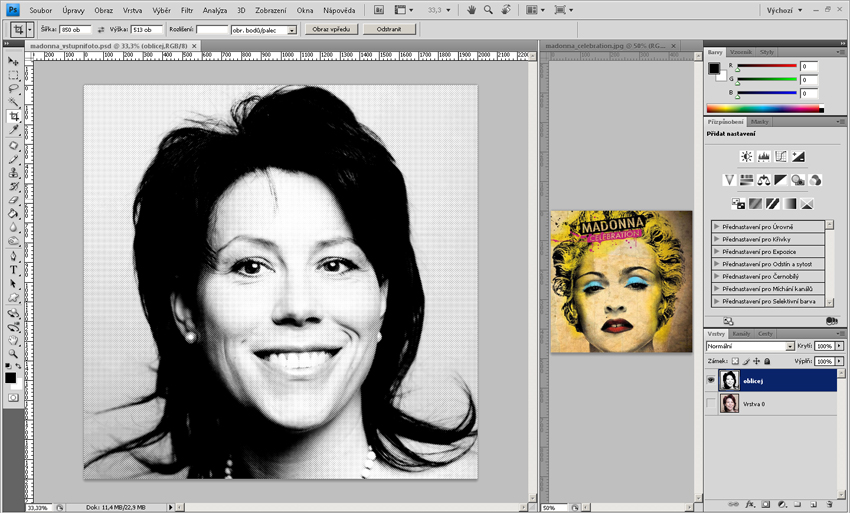
The result will be as this picture below.
Background creation - Magic Wand Tool
Step 1 - remove white background
We need to have only dark dots in our document. Use ![]() Magic Wand Tool.
Magic Wand Tool.
- Select Magic Wand Tool.
- There is Tolerance settings in tool's option. Higher number allows to select larger range of colors.
- Another important option is Contiguous. If you chceck it, Magic Wand Tool chooses all points which are touching. Unchecked opiton means that Magic Wand Tool will choose all points in whole document.
- We want to select all points so do not chceck Contiguous.
- Try different settings of Tolerance. The first number can be 5 and click on hair. Magic Wand Tool chooses only dark points. Cancel selection (click to selected area - cursor has to be small rectangle and arrow). Set value to 50. Magic Wand Tool chose more points but it isn't still sufficient. Cancel selection again and set valute to 150. This selection is suitable for us.
- We have chosen black points which we'll need. It's necessary to reverse selection (right-click to Subtract from selection. Press DELETE to remove background. Cancel selection again.
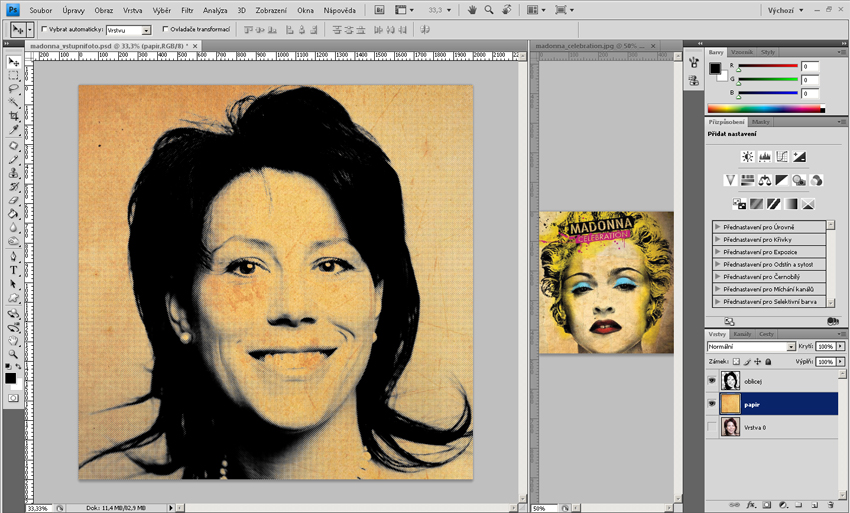
Step 2 - new background inserting
Now we have only black dots without background and we can insert new background. The original background is probably old paper as you can see in the original cover. Open www.google.cz a and try to find Old paper. Google will find dozens of pictures so we have to specify our query. Our picture has resoluton 2000×2000 bodů, set Bigger than 6 Mpx (2816×2112) in the left column. We have to check that picture isn't copyrighted and it's free. Right-click to this picture and choose Copy image. Klikneme na něj pravým tlačítkem a zvolíme Kopírovat obrázek. Open Photoshop and choose Edit->Paste or use CTRL+V shortcut.
Rename this layer to papir and move it above oblicej layer.
Face modification - Layer Mask and Layer Blending Tool
We'll modify the picture of face to requested form.
Step 1 - layer mask, face traits
We have to highlight only main face traits:
- Choose layer oblicej and click to icon
 Add layer mask.
 - Choose
 Brush Tool and set sutitable Hardness and Diameter.
 - Use Brush Tool to remove all unwanted parts of face (hair, keep only main face traits).
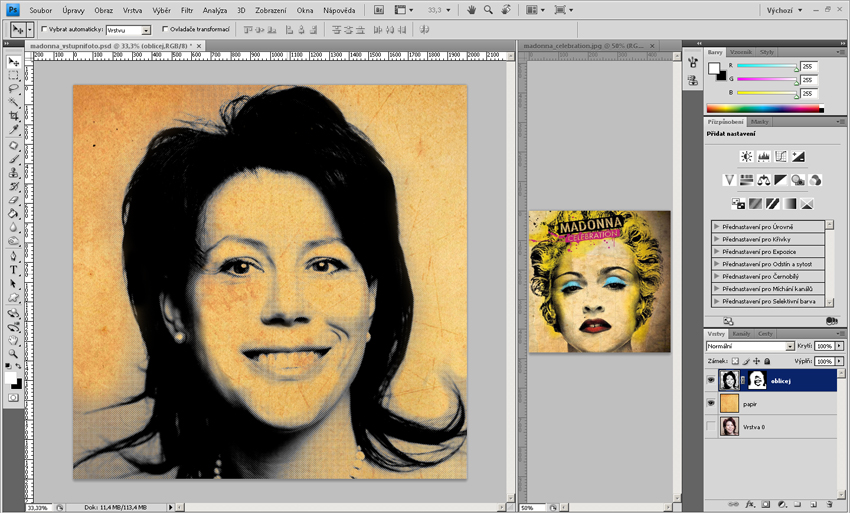
Step 2 - colorization
We have to colorize our photo using appropriate colors. Use red to hightlight mouth, blue to eye shadow, yellow to hair and black to eyebrows. Create new layer for every part of the face. It's important to set right Layer Blending and Opacity. Default settings is Normal for Layer Blendging and 100 % for Opacity).
You can try different options bu we use
- Linear Dodge and 80 % for mouth.
- Linear Dodge and 100 % for eyebrows.
- Color and 100 % for hair.
- Color and 100 % for eye shadow.
It's really important to have every part of the face in different layer. It's easily to modify it again (or remove). Keep size of all parts of the face.
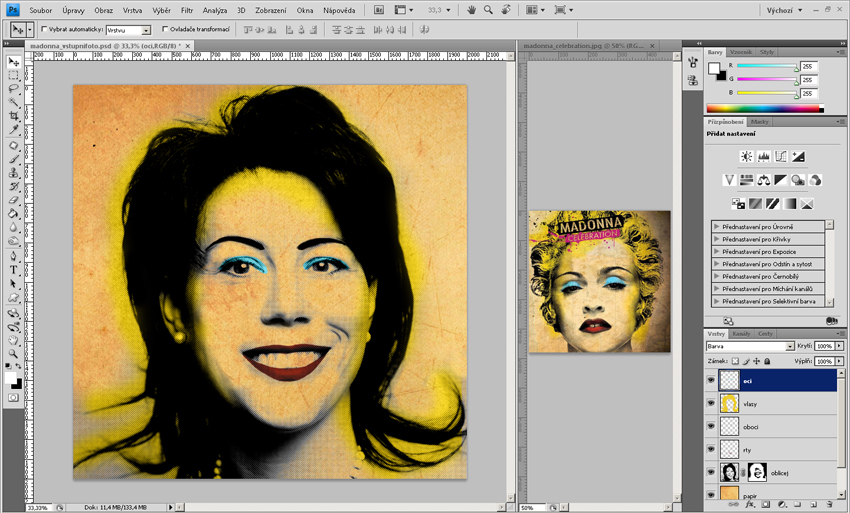
Your result could be as this picture. Do not worry to remove some layer and make it again or try different Layer Blending or use Eraser Tool ![]() .
.
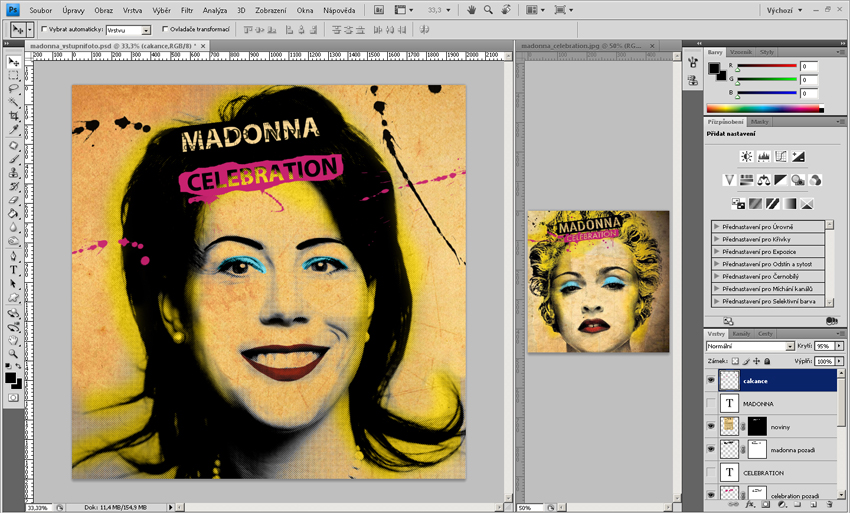
Titles - Layer Mask and order of layers
Step 1 - Celebration title
We can make Celebration title now. In original picutre, letters are transparent and placed in rectangle:
- Create new layer and name it as celebration pozadi.
- Choose Rectangular Marquee Tool and create rectangle in the top part of the document.
- Fill this rectangle using
 Paint Bucket Tool). Choose Eyedropper Tool
  Kapátko and select color from original picture.
 - Press CTRL+T shortcut and turn rectangle to requested position (or choose menu Edit->Free transform).
- Choose
 Horizontal type tool and write CELEBRATION. Use bold font and place it to pink rectangle.
 - Press CTRL and click to T next to layer preview. We select pixels which are placed in this layer (text CELEBREATION), select celebration pozadi layer and press DELETE. We remove these pixels. Make text layer invisible and our title is ready.
- Create Layer Mask on celebration pozadi
and remove edges of rectangle to make it more irregular.

Step 2 - Madona Title
Use same process as before. There's small detail - newspaper are placed below this text.
Oepn www.google.cz and try to find Old newspapers picture.
Insert this picture to Photoshop. Hold CTRL key and click to picture next to MADONNA layer.
We choose only requested pixels. Click to Layer Mask ![]() and picture of the newspaper will be placed behind this text.
and picture of the newspaper will be placed behind this text.
Krok 3 - Link layers
It's better to work with linked layers. Hold CTRL key and mark layers which you would to link. Then right-click to these layer and choose a Link Layers.
Colored splash - new brushes
Last step is to create colored splashes. There are lots of different brushes on the Internet. But be carefull, some of them aren't free. We'll use procemo_splatter.abr, which are free for non-comercial use.
Move file named procemo_splatter.abr to Program Files/Adobe/Adobe Photoshop CS4/Presets/Brushes.
Open new brushes by clicking to ![]() Brush Tool and select this icon
Brush Tool and select this icon ![]() .
Click to small arrow in the right upper corner and choose procemo_splatter brushes.
.
Click to small arrow in the right upper corner and choose procemo_splatter brushes.
Create new layer and draw some splashes using new brushes. Try to use different Layer Blending and Opacity.
You can use default brushes and draw splashes on your own way.
Size modification
Save file as madonna_celebration_original and as madonna_celebration_kopie. Modify the madonna_celebration_kopie size to 121 mm×121 mm. Open Image->Image size and set dimension to 121 mm×121 mm.