
Creation of Title Page of Magazine I, II
 Content
of the lesson:
Content
of the lesson:
- Using the Extract filter
- Layout of layers and their overlaying
- Setting gradient manually
- Inserting text to layers
- Formatting texts
- Aligning texts
- Introduction to face retouching
- Using the Patch tool
Target of the Lesson
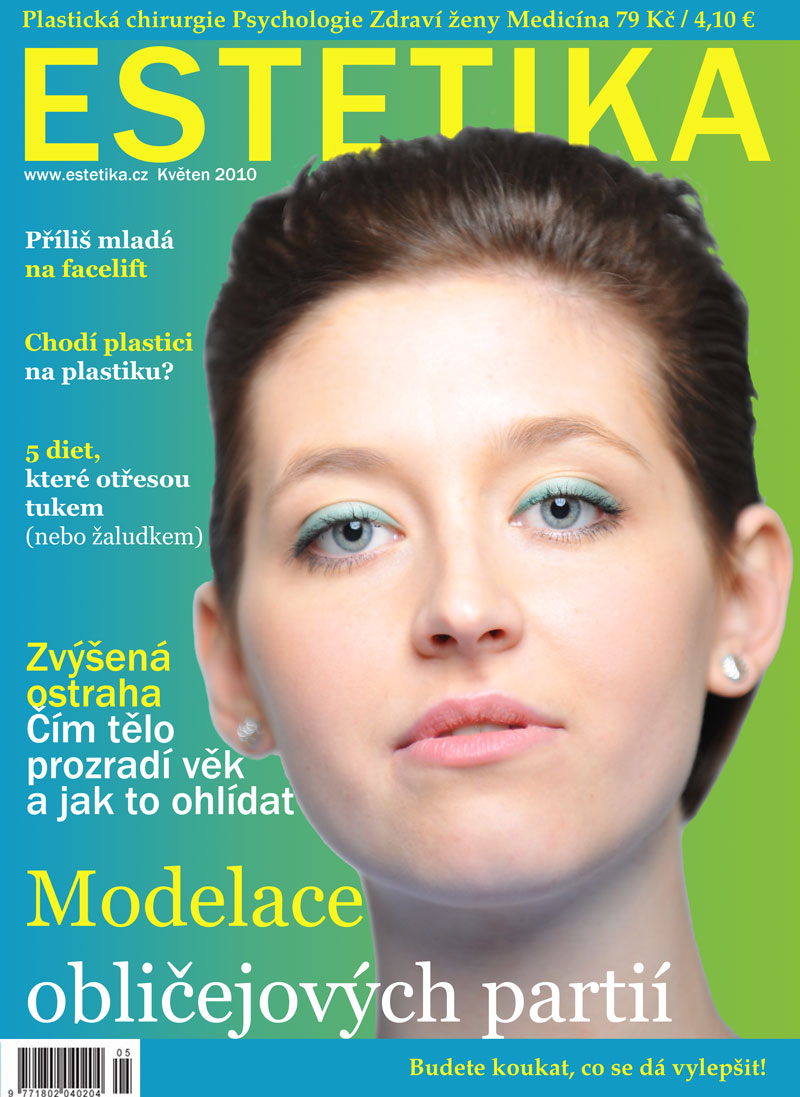
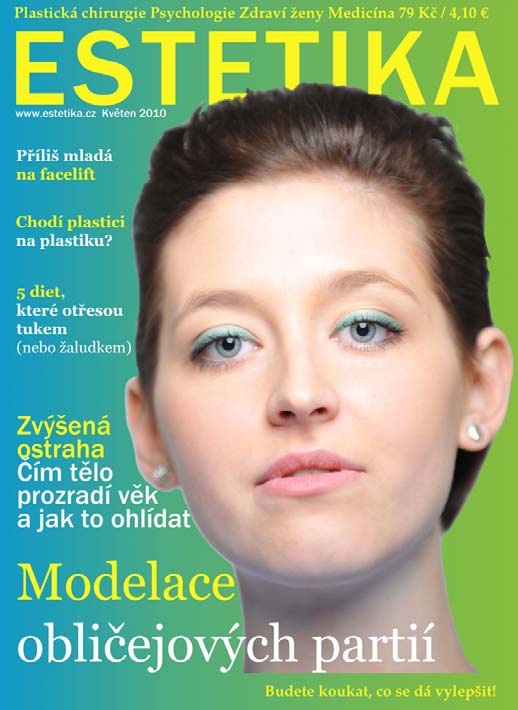
We will try to create the title page for the magazine ESTETIKA. We will edit the face, cut the head from the background using the Extract filter, remove wrinkles and faults (pimples, scars, ...), colorize lips, make the face smooth and more.
We will add a gradient background, bar code, edited face and rectangular shapes into the title page. The result can be seen in the following image:
Head Extraction from the Source Photo
Open the following photo in Adobe Photoshop.
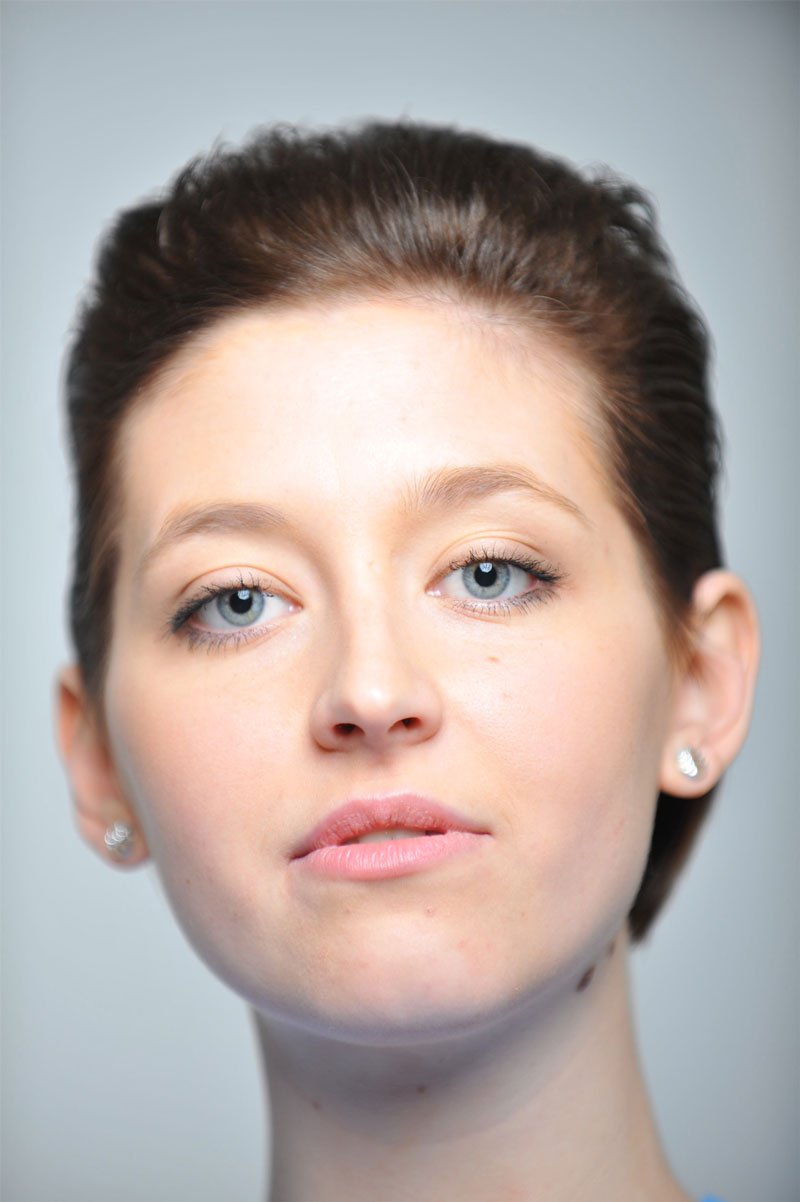
If you zoom at the face you can see that there are imperfections - wrinkles on the forehead, under the nose and on the neck, several pimples, too light lips and more. We will explain how to clear them easily.
It is a good idea to regularly save the file because the application can crash, there might be a problem with electricity or other error can occur - you might lose your data. It is also a good idea to duplicate layer before making any adjustment to be able to return to the original layer if needed.
Because the background behind the model is simple, the selection will be easy. You can try to select it using the Magic wand tool. However, there is a problem with the hair where the selection is not enough - you cannot use any standard selection tool for this purpose. We will add a specialized filter.
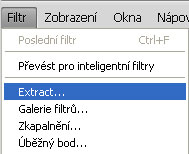
If you have to select an area with blurred edges as objects in motion or hair, you might want to use the filter Extract which is available for free in the Internet. Duplicate the layer and apply the filter on it from the menu Filters>Extract...
A new dialogue window opens where you can see photo, several tools in the top left corner and parameters in the right part.
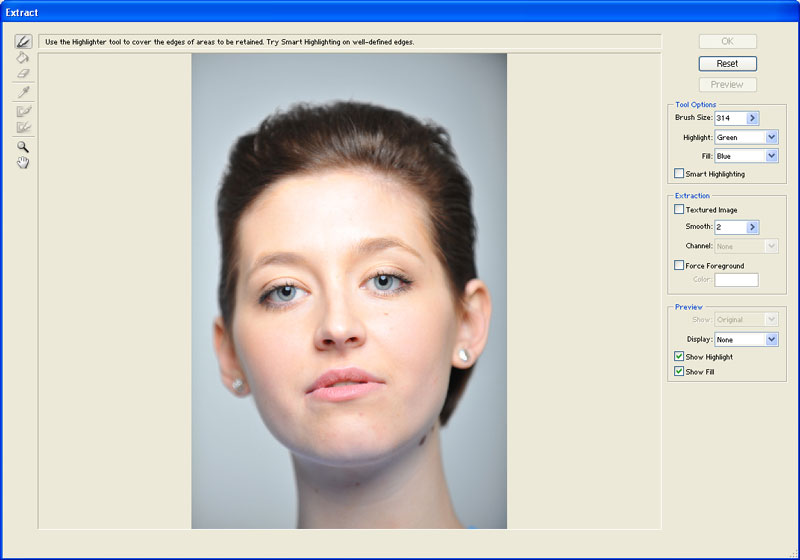
Choose the first tool Edge Highlighter and slowly draw a line around the neck, ears and hair. The tool has many additional functions - when you hold ALT it changes to rubber, CTRL changes the cursor to a viewfinder (the function Smart Highlighting is available in this mode), when holding SHIFT the points are being connected with a line. You can also use keys [ and ] to change the area which is being drawn.
To be able to define the edge between an object and a background you have to close the line. Then click on the tool Fill and click inside the area which should be preserved - it will be filled with blue color.
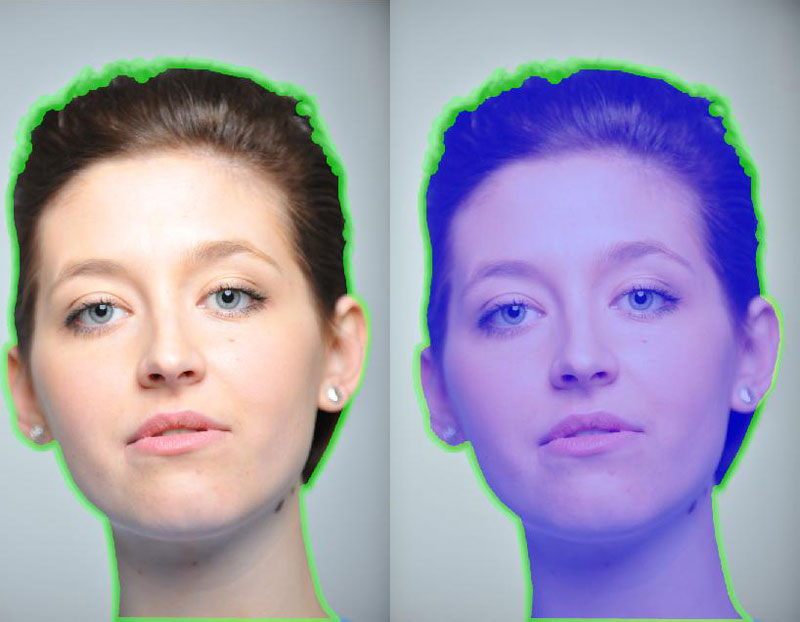
You can look at the preview and you see that all areas without blue color were removed. The program created a mild gradient at the edges. If you zoom in and find any mistake, you can use the tools Cleanup or Edge Touchup to correct it. The Cleanup tool is useable in case there are particles of dust - the opacity of the area is decreased (when holding ALT it is increased).
The final sharpness of edges can be adjusted by the Edge Touchup tool. If you are satisfied, click on OK and the filter will create cropping as you requested.
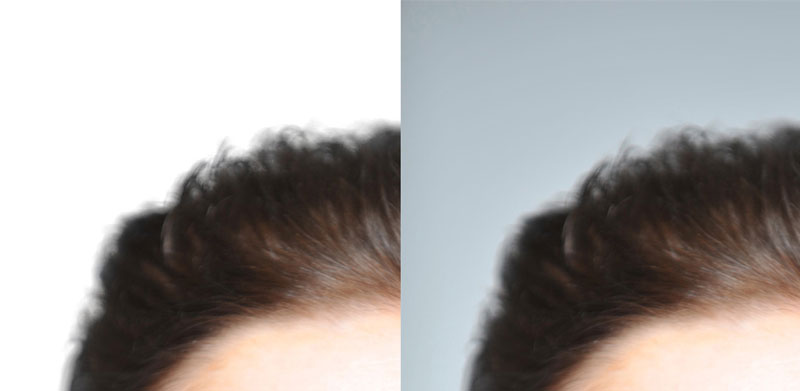
The background color was removed from the hair:
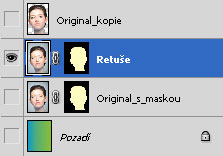
To be able to work with the original of the photo too, duplicate the original layer, create a mask and copy the shape of cropped image from the Extract filter into it (hole CTRL, click on the image of the layer with cropped image, then switch to the mask and fill it with the right color).
Creating Background
Now we have to resize the canvas. We can use several possibilities but the simplest command is in the menu Image>Canvas Size. Inside the window which will appear set the height to 4600 pixels and the width to 3400 pixels and confirm.
Then we will create a new layer, move it backwards and apply a linear gradient on it. We can choose from the predefined ones, modify them or create a new gradient - we will use the last option. The setting of colors is visible in the following image:
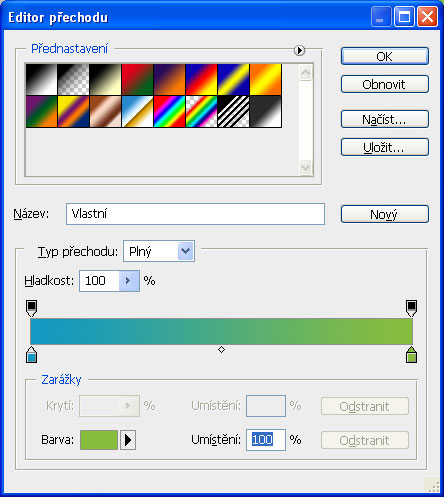
Create the gradient horizontally through the whole width of the canvas.
Retouching the Face
The next step is retouching the face area. We will use the Patch tool, Spot healing brush tool and Healing brush tool for this purpose. Create a copy of the last layer (the one with mask) and you can start retouching.
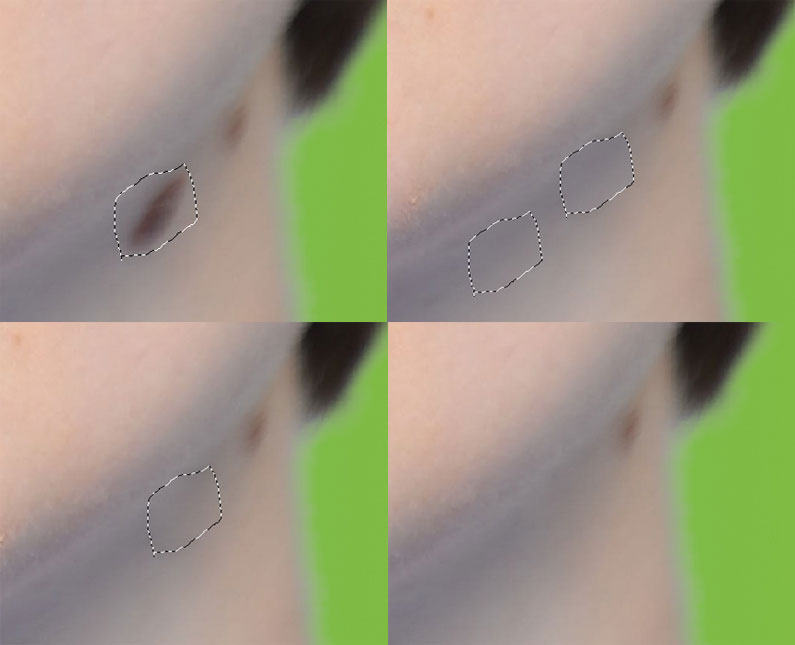
We can start with easier imperfections like scars, pimples and then we can move on to the wrinkles around the lips and the neck. The Patch tool can be used to select a place and then move it to another area with a similar hue and pattern. The tool will automatically smooth faults in the source area.
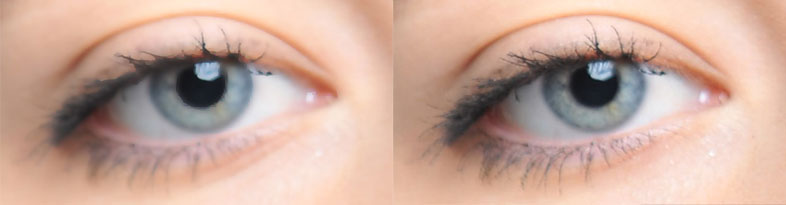
The most difficult part will be the wrinkles below eyes. We can use the Healing brush tool and set the following parameters:
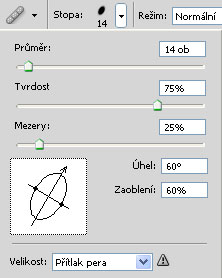
Hold ALT and click on a place with a similar texture which will be used to change the area which is being retouched. Use this procedure to gradually retouch all wrinkles. Keep an eye on the source area because it moves together with the brush.
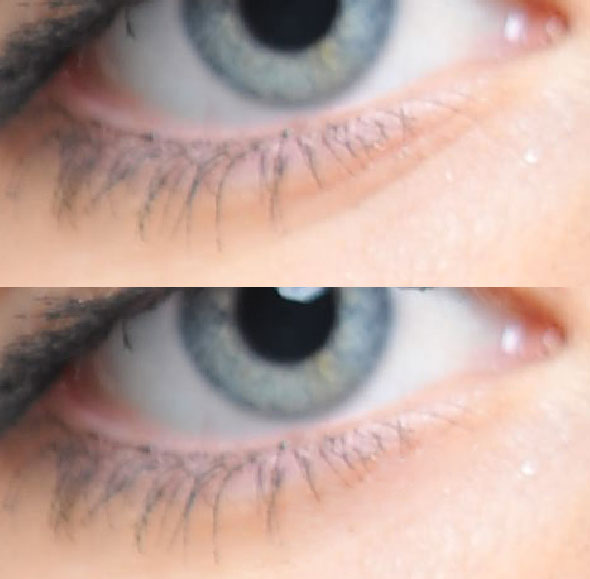
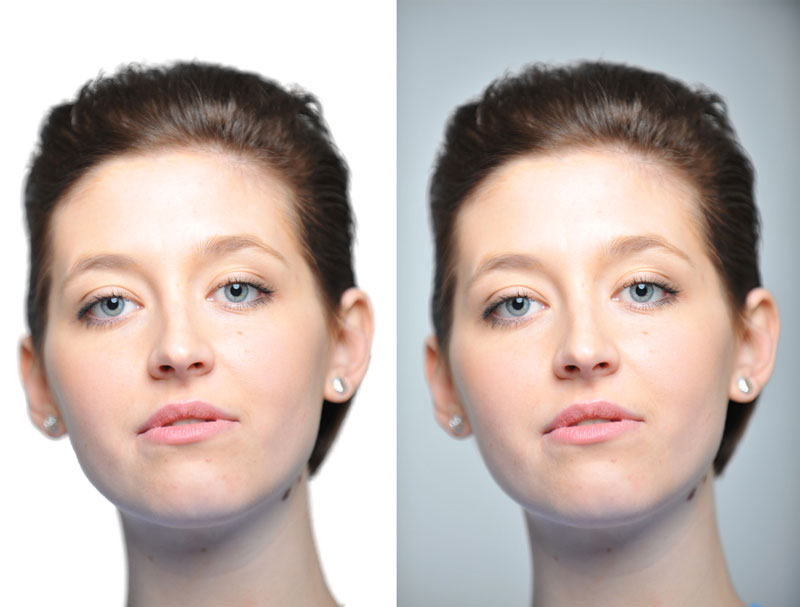
Move the face slightly to the right, apply the filter Smart blur (from the menu Filters>Blur) and set the following parameters in its window:
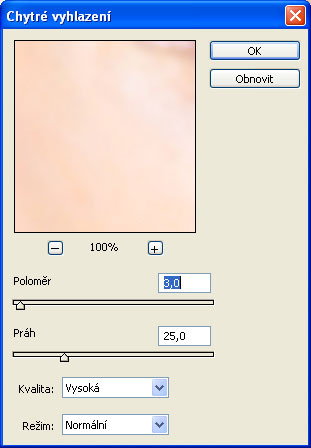
When using this filter it is necessary to leave visible only the layer with retouching and the current layer. Thanks to the filter, the image was slightly blurred. However, this is not desirable for the areas of eyes, eyebrows and lips which should stay sharp. We can create a mask for the blurred layer and hide these areas using black color.
We will try to add eye shades in the next step. Create a new layer, choose a suitable color of brush, lower hardness and lower opacity, for example 50 %. Draw the shades to look realistically. Then we can change the blending mode and adjust the opacity of the layer to improve it.

You can use the same procedure to highlight lips into a new layer.
Adding Texts
Link all layers to be able to move them at once. The next step is adding all texts. There are usually the most interesting titles on the cover which attract readers to the magazine. Titles are prepared, you can copy them and you should use suitable fonts.
- Plastická chirurgie Psychologie Zdraví ženy Medicína 79 Kč / 4,10 € - TeX Gyre Paella, Bold, align to the left, 24 b., yellow color, the symbol € can be written by right ALT + E.
- ESTETIKA - Franklin Gothic medium, Regular, 170b, align to the left
- Příliš mladá na facelift - Georgia, Bold, 24b., align to the left
- Chodí plastici na plastiku? - Georgia, Bold, 24b., align to the left
- 5 diet, které otřesou tukem (nebo žaludkem) – Georgia, Bold, 24b., align to the left, (nebo žaludkem) - Regular
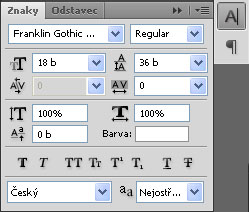
- www.estetika.cz Květen 2010 - Franklin Gothic medium, Regular, 18 b., align to the left
- Zvýšená ostraha Čím tělo prozradí věk a jak to ohlídat - Franklin Gothic medium, Regular, 42 b., Letter spacing – 36 b., align to the left
- Modelace obličejových partií – Georgia, Regular, 80b., align to the left
- Budete koukat, co se dá vylepšit! - TeX Gyre Paella, Bold, align to the left, 24b., yellow color
There are only two colors - white and yellow. Yellow parts drop a light shadow, the rest is white. The properties of the text can be adjusted in the panels Characters and Paragraph.
It is recommended to insert all texts to new layers. Formatting of texts on the cover should keep a few principles:
- There should be maximally 3 types of font.
- There should be maximally 3 sizes of font.
- There should be maximally 3 colors of font.
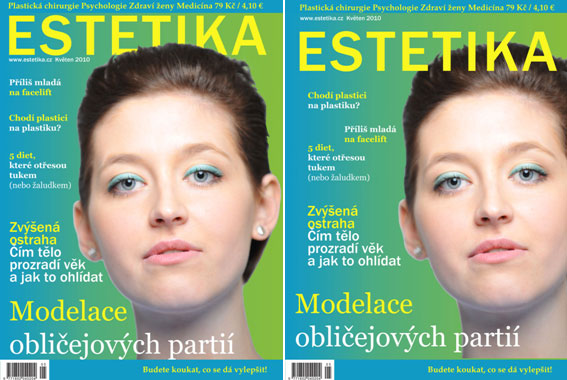
The result can be seen in the following image (you can see that the text ESTETIKA was placed behind the head):
The alignment can be solved by Guides (from the menu View). Other things which remain to be added are the rectangular shapes in the bottom and the top part where they will create a background for the text. You only have to select the area and fill it with color.


You should also add a bar code which can be found anywhere in the Internet. Insert it into your document and adjust the size.

Design Adjustments
The layout of objects can be changed according to your discretion. You can use the layer compositions for this - they allow you to display several combination of layers and effects in Adobe Photoshop.
At first you have to display the window Layers Comps (from the menu Window).
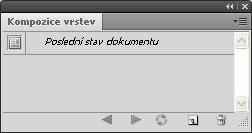
Click on the button Create a new comp in the corner and confirm the following dialogue window.
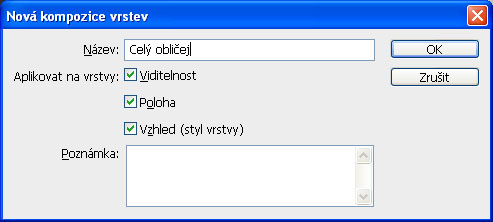
Then you can move the layers and try to suggest another appearance. Pay attention because the Layer comps preserve only visibility, position and appearance of layers including applied styles and blend modes.
We can try to move the face to the right or make other experiments. If you create more compositions you can then switch between them and compare the results.
Result
Individual Task
Create your own draft of title page for a magazine. You have to use the cropped head of the model but the layout and the rest is up to you.
Questions
- When can you use the Extract filter?
- How can you remove minor deficiencies on the face?
- How can you align a text?
- How should a text for a title page look like?
- How can you use the layer compositions?